Dialing in a new bag of coffee beans for espresso can be a frustrating and wasteful process. Shot after shot might run too fast or too slow, producing sour or bitter results, all while your precious beans disappear into the knock box. What if there was a way to get a preview of how a coffee might behave before you even load the portafilter? Enter the AeroPress. This humble and versatile brewer, often celebrated for its clean filter coffee, can be a secret weapon for home baristas. This article will explore how you can use the AeroPress as an efficient and low-waste tool for testing espresso variables, helping you understand your coffee better and dial in that perfect shot faster.
Why the AeroPress works as an espresso simulator
Let’s be clear from the start: an AeroPress does not make true espresso. Espresso is defined by the high pressure (typically 9 bars) forced through a finely-ground puck of coffee, creating a concentrated beverage with a signature crema. The AeroPress generates significantly less pressure, around 0.35 to 0.75 bars. So, how can it possibly be useful? The magic lies in its ability to create a highly concentrated, pressure-brewed coffee that allows you to isolate and test key variables. By mimicking the coffee-to-water ratio of an espresso shot and using a similarly fine grind, the AeroPress lets you taste the fundamental character of the bean under conditions that highlight sweetness, acidity, and potential bitterness, much like an espresso shot would. It’s a low-stakes environment to experiment with the variables that matter most.
Translating espresso variables to the AeroPress
The key to using the AeroPress for espresso testing is to align your parameters with an espresso recipe. Instead of brewing a typical 1:15 ratio filter coffee, you’ll be creating a short, potent shot. This requires a shift in your thinking and a focus on replicating the core components of an espresso extraction.
- Dose: Use the same amount of coffee you would in your espresso machine’s portafilter. If your standard recipe is 18 grams, use 18 grams in the AeroPress. This keeps one of your most important variables constant.
- Ratio: This is the most critical translation. Aim for a classic espresso brew ratio, such as 1:2 or 1:2.5. For an 18-gram dose, this means you will use 36 to 45 grams of water. This concentration is what will reveal the coffee’s espresso potential.
- Grind Size: Start with a grind that is slightly coarser than your typical espresso setting. It should still be very fine, but coarse enough to allow you to plunge the AeroPress without extreme force. This will be your primary variable for testing.
- Water Temperature: Use the same water temperature you would for your espresso. If you typically pull shots at 93°C (200°F), heat your kettle to that exact temperature.
By controlling these factors, you create a brew that, while not texturally identical to espresso, is genetically similar in its flavor profile and concentration. This allows you to taste for balance and extraction in a repeatable way.
A step-by-step testing method
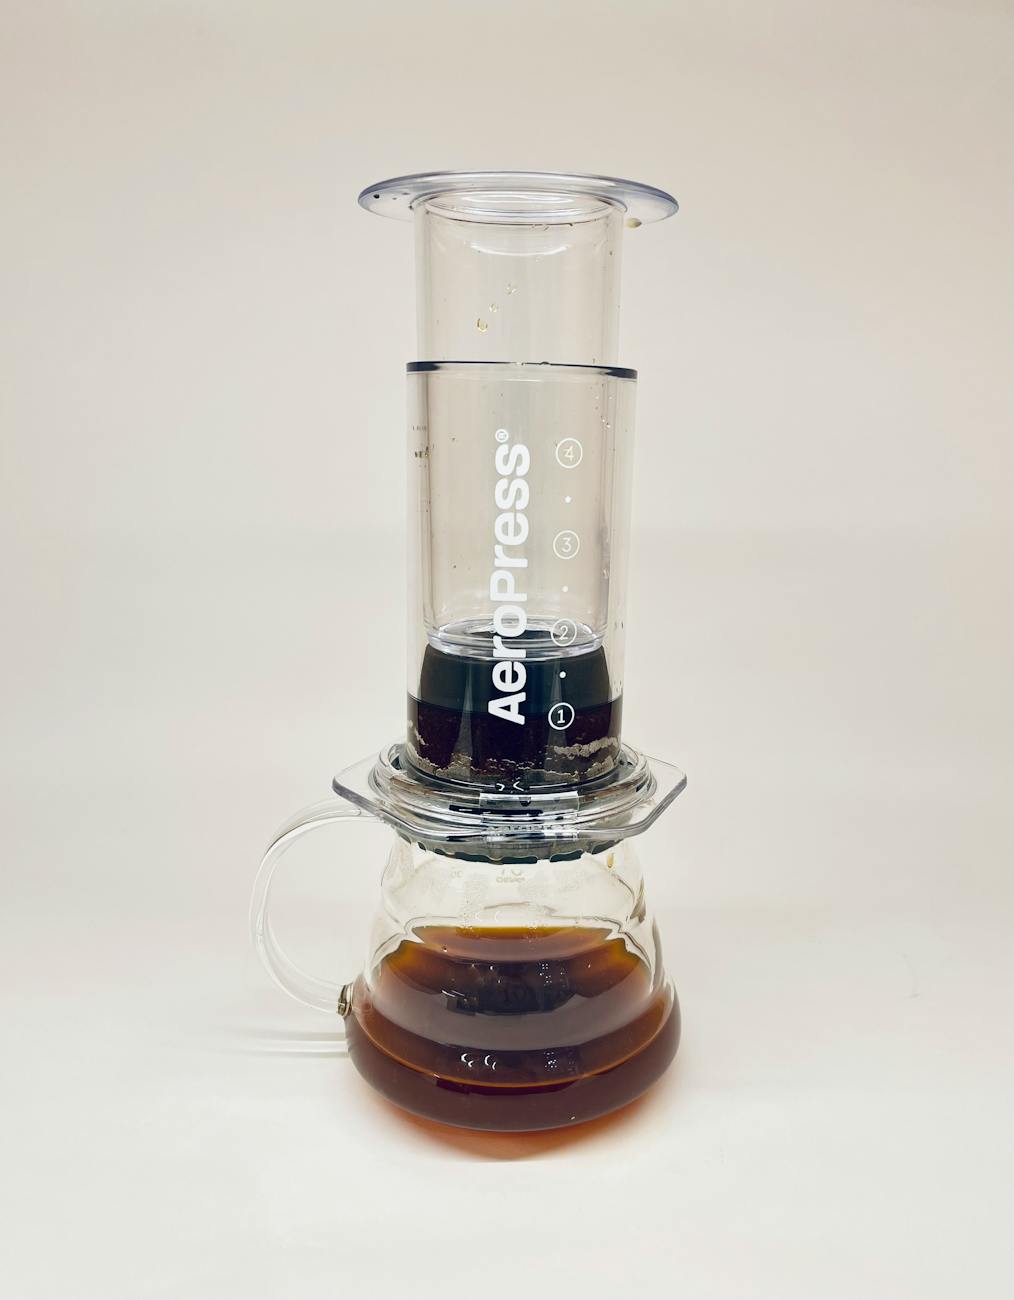
To get consistent and useful results, follow a precise method each time you test. The inverted (upside-down) method is highly recommended as it prevents premature dripping and gives you full control over the brew time.
- Prepare your station: Set up your AeroPress in the inverted position on a scale. Place a paper filter in the cap and rinse it with hot water to remove any paper taste.
- Dose and grind: Add your chosen dose (e.g., 18g) of finely ground coffee into the chamber.
- Start the clock: Tare the scale, start your timer, and pour your target water weight (e.g., 45g for a 1:2.5 ratio) over the grounds. Aim to add all the water within 10 seconds.
- Stir briefly: Give the slurry a quick but thorough stir for about 5-10 seconds to ensure all the coffee is saturated.
- Steep and assemble: Allow the coffee to steep until the timer reads 30-45 seconds. This short immersion acts like a pre-infusion. Securely screw the filter cap onto the chamber.
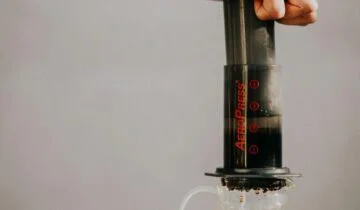
- Flip and plunge: Carefully flip the entire assembly onto your mug and begin plunging. Press down with firm, consistent pressure. You are aiming for a plunge time of about 30 seconds.
- Taste and evaluate: Your resulting brew will be a small, concentrated shot. Taste it and take notes. Is it overly sour? Bitter? Or is it sweet and balanced?
This process gives you a data point. By only changing one variable at a time, primarily the grind size, you can quickly learn how the coffee responds and what it takes to achieve a balanced extraction.
Interpreting the results and making adjustments
The feedback from your AeroPress shot is a direct preview of what you can expect from your espresso machine. If the shot is undrinkably sour, you’ve just saved yourself from pulling a “gusher” that would have tasted the same. If it’s harsh and bitter, you know your grind is likely too fine. This method helps you find the “sweet spot” ballpark for your grind setting before you waste coffee on failed espresso shots.
Use this table as a guide to translate what you taste in the AeroPress to an adjustment on your espresso machine:
| AeroPress Taste Profile | Likely Cause | Suggested Espresso Machine Adjustment |
|---|---|---|
| Sour, acidic, thin body | Under-extraction | Grind finer. Your espresso shot will likely run too fast. |
| Bitter, harsh, drying | Over-extraction | Grind coarser. Your espresso shot will likely choke the machine or run too slow. |
| Hollow, lacking sweetness | Uneven extraction / potential channeling | Adjust grind or focus on better puck preparation (WDT, tamping). |
| Sweet, balanced, pleasant acidity | Good extraction | This grind setting is an excellent starting point for your first espresso shot. |
By finding a balanced shot in the AeroPress first, you can approach your espresso machine with a grind setting that is already very close to ideal, likely requiring only minor tweaks to perfect.
In conclusion, while the AeroPress can never replicate the unique texture and crema of a true espresso, it stands out as an exceptionally useful diagnostic tool. It offers a low-waste, cost-effective, and fast way to understand a new coffee’s characteristics and find a starting point for your recipe. By translating espresso variables like dose, ratio, and temperature to a concentrated AeroPress brew, you can pre-test your grind size and get valuable feedback on extraction. This process removes much of the guesswork from dialing in, saving you time, frustration, and, most importantly, coffee. Integrating the AeroPress into your espresso workflow is a smart, practical step for any home barista looking to achieve better results with more consistency.


 No products in the cart.