Diagnosing Gaggia Classic extraction issues with a bottomless portafilter
The Gaggia Classic is a legendary entry-point into the world of home espresso, beloved for its robust build and potential to create cafe-quality shots. However, unlocking that potential can be a frustrating journey of trial and error. Sour, bitter, or watery shots can plague even the most enthusiastic beginner. This is where the bottomless portafilter comes in. It is more than just a beautiful accessory; it is an indispensable diagnostic tool. By removing the spouts and exposing the bottom of the filter basket, it provides a raw, unfiltered view of your extraction process. This article will guide you through using this window into your puck to identify, understand, and ultimately fix the common extraction issues that Gaggia Classic users face.
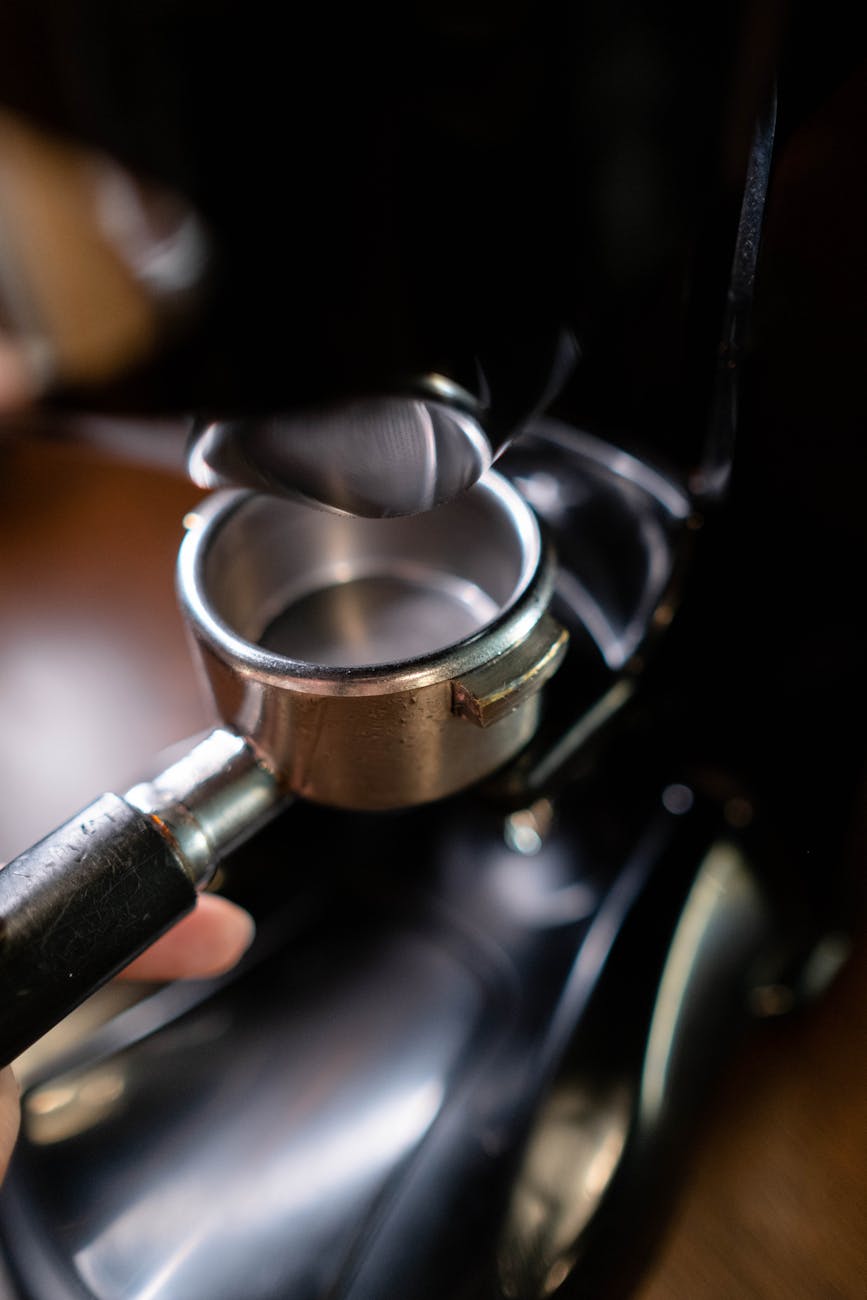
What is a bottomless portafilter and why you need one
A standard portafilter, the one that comes with your Gaggia Classic, has a solid bottom with one or two spouts that guide the espresso into your cup. A bottomless portafilter, also known as a naked portafilter, has the bottom machined away, completely exposing the filter basket. This simple modification has profound implications for the home barista.
Its primary benefit is unparalleled visual feedback. With a spouted portafilter, the espresso from different parts of the puck is mixed together before it ever hits the cup, hiding any underlying problems. The bottomless portafilter shows you exactly how the water is flowing through your coffee grounds in real-time. You can see if the extraction starts evenly, if it forms a single, centered cone, or if it’s plagued by tiny, high-pressure jets of water. This visual information is crucial for diagnosing problems with your technique.
Beyond diagnostics, many users feel it improves the shot itself. By eliminating the journey through the spouts, you get slightly more crema, and there’s no chance of old coffee oils from a dirty spout contaminating the flavor of your fresh shot. For any Gaggia Classic owner serious about improving their craft, it’s not a luxury; it’s an essential learning tool.
Preparing your shot: The foundation of a good extraction
A bottomless portafilter will ruthlessly expose any flaws in your puck preparation. Before you can diagnose a problem, you must first control the variables that lead to a good extraction. A consistent and methodical routine is your best defense against bad espresso. If you neglect these steps, you will constantly be chasing problems instead of enjoying great coffee.
- Grind consistency is king. Espresso requires a fine, consistent grind. A high-quality burr grinder is non-negotiable. Your grind size is the primary way you control the shot time. Too coarse, and the water will gush through, leading to a fast, sour shot. Too fine, and it will choke the machine, leading to a slow, bitter shot.
- Dose accurately. Use a coffee scale to measure your dose to within 0.1 grams every single time. A typical double shot for a Gaggia Classic uses between 14-18 grams of coffee, depending on your basket. Inconsistency in dose will lead to inconsistency in your shots.
- Distribute the grounds evenly. This is arguably the most critical step. Clumps in the coffee grounds create dense spots, while empty pockets create paths of least resistance for the water. Use a distribution tool, like a WDT tool (a simple tool with fine needles), to break up all clumps and create a fluffy, even bed of coffee.
- Tamp level and consistently. The goal of tamping is not to press as hard as you can, but to create a level and uniformly compacted puck of coffee. An uneven tamp will cause water to flow faster through the less dense side, leading to an uneven extraction. Focus on keeping the tamper perfectly level from start to finish.
Mastering this routine provides the solid foundation needed to interpret what the bottomless portafilter is showing you.
Reading the signs: What your extraction is telling you
With a well-prepared puck locked into your Gaggia Classic, it’s time to pull the shot and watch the magic happen. The first few seconds are the most telling. An ideal extraction will begin with a few dark drops forming across the basket, which then coalesce into a single, steady stream in the center. The stream should be viscous, rich in color like dark honey, and flow without sputtering. But what happens when it doesn’t go right?
Common extraction flaws to watch for
Channeling: This is the most common and obvious flaw. You’ll see one or more tiny, high-velocity jets of pale liquid shooting out from the basket. This indicates that the water has found a “channel” or path of least resistance through the puck instead of flowing through it evenly. This results in some grounds being over-extracted (the channel itself) and the rest being under-extracted, creating a shot that is both bitter and sour.
Side channeling: If you see streams forming only around the very edge of the basket, it often means your tamper is too small for your basket, or you are not tamping evenly, leaving a less-compacted ring around the perimeter.
The “doughnut” extraction: This is when the extraction begins around the edges and slowly moves toward the middle, leaving a dry spot or “bald spot” in the center of the basket for the first several seconds. This is almost always a sign of poor distribution, where the grounds are more dense in the center of the puck.
Early blonding: A perfect shot will transition from dark brown to a more caramel or honey color, and finally to a pale blonde towards the end of the shot (around 25-30 seconds). If your shot turns blonde very quickly (e.g., in under 15 seconds), it’s a clear sign of under-extraction. The water is flowing through the puck too fast, likely because the grind is too coarse.
A troubleshooting guide for Gaggia Classic users
Now that you can identify the visual cues of a bad extraction, you can start to fix them. The Gaggia Classic, with its powerful pump, is particularly unforgiving of preparation mistakes. Use this table to connect the problem you see with its likely cause and solution.
| Problem (Visual cue) | Likely cause(s) | Solution(s) |
|---|---|---|
| Channeling / Spurting (thin, fast jets) | 1. Uneven distribution / clumps 2. Uneven tamping 3. Grind is too fine, forcing water to find weak spots |
1. Use a WDT tool to break up clumps. 2. Focus on a level tamp. 3. Try a slightly coarser grind. |
| One side extracts first | 1. Uneven distribution (puck is not level before tamping) 2. Tamping pressure is not level |
1. Tap the portafilter gently on the counter to settle the grounds before tamping. 2. Ensure your wrist and elbow are aligned over the portafilter when tamping. |
| Shot runs too fast and is blonde early | 1. Grind is too coarse 2. Dose is too low for the basket 3. Insufficient tamping pressure |
1. Adjust your grinder to a finer setting. 2. Ensure you are using the correct dose for your basket (e.g., 16-18g). 3. Apply firm, consistent pressure. |
| “Doughnut” extraction | Poor distribution, grounds are mounded in the center | Focus your WDT and distribution technique on creating a perfectly flat, even bed of coffee before you tamp. |
By systematically addressing these issues, you will see a direct and immediate improvement in the quality and consistency of your espresso.
Conclusion
Moving to a bottomless portafilter on your Gaggia Classic is like turning the lights on in a dark room. It removes all the guesswork and provides clear, actionable feedback on every single shot. While the initial mess from a channeled shot can be disheartening, it’s an invaluable lesson. Each spurt and bald spot tells you exactly what you need to adjust in your preparation routine, from your grind size to your distribution technique. It transforms the process from a blind ritual into a conscious craft. Embracing this tool is the single best step a Gaggia Classic owner can take to move beyond mediocre espresso and start consistently pulling sweet, balanced, and delicious shots that rival those from a professional cafe.

 No products in the cart.