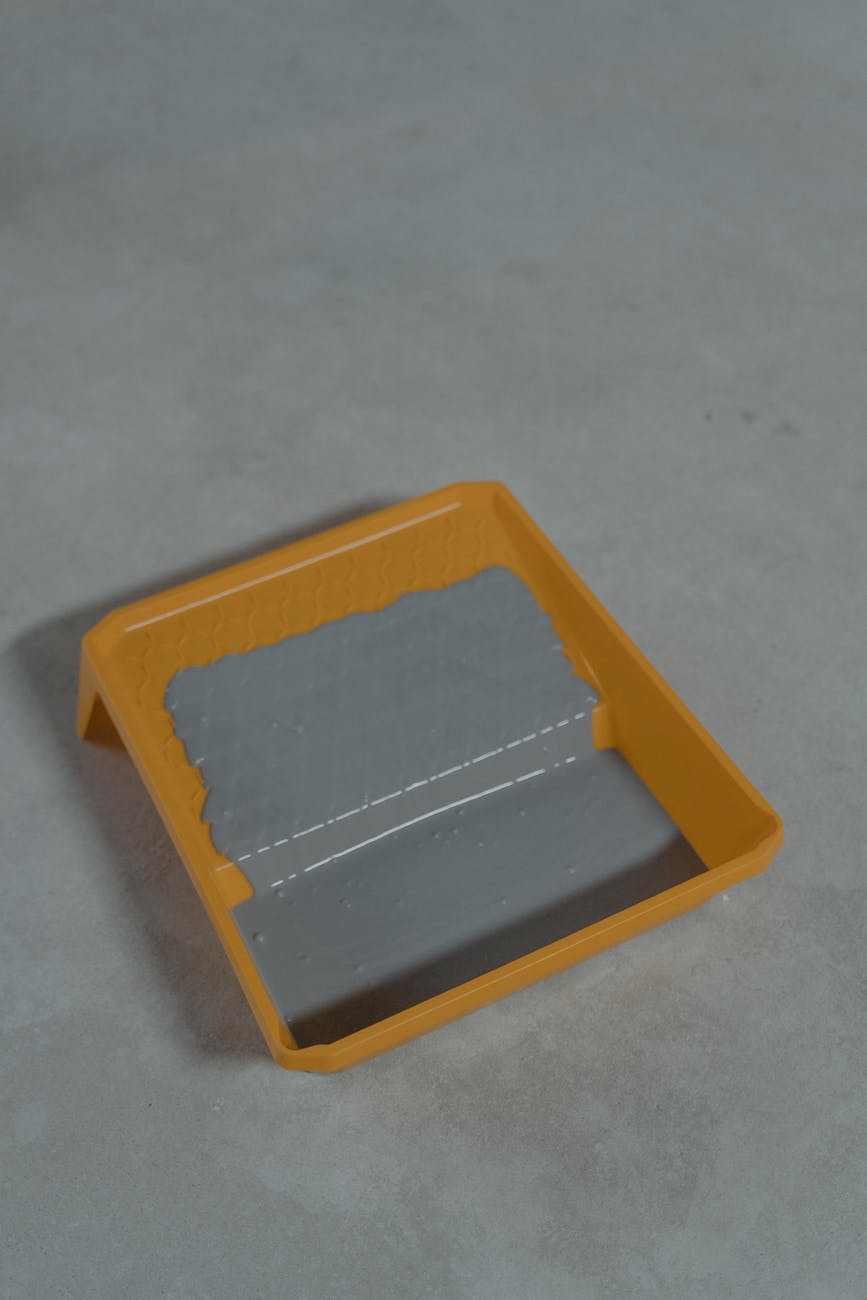
A slim drip tray, often called a low-profile shower tray, is a fantastic choice for creating a modern, minimalist, and accessible bathroom. Its sleek design integrates almost seamlessly with the floor, offering a clean aesthetic that many homeowners desire. However, this minimalist design can sometimes present unique challenges during installation. Unlike deeper, more traditional trays, slimline models have less tolerance for error. An imperfectly prepared subfloor, an incorrect seal, or a slight misalignment can quickly lead to frustrating problems. This guide is designed to help you navigate these potential pitfalls. We will walk you through the most common issues encountered when installing a slim drip tray, from improper fit and annoying leaks to slow drainage and unwanted movement, providing practical, step-by-step solutions.
Ensuring proper fit and alignment
The very first hurdle in installing a slim drip tray is achieving a perfect fit. If the tray rocks, doesn’t sit flush against the walls, or has visible gaps underneath, the entire installation is compromised from the start. This is often due to an improperly prepared subfloor. Before you even think about applying adhesive, you must ensure the surface is perfectly clean, dry, and level. Any lingering debris, old tile adhesive, or dust will create high spots, causing the tray to rock. Use a scraper and vacuum to clear the area completely.
Once clean, check the subfloor with a spirit level. Slim trays have very little flexibility, so they will not conform to an uneven surface. If you find significant dips or a general slope away from the drain, you must correct it. Applying a self-leveling compound is the most reliable way to create a flat and stable foundation. After leveling, perform a “dry fit” by placing the tray in its final position without any adhesive. This allows you to check for a snug fit against the walls and confirm it sits solidly without any movement.
Tackling leaks and sealing problems
A leak is the most dreaded issue in any bathroom project, and with a slim drip tray, the seal is everything. Leaks almost always originate from two key areas: the perimeter of the tray where it meets the walls and floor, or the waste connection itself. The cause is typically an inadequate application of silicone sealant. To prevent this, start with clean, dry surfaces. Use a high-quality, mold-resistant sanitary silicone. When applying the sealant, create a continuous, generous bead in the corner where the tray meets the wall tiles. It’s also wise to apply a bead underneath the tray’s edges before bedding it into the adhesive.
The waste unit is the other critical point. Ensure all gaskets and seals supplied with the waste are correctly seated—none should be twisted or pinched. Hand-tighten the components first to avoid cross-threading, then use the manufacturer’s tool for a final quarter-turn. Do not overtighten, as this can crack the acrylic or stone resin of the tray or damage the rubber seal, ironically causing a leak. A good practice is to perform a water test before tiling the walls to spot any issues with the waste connection early on.
Solving slow drainage and pooling water
You’ve installed your beautiful new slim tray, but after a shower, you notice water pooling in the corners or draining away at a snail’s pace. This is a common but fixable problem. The primary cause is that the tray itself is not perfectly level, or it has a slight back-fall away from the drain. While slim trays have a pre-molded fall built in, the base they sit on must be level for it to work correctly. This goes back to the importance of preparing the subfloor. Use your spirit level during the installation to check for level in all directions.
If the tray is level, the issue likely lies with the waste pipe or trap. Check for blockages first. Debris from the installation, such as adhesive or grout, can easily get into the pipework. The waste trap itself is designed to be removed and cleaned, so check it for hair and soap scum buildup. Also, ensure the decorative waste cover is not obstructing the flow of water. Sometimes, simply repositioning it can make a significant difference to drainage speed.
Common installation issues at a glance
Navigating the installation of a slim drip tray requires attention to detail. Below is a table summarizing the most frequent problems, their likely causes, and the recommended solutions to ensure a successful, leak-free installation.
| Issue | Likely Cause | Recommended Solution |
| Tray rocks or feels unstable | Uneven subfloor or insufficient adhesive | Use a self-leveling compound on the subfloor. Apply adhesive in a solid bed, not dots. |
| Water leaks from the tray edges | Poor silicone seal or tray movement | Ensure the tray is solidly bedded. Remove and re-apply a continuous bead of sanitary silicone. |
| Water pools and drains slowly | Tray is not level or the waste is blocked | Check the tray is level with a spirit level. Clean the waste trap and check for blockages in the pipe. |
| Creaking noises when standing on the tray | Air pockets under the tray; lack of support | Re-install using a solid bed of flexible tile adhesive to ensure full contact and support. |
| Leak from the waste outlet | Waste unit is too loose, overtightened, or gasket is misaligned | Disassemble the waste, check the gasket is seated correctly, and re-tighten firmly but not excessively. |
A successful slim drip tray installation hinges on meticulous preparation and patience. The most common issues—movement, leaks, and poor drainage—are nearly always a result of a rushed or poorly prepared foundation. By ensuring your subfloor is perfectly level and stable, applying adhesive and sealant correctly, and carefully installing the waste, you eliminate the root causes of these problems. Taking the time to dry-fit the tray and test for leaks before finishing the surrounding walls can save you immense trouble later. A properly installed tray will not only provide a sleek, modern look for your bathroom but will also deliver years of reliable, trouble-free performance, making the extra effort during installation a worthwhile investment.


 No products in the cart.