Troubleshooting Gaggiuino boiler fill and pump problems: A complete guide
The Gaggiuino project transforms the capable Gaggia Classic Pro into a precision espresso machine that rivals equipment many times its price. It’s a rewarding DIY journey, but it’s not without its challenges. One of the most common and frustrating hurdles builders face is related to the water system, specifically getting the boiler to fill correctly and ensuring the pump operates as expected. When your newly modded machine hums but produces no water, or the pump behaves erratically, it can be disheartening. This guide is designed to be your first point of reference. We will systematically walk through the Gaggiuino water circuit, diagnose common boiler fill failures, tackle pump performance issues, and provide a clear checklist to get you back on track to pulling perfect, pressure-profiled shots.
Understanding the Gaggiuino water circuit
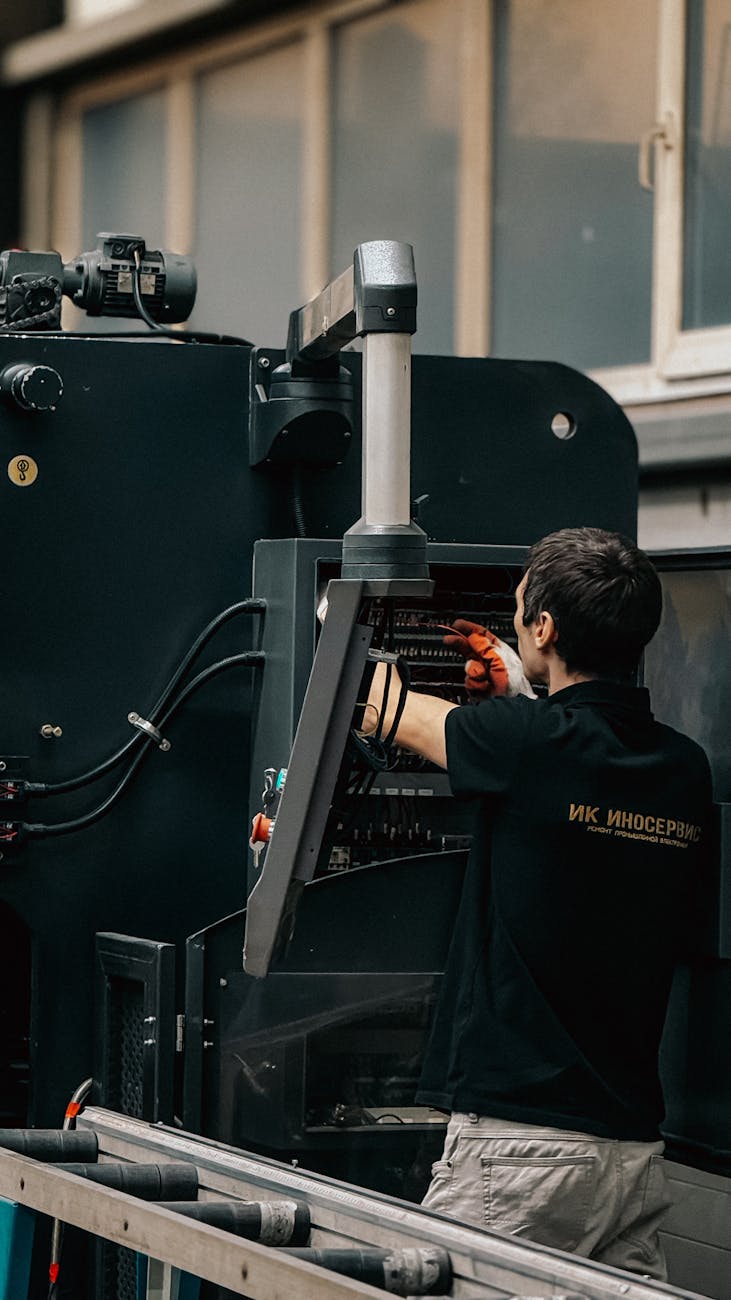
Before you can fix a problem, you need to understand the system. The Gaggiuino modification fundamentally changes how the Gaggia Classic Pro controls its water flow. In a stock machine, the brew switch manually powers the pump. In a Gaggiuino system, a microcontroller (like an Arduino or STM32) takes charge, using a Solid State Relay (SSR) to turn the pump on and off with digital precision.
The path of water is straightforward but has several key points of potential failure:
- Water Tank: The source. The intake tube must be fully submerged and the tank seated correctly to engage the machine.
- Vibratory Pump: This is the heart of the system, creating the pressure needed for espresso. It pulls water from the tank.
- Over-Pressure Valve (OPV): This valve diverts excess pressure back to the tank, typically set to 9-10 bars in a Gaggiuino setup.
- Boiler: The heating element. Water is pumped into the boiler to be heated to brew or steam temperature.
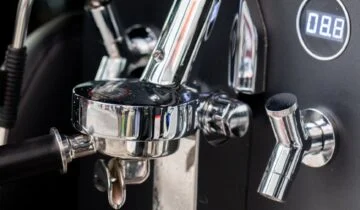
- 3-Way Solenoid Valve: This directs the flow of water. When energized, it sends water from the boiler to the group head. When de-energized, it closes the path from the boiler and releases pressure from the group head to the drip tray.
The Gaggiuino controller manages this entire process. On startup, it’s programmed to run a boiler fill cycle. It sends a signal to the pump SSR to activate the pump until the boiler is full (often determined by a timer in the software). Understanding this sequence is the first step in diagnosing why it might be failing.
Diagnosing boiler fill failures
A failure to fill the boiler is often the first major issue a builder encounters after assembly. The pump might make a loud noise or you might hear a click from the SSR, but no water moves. Let’s break down the troubleshooting process, starting with the simplest solutions.
First, address potential mechanical issues. The most common culprit is an airlock in the system. Vibratory pumps are great at moving water but poor at moving air. If there’s a large air bubble in the intake line, the pump can’t create suction. To fix this, you need to prime the pump. This is easily done by turning the machine on and immediately opening the steam wand valve. This creates an easier, lower-resistance path for the water to flow, helping the pump purge the air and establish a water line. Also, ensure the basics are covered: is the water tank full and seated properly? Is the silicone intake tube kinked or blocked?
If priming doesn’t work, it’s time to investigate the Gaggiuino-specific components. Check your wiring, especially the connections to the pump SSR. A loose or incorrectly placed wire is a very frequent cause of problems. The SSR has an input side (low voltage, from the microcontroller) and an output side (high voltage, for the pump). Ensure the wires are in the correct terminals and are secure. You can verify if the SSR is receiving a signal by checking the display during the boot sequence; it should indicate it is attempting to fill the boiler. If the SSR has an indicator LED, see if it lights up when the fill cycle is active.
Tackling pump performance problems
Once your boiler fills correctly, you might still encounter issues with how the pump performs during a shot. These problems can range from strange noises to a complete lack of pressure.
A loud, rattling pump that is different from its normal vibratory hum often points back to air in the system or scale buildup. If you’ve confirmed the pump is primed, the noise could indicate the pump is struggling against a blockage or is simply wearing out. A loose mounting bracket can also cause excessive rattling, so ensure the pump is secured to the machine’s chassis.
Low or inconsistent pressure is a more complex issue. Your first check should be the OPV. If you performed the “9-bar OPV mod,” ensure it was adjusted correctly using a blind basket and pressure gauge. An incorrectly set OPV can bleed off too much pressure. If the OPV is fine, consider a potential clog. Scale can build up in the solenoid valve or the fine passages of the group head. A thorough descaling and backflushing routine is a critical maintenance step that often resolves pressure issues.
Perhaps the most alarming issue is a pump that won’t stop running. This is a serious situation that points directly to a fault in the control system. The most likely cause is a failed SSR that is “stuck” in the closed (on) position. This means it is continuously sending power to the pump regardless of the signal from the microcontroller. If this happens, unplug your machine immediately to prevent the pump from burning out. The only solution is to test and replace the faulty SSR.
A systematic troubleshooting checklist
When you’re faced with a problem, it helps to have a clear, step-by-step guide. The table below organizes common symptoms, their likely causes, and the recommended actions. Work through these steps logically from the simplest to the most complex to quickly identify and resolve your issue.
| Symptom | Potential cause | Solution |
|---|---|---|
| Pump is noisy, no water comes from group head or steam wand. | Airlock in the pump/intake line. | Prime the pump by running it with the steam wand valve fully open. Check that the water tank is seated and the intake tube is submerged. |
| Boiler does not fill on startup. Pump does not activate at all. | Incorrect or loose wiring to the pump SSR. Faulty SSR. | With the machine unplugged, check all connections between the microcontroller, SSR, and pump. Verify correct pin assignment in firmware. Test SSR with a multimeter if possible. |
| Pressure is very low during a shot (e.g., under 6 bars). | OPV is set too low or is stuck open. System clog. | Adjust the OPV to 9 bars using a pressure gauge. If that fails, perform a descaling cycle and backflush the group head. |
| Pump runs continuously and does not stop, even when idle. | The pump SSR has failed in the “on” state. | Unplug the machine immediately. Order a replacement SSR. This component has failed and must be replaced. |
| Pump pressure seems to fluctuate or pulse wildly during a shot. | Pump is nearing the end of its life or is struggling with scale. | Descale the machine. If the problem persists, the vibratory pump may need to be replaced. They are a consumable component with a finite lifespan. |
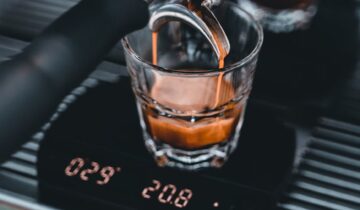
Building a Gaggiuino is an incredible learning experience, and troubleshooting is an integral part of that process. These pump and boiler fill issues are very common but are almost always fixable with a bit of patience and logical deduction. By understanding how the water circuit works and following a systematic diagnostic approach, you can overcome these initial challenges. Remember to start with the simplest mechanical checks before diving into the electronics. Don’t hesitate to consult the vibrant Gaggiuino community on Discord or online forums, as many builders have faced and solved the exact same problems. Once you resolve these issues, the reward of a perfectly controlled, cafe-quality espresso shot from your own creation is well worth the effort.
 No products in the cart.