The vintage La Peppina is more than just an espresso machine; it’s a piece of mid-century design history. With its iconic lever and minimalist aesthetic, it holds a special place in the hearts of coffee enthusiasts. However, decades of use can take a toll on its unique finishes, leaving them dull, stained, or oxidized. Restoring that original luster requires a delicate touch and the right knowledge. This article is your expert guide to polishing and preserving the various finishes found on your vintage La Peppina. We will walk you through identifying your machine’s specific material, applying the correct cleaning and polishing techniques for each, and implementing long-term strategies to protect its timeless beauty for years to come.
Identifying your La Peppina’s finish
Before you pick up a single cloth or polishing compound, the most critical step is to correctly identify the material you’re working with. La Peppina machines were produced with several different finishes, and using the wrong product can cause irreversible damage. The most common finishes are chrome-plated brass, anodized aluminum, and painted enamel.
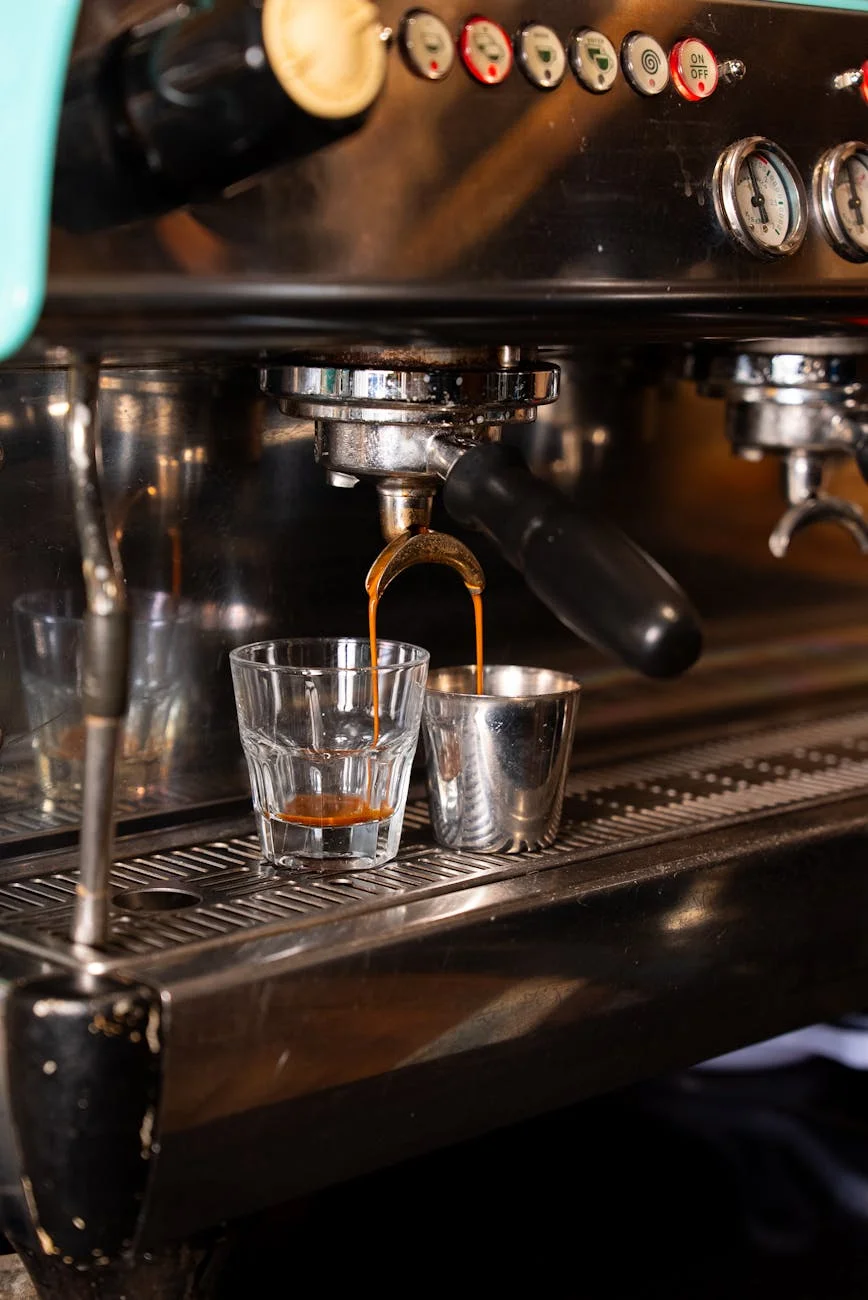
Chrome-plated finishes are typically found on the group head, lever, and boiler lid. Chrome is highly reflective, with a mirror-like, cool-blue tint. It’s a hard, durable plating over a base metal, usually brass. If you see deep scratches with a yellowish metal showing through, you are likely looking at chrome over brass. Anodized aluminum was often used for the colored bodies of some models (like red, gold, or black). This finish is not paint; it’s a chemically created protective layer. It has a satin or matte sheen rather than a high-gloss reflection and can feel slightly softer than chrome. Finally, some bases and bodies were finished with painted enamel. This looks and feels exactly like a layer of paint. It can chip, revealing a primer or the metal underneath, which is the clearest sign you are dealing with a painted surface.
Gentle cleaning and surface preparation
Once you’ve identified the finish, the next step is a thorough but gentle cleaning. Polishing a dirty surface will grind grime and dirt into the finish, creating fine scratches and marring the very surface you’re trying to improve. This preparatory stage is non-negotiable for a professional result.
Always start by ensuring your La Peppina is unplugged and completely cool. Create a simple cleaning solution with warm water and a few drops of a mild, pH-neutral dish soap. Avoid any cleaners containing ammonia, bleach, or harsh abrasives.
- Dip a soft, clean microfiber cloth into the soapy water and wring it out until it is just damp.
- Gently wipe down all surfaces of the machine, removing coffee oils, dust, and fingerprints.
- For tight crevices around the group head or base, use a soft-bristled toothbrush to dislodge any stubborn residue.
- Rinse the surfaces by wiping them with a separate microfiber cloth dampened with only plain water.
- Finally, dry the entire machine thoroughly with a third, dry microfiber cloth to prevent water spots from forming, especially on chrome.
This process ensures you have a clean slate, allowing your polishing efforts to work directly on the finish itself.
Polishing techniques for different materials
With a clean and dry machine, you can now move on to the polishing stage. This is where your initial identification pays off, as each material demands a specific approach. Using the wrong polish can be disastrous; for example, an abrasive metal polish will strip anodizing right off.
For chrome-plated parts, a high-quality metal polish like Autosol or Simichrome works wonders. Apply a very small amount to a soft cloth and work it onto the chrome in small, circular motions with gentle pressure. You will see the cloth turn black; this is normal as the polish removes a microscopic layer of oxidation. Let it haze over for a minute, then take a clean section of the cloth and buff it to a brilliant shine. For painted enamel, treat it like a car’s finish. Use a fine automotive swirl remover or a high-quality cleaner wax. Always test on an inconspicuous spot first. Apply with a foam applicator pad and buff off with a microfiber cloth to remove light oxidation and restore gloss.
Important: You should almost never use an abrasive polish on anodized aluminum. Polishing will remove the thin anodized layer, exposing the raw aluminum underneath and leaving a permanently mismatched, cloudy spot. For anodized finishes, the goal is cleaning and protecting, not abrading. After cleaning, you can apply a thin coat of a non-abrasive carnauba wax to enhance its sheen and provide protection.
| Finish Type | Recommended Product | Technique | Caution |
|---|---|---|---|
| Chrome Plate | Non-abrasive metal polish (e.g., Simichrome) | Apply small amount, rub gently, buff off with a clean cloth. | Do not over-polish thin or worn plating. |
| Painted Enamel | Automotive cleaner wax or fine polish | Test on a hidden spot first. Apply evenly and buff off. | Avoid abrasive compounds that can burn through the paint. |
| Anodized Aluminum | No polish. Carnauba wax for protection. | After cleaning, apply a thin layer of wax and buff gently. | Do not use abrasive polishes; they will remove the anodized layer. |
Long-term preservation and protection
After investing the time to restore your La Peppina’s shine, the final step is to protect it for the future. A protective layer acts as a barrier against moisture, oils, and oxygen, which are the primary culprits of corrosion and dulling. For both chrome and painted surfaces, a high-quality carnauba wax is an excellent choice. Apply a thin, even coat with a soft applicator, let it dry to a haze, and then buff it off with a clean microfiber towel. This not only protects the finish but also makes future cleaning easier, as dirt and coffee splashes will wipe away effortlessly. This protective coat should be reapplied every few months, depending on usage.
Daily maintenance is also key. After each use, once the machine has cooled, give it a quick wipe-down with a dry microfiber cloth to remove fingerprints and any water spots. Avoid letting water or coffee sit on the surfaces for extended periods. By integrating these simple habits into your routine, you’ll ensure that the beautiful finish you worked so hard to restore remains vibrant and protected from the elements, preserving both the function and the aesthetic of your vintage machine.
In conclusion, bringing the original luster back to a vintage La Peppina is a rewarding process that honors its classic design. The journey begins with the crucial step of correctly identifying the finish, whether it be durable chrome, delicate anodized aluminum, or painted enamel. From there, a foundation of gentle, non-abrasive cleaning prepares the surface for the main event. The polishing stage requires a tailored approach, using specific products for chrome and paint while carefully protecting anodized surfaces from abrasive compounds. Finally, locking in that beautiful shine with a protective layer of wax and adopting simple daily maintenance habits ensures long-lasting preservation. By following these steps, you not only restore your machine but become a custodian of its history.

 No products in the cart.