Pulling a great shot of espresso from a light roast coffee bean can be one of the most rewarding experiences for a home barista. These beans promise a world of bright, complex, and nuanced flavors, from floral notes to fruity acidity. However, on a fully manual machine like the Flair, they also present a significant challenge. Many users find their first attempts result in a thin, overwhelmingly sour, and disappointing cup. The culprit is very often a single, crucial variable: water temperature. Managing heat is the key to unlocking the potential hidden within these dense beans. This article will dive deep into the role of water temperature, explaining why it matters so much for light roasts and providing a practical guide to mastering thermal management on your Flair espresso maker.
Why heat is the key to light roasts
To understand why temperature is so critical, we first need to look at the physical properties of a light roast coffee bean. Unlike their darker counterparts, light roast beans are significantly denser and less porous. The roasting process has not gone on long enough to break down the bean’s rigid cellulose structure, meaning the desirable flavor compounds, sugars, and oils are locked away more securely. Extraction is, at its core, the process of dissolving these solids into water. For this to happen efficiently, you need energy, and in espresso, the primary form of energy is heat.
Think of it like trying to dissolve sugar in iced tea versus hot tea. In hot water, the sugar dissolves quickly and easily. In cold water, it’s a slow, difficult process. The same principle applies to coffee. Higher water temperatures increase the solubility of coffee solids, allowing the water to more effectively penetrate the dense bean grounds and pull out the sweet, complex flavors we’re chasing. When the water is not hot enough, you get a lopsided extraction. The first compounds to dissolve are the organic acids, which are responsible for sour tastes. The sugars and more complex compounds that provide balance, sweetness, and body require more energy and time. Insufficient heat means you only extract those initial acids, resulting in a classic under-extracted, sour shot.
Understanding the Flair’s thermal challenge
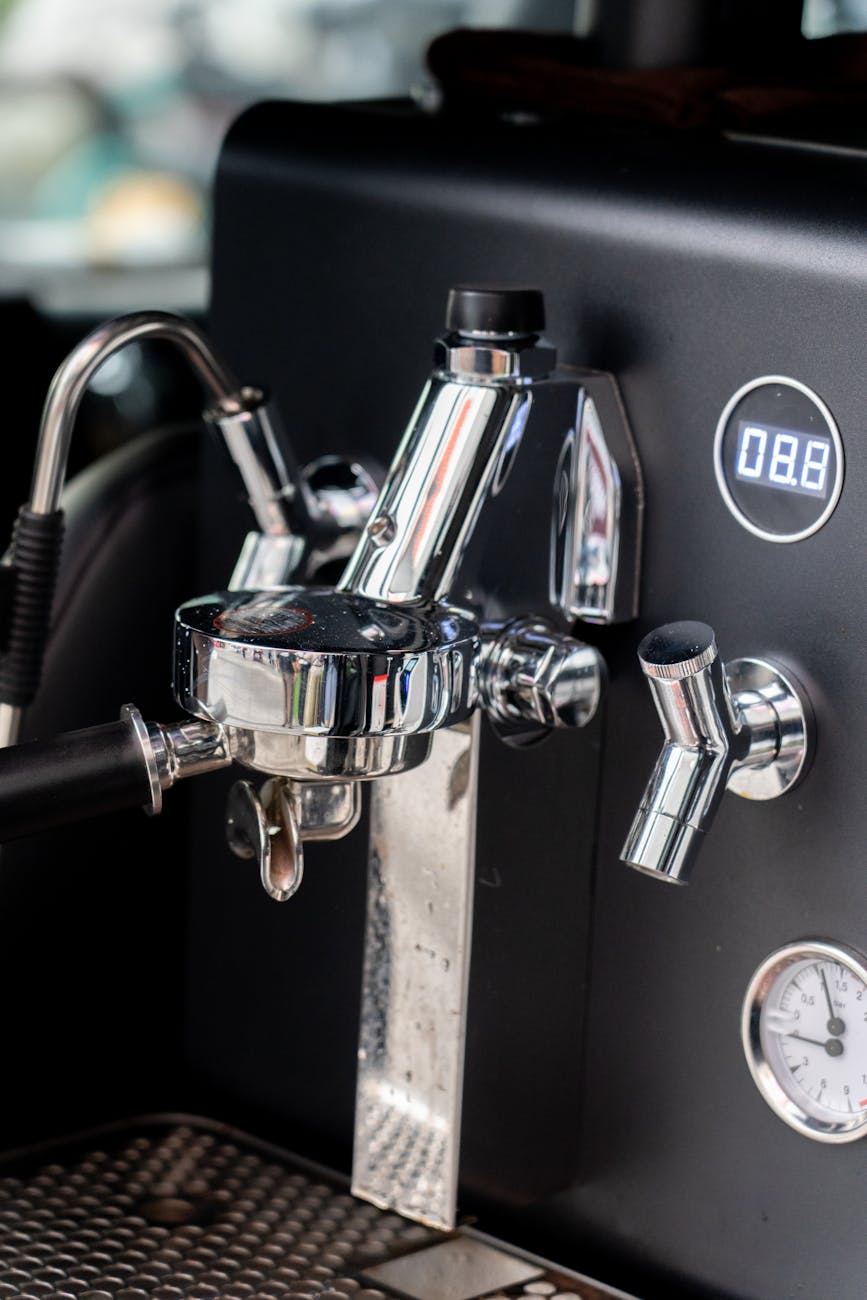
Commercial espresso machines solve the temperature problem with massive, electrically heated brass or steel group heads that maintain a stable temperature shot after shot. The Flair, by design, has no active heating elements. It relies entirely on the user to manage its thermal properties. The main component you must control is the stainless steel brew chamber. This piece of metal has a significant thermal mass, meaning it can absorb a lot of heat.
If you pour boiling water into a cold or room-temperature brew chamber, the metal will act as a heat sink, instantly pulling a significant amount of heat from the water. A starting temperature of 100°C (212°F) in your kettle can easily plummet to below 90°C (194°F) by the time it hits the coffee puck. This dramatic temperature drop is often the primary reason for under-extracted light roasts on a Flair. Therefore, your goal is not just to heat your water, but to minimize this temperature loss by thoroughly preheating the brew chamber. Preheating is not an optional step for light roasts; it is a mandatory part of a successful workflow.
A practical guide to preheating your Flair
Achieving a high and stable brew temperature requires a consistent and effective preheating routine. Simply running the brew chamber under a hot tap is not enough for the demands of a light roast. Here are the most effective methods to ensure your equipment is ready for extraction:
- Steam preheating: This is widely considered the most effective method. Place the brew chamber directly on the spout of your boiling kettle (you can use the silicone cap or a funnel to help it sit securely). The continuous flow of hot steam transfers a massive amount of thermal energy, heating the metal to a temperature very close to boiling. Let it steam for at least 60 seconds before brewing.
- Submersion preheating: If steaming isn’t practical, the next best method is submersion. Fully submerge the brew chamber in a mug or insulated container filled with boiling water. Let it sit for several minutes to allow the metal to absorb as much heat as possible. While effective, this method may result in a slightly lower final temperature compared to steaming.
Don’t forget the other components. While the brew chamber is the most critical, preheating your portafilter and even your cup by rinsing them with boiling water will help preserve every last degree of heat in the final shot. The key is consistency. Whichever method you choose, performing it the same way every time will remove a major variable and make your results repeatable.
Dialing in your brew temperature
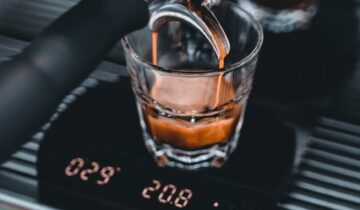
With a manual machine like the Flair, you are in complete control. While this offers great flexibility, it can also be daunting. So, where should you start with water temperature for light roasts? The simple answer is: hotter than you think.
For most light roasts, your starting point should be water directly off the boil, between 98-100°C (208-212°F). Do not be afraid of this high temperature. Remember the inevitable temperature drop that occurs when you transfer the water and it makes contact with the brew head and coffee. Even with an excellent preheating routine, your actual brew temperature will be several degrees lower than what’s in your kettle. Starting this high ensures the water has enough energy to properly extract those dense coffee grounds.
From there, you use your palate to make adjustments. The table below offers a general guide for dialing in your shot based on taste.
| Kettle Temperature | Potential Taste Profile | Troubleshooting and Next Steps |
|---|---|---|
| 98-100°C (208-212°F) | Ideal starting point. Bright, sweet, balanced acidity, and clear flavors. The goal for most light roasts. | If the shot is still sour, your preheating is insufficient or you need to grind finer. Do not lower the temperature. If it tastes bitter or dry (astringent), you may be over-extracting due to too fine a grind or channeling. |
| 95-97°C (203-207°F) | Slightly more body, potentially muted acidity. Can be good for light-medium roasts or beans prone to astringency. | A good range to explore if you are getting harshness at boiling temperatures that cannot be solved by adjusting your grind. |
| Below 94°C (201°F) | Likely sour, thin, grassy, and underdeveloped. Lacks sweetness and depth. | This range is generally too low for proper light roast extraction. Increase your kettle temperature and improve your preheating routine. |
In conclusion, mastering the art of light roast espresso on a Flair is a journey of thermal control. We have learned that the dense nature of these beans demands high thermal energy for a full and balanced extraction, preventing the dreaded sourness of an underdeveloped shot. Because the Flair is a manual system, the responsibility for creating this thermal stability falls entirely on the barista. A rigorous and consistent preheating routine, focused on getting the brew chamber as hot as possible, is not just recommended, it’s essential. By starting with water just off the boil and using your palate as a guide, you can overcome the Flair’s thermal challenges. This meticulous approach is what transforms a difficult process into a rewarding ritual, unlocking the vibrant, sweet, and wonderfully complex flavors that make light roast espresso truly special.

 No products in the cart.