Are your grinder burrs dull? How to spot the signs and save your espresso
You’ve invested in specialty coffee beans and a top-notch espresso machine, yet your shots are consistently disappointing. They might be sour, bitter, or pull too quickly, no matter how much you tweak your technique. Before you blame the beans or your tamping skills, it’s time to look at the unsung hero of your coffee setup: the grinder. The sharp, precise edges of your grinder’s burrs are fundamental to a great extraction. When they become dull, they stop cutting and start crushing, creating an inconsistent grind that sabotages your espresso before you even pull the shot. This article will guide you through the subtle and not-so-subtle effects of dull burrs and teach you exactly how to identify them.
Why burr sharpness is crucial for espresso extraction
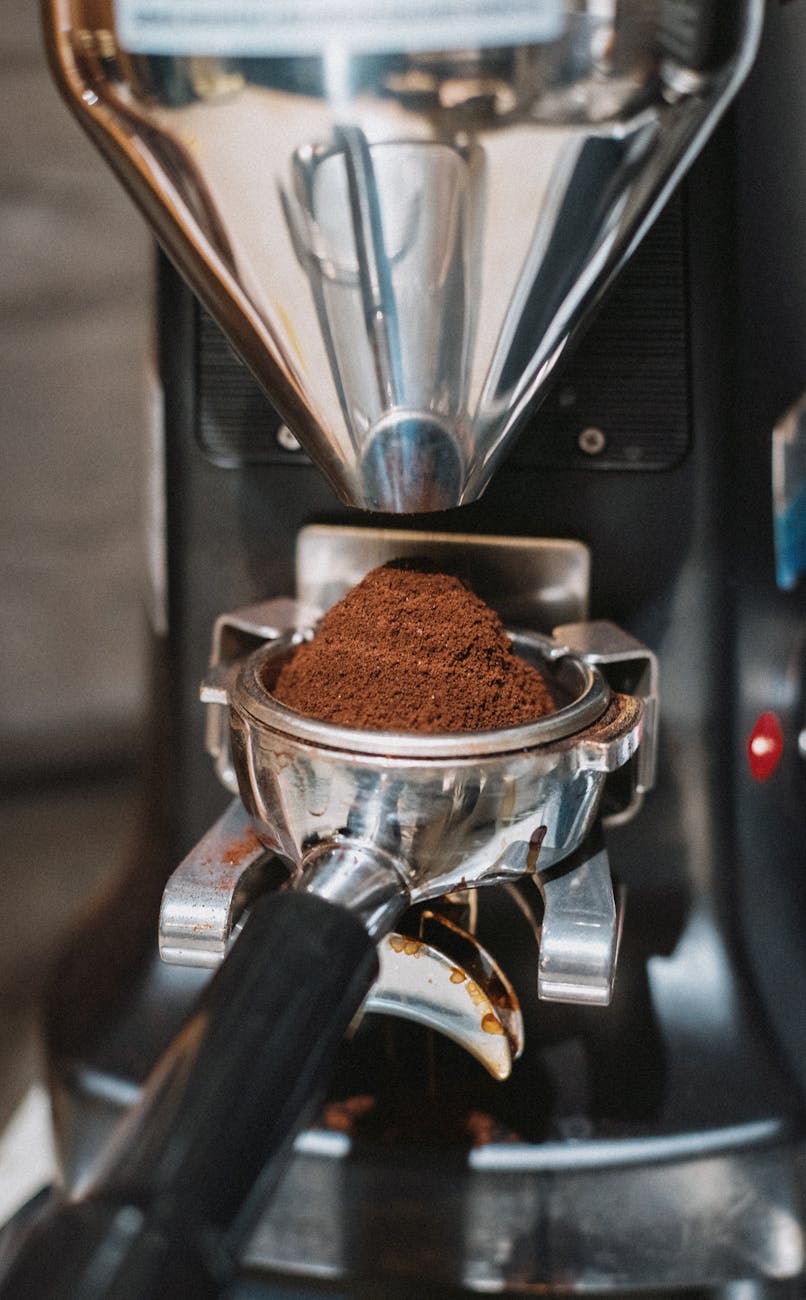
At its core, an espresso grinder is a precision instrument. Its primary job isn’t just to make big coffee beans into small coffee grounds; it’s to do so with incredible uniformity. Sharp burrs achieve this by cleanly slicing each bean into particles of a consistent size. Think of it like a chef’s knife slicing through a vegetable—the cleaner the cut, the more uniform the pieces.
This uniformity is the bedrock of a good espresso extraction. When water is forced through the coffee puck under pressure, it needs to flow evenly through all the grounds to extract flavors at the same rate. When your burrs are sharp, you get a predictable, even bed of coffee that promotes this ideal extraction.
Dull burrs, on the other hand, lose their cutting edge. They smash and shatter the beans rather than slicing them. This violent process creates a chaotic mix of particle sizes: large chunks (often called boulders) and very fine, dust-like particles (known as fines). This inconsistency is the enemy of a balanced shot, creating a pathway for uneven extraction and a host of flavor problems that we’ll explore next.
The tell-tale signs of a dull burr set
Your coffee will often tell you that your burrs are failing long before you think to check them. These symptoms manifest both in the grinder’s performance and in the final taste of your espresso. If you’re experiencing several of these issues, it’s a strong indicator that your burrs have reached the end of their life.
Inconsistent espresso shots and flavor defects
The most obvious signs of dull burrs appear when you’re pulling a shot. The uneven grind creates a nightmare for dialing in your recipe.
- Difficulty dialing in: One minute your shot chokes the machine, and the next it gushes out in 15 seconds, even with minimal adjustments. This unpredictability is a classic sign of an inconsistent grind.
- Increased channeling: The mix of fines and boulders creates weak spots in the coffee puck. Water will always find the path of least resistance, blasting through these channels and leaving other parts of the puck under-extracted. You might see visible spurting from a bottomless portafilter.
- A taste of sour and bitter: This is the hallmark of uneven extraction. The fine particles over-extract quickly, contributing harsh, bitter flavors. Meanwhile, the large boulders under-extract, adding sharp, sour notes. The result is a confusing and unpleasant cup with no sweetness or balance.
Changes in grinder performance and appearance
Pay attention to how your grinder behaves. It can provide crucial clues about the health of its burrs.
- You have to grind much finer: A common symptom is “chasing the grind.” Over time, you have to continually adjust your grinder to a finer setting to achieve the same shot time that you used to get at a coarser setting. Your burrs are struggling to produce enough fine particles, so you have to force them closer together.
- More clumps and static: Dull burrs generate more friction and heat as they crush the beans. This leads to an increase in static electricity, causing the grounds to cling to the grinder chute and create more clumping in your portafilter.
- The grinder sounds different: A grinder with sharp burrs often has a clean, high-pitched whirring sound. As the burrs dull, the motor may sound like it’s laboring, and the grinding itself can sound lower-pitched and more like a rumbling or crushing noise.
A visual and tactile inspection of your burrs
While the performance issues are strong indicators, the only way to be certain is to inspect the burrs themselves. This is a simple process that requires a few basic tools and a bit of care. First and foremost, always unplug your grinder from the power source before performing any maintenance.
Once you’ve safely disassembled your grinder to access the burrs (consult your user manual), you can perform two key tests.
- The visual test: Look closely at the very top cutting edges of the burrs. New, sharp burrs will have crisp, well-defined, and pointed edges. Dull burrs will look visibly worn down. The edges will appear rounded, flattened, or even shiny where they have been worn smooth from contact with thousands of coffee beans.
- The tactile test: This is often called the “fingernail test” and is highly effective. Very carefully, run the tip of your fingernail (or the edge of a plastic card, like a gift card, if you prefer) across one of the primary cutting edges. A sharp burr will feel aggressive and will immediately catch your nail, preventing it from sliding. A dull burr will feel smooth and passive; your nail will glide right over the edge without any resistance. If it feels smooth, it’s too dull to effectively slice coffee beans.
Comparing a new burr to an old one side-by-side makes the difference incredibly obvious. The old burr will lack the sharp, machined look of the new one and will feel noticeably blunter to the touch.
When to replace your burrs and what to expect
Every set of burrs has a finite lifespan, which is typically measured in the amount of coffee ground. This lifespan varies significantly based on the burr’s material, size, and the type of coffee you use. Lighter roasted coffees are much denser and harder on burrs than dark roasts.
While you should always check the manufacturer’s recommendation, here are some general guidelines:
| Burr material | Estimated lifespan (kg of coffee) | Notes |
|---|---|---|
| Standard steel | 250 – 400 kg | The most common type found in home and prosumer grinders. |
| Ceramic | 500 – 700 kg | Stays sharper for longer but can be more brittle. |
| Coated steel (e.g., TiN, Red Speed) | 800 – 2500+ kg | Premium coatings significantly increase lifespan and reduce friction. |
Replacing your burrs is often described as one of the most significant and cost-effective upgrades you can make to your coffee setup. The difference is immediate. With new, sharp burrs, you can expect a return to consistency. Dialing in your espresso will become easier and more intuitive. Most importantly, the quality in the cup will improve dramatically. You’ll unlock more sweetness, clarity, and complexity from your coffee beans, eliminating the muddy, unbalanced flavors caused by an uneven grind. It’s like getting a brand-new, high-performance grinder for a fraction of the cost.
Conclusion
The sharpness of your grinder burrs is not a minor detail; it is the foundation upon which great espresso is built. As we’ve seen, dull burrs wreak havoc on grind consistency, leading to a cascade of problems from channeling and unpredictable shot times to unpleasant, unbalanced flavors in the final cup. By learning to recognize the signs—both in your grinder’s performance and in the taste of your coffee—you can diagnose the issue before frustration sets in. A quick visual and tactile inspection can confirm your suspicions. Replacing worn-out burrs is a relatively simple and inexpensive maintenance task, but its impact is profound. It restores your grinder’s ability to produce a uniform grind, giving you the consistency and quality you need to truly enjoy your coffee.


 No products in the cart.