The best puck prep routine for the Cafelat Robot
The Cafelat Robot is a marvel of simplicity and engineering, offering a purely manual espresso experience that puts you in complete control. Unlike semi-automatic machines with fixed pressures and automated pre-infusion, every shot pulled on the Robot is a direct result of your technique. This is both its greatest strength and its biggest challenge. The key to unlocking its potential for rich, syrupy, and delicious espresso lies not just in your pulling technique, but in what happens before you even lift the lever arms: your puck preparation. A consistent and meticulous puck prep routine is the foundation of a great shot, minimizing the risk of channeling and ensuring an even extraction. This article will guide you through the essential steps, from grinding to tamping, to build the perfect routine for your Robot.
The foundation: Grinding and dosing with precision
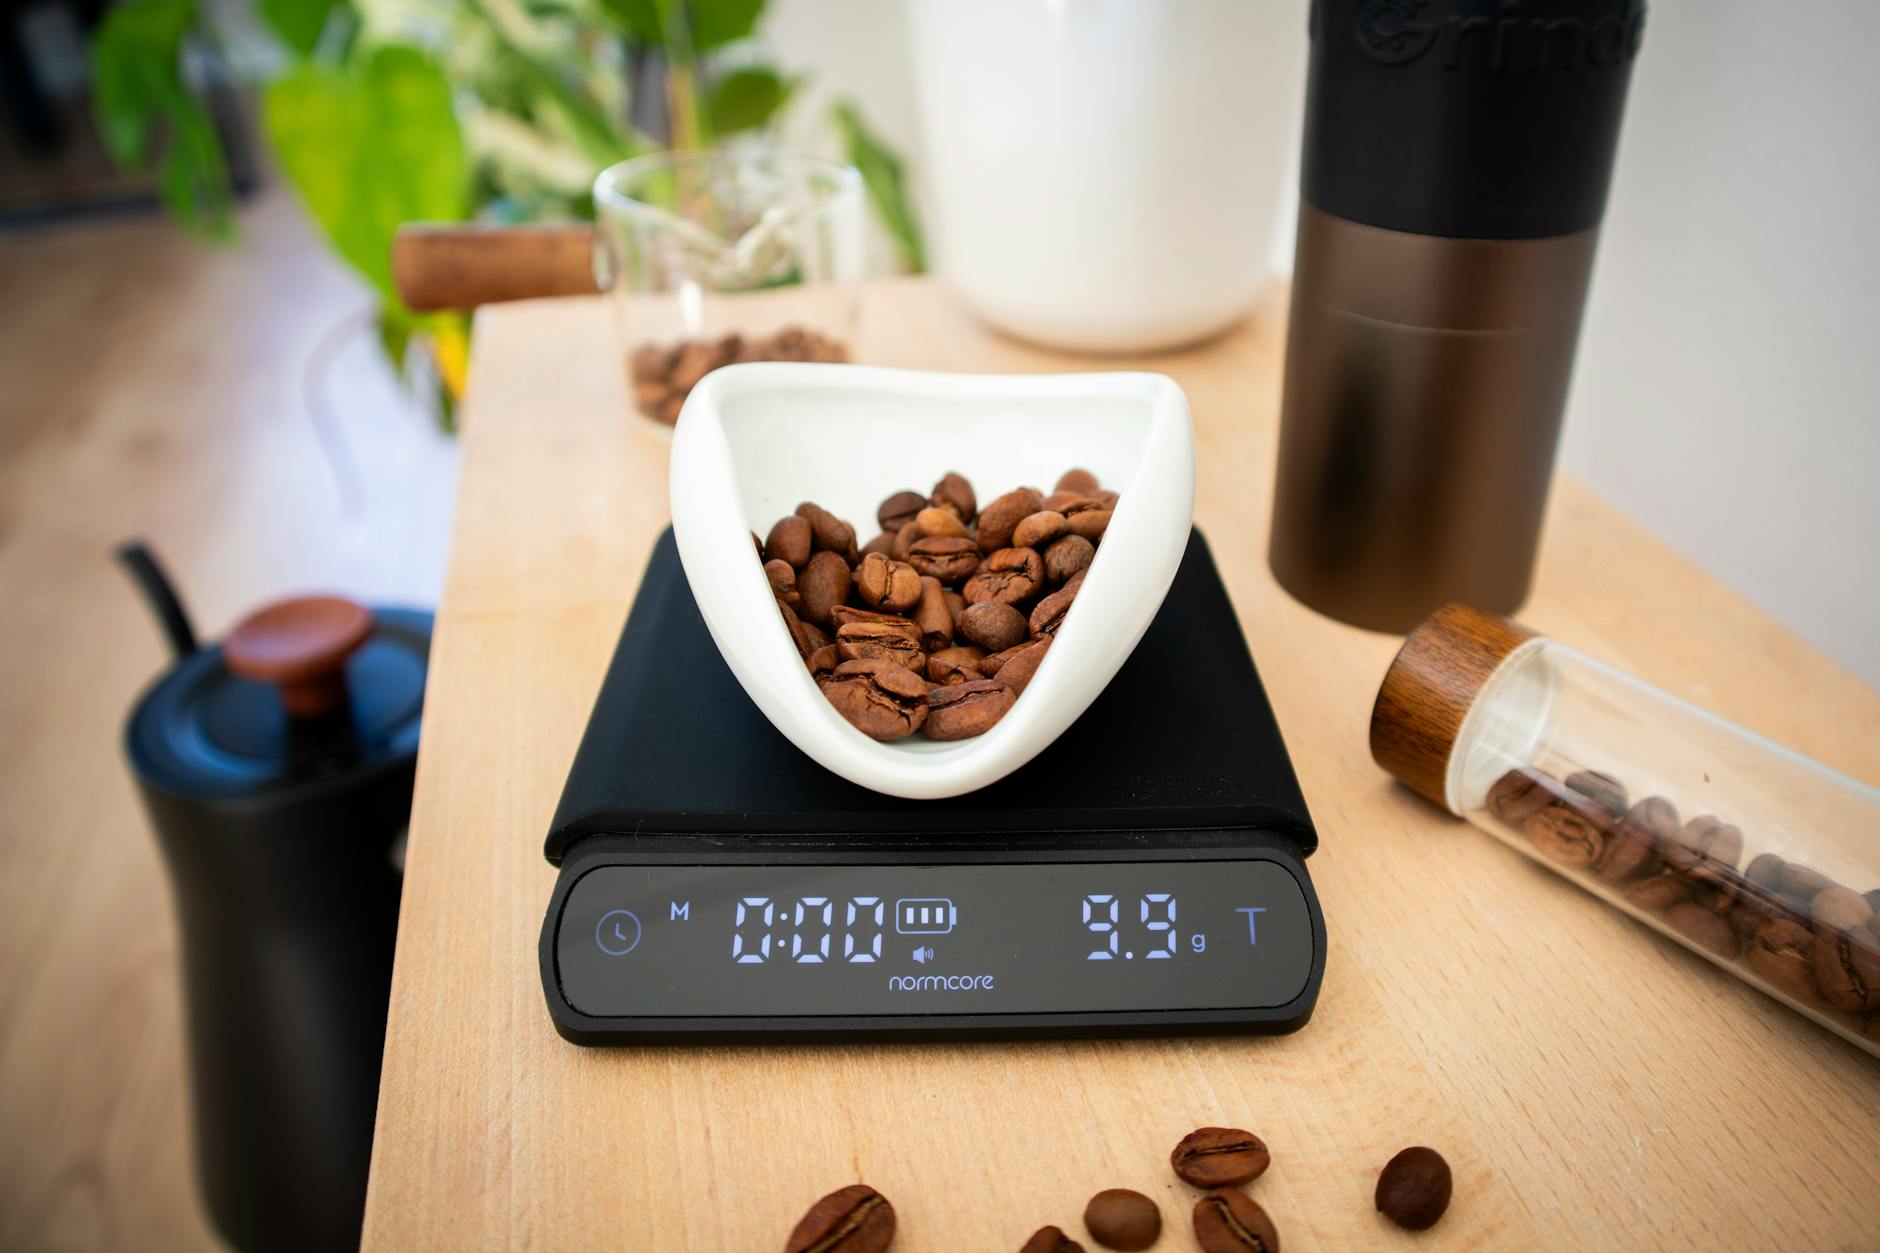
Before any other step, your success begins with the coffee itself. The Cafelat Robot, with its direct feedback and manual pressure profiling, is highly responsive to your grind and dose. Getting this stage right sets you up for a clean and even extraction. First, a quality burr grinder is non-negotiable. Blade grinders create an inconsistent mix of boulders and dust, which is a guaranteed recipe for channeling. You need a grinder capable of producing a uniform, fine grind suitable for espresso.
For the Robot, you’ll often grind slightly finer than for a standard 9-bar machine. Because you are manually creating the pressure, a finer grind helps provide the necessary resistance for a proper extraction without having to apply excessive force. Your starting point should be a grind that feels like fine table salt. From there, you’ll need to dial in based on taste and shot time. A consistent dose is equally important. We strongly recommend using a scale with 0.1g accuracy. A typical dose for the Robot basket is between 14 and 18 grams. Sticking to a precise dose, for example 16.0g, removes a major variable and makes it easier to diagnose any issues with your shots.
To minimize static and clumping, especially with freshly roasted beans, a quick spritz of water on your beans before grinding can work wonders. This is known as the Ross Droplet Technique (RDT) and results in fluffier, more manageable grounds in your basket.
The key to even extraction: Distribution
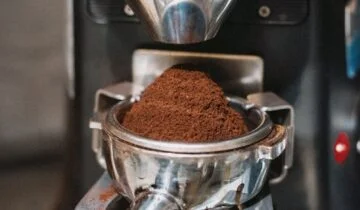
Once you have your perfectly ground and dosed coffee in the portafilter basket, the next step is arguably the most critical for preventing channeling: distribution. The goal is to arrange the coffee grounds into a homogenous bed of even density, with no clumps or air pockets. When water is forced through the puck, it will always choose the path of least resistance. If one area is less dense than another, water will rush through it, over-extracting that channel while under-extracting the rest of the puck. This results in a shot that is simultaneously sour and bitter.
The most effective method for achieving this is the Weiss Distribution Technique (WDT). This involves using a tool with very fine needles (around 0.3-0.4mm) to stir the grounds. The process is simple but requires care:
- Start by inserting the needles deep into the coffee bed, ensuring you reach the bottom of the basket.
- Use a combination of circular motions and back-and-forth raking patterns to break up any clumps.
- Gradually work your way up to the surface, leaving a fluffy and level bed of coffee.
After WDT, a gentle vertical tap of the portafilter on your counter can help settle the grounds into a more compact bed before tamping. This simple, quick step ensures there are no hidden air pockets left behind by your WDT tool.
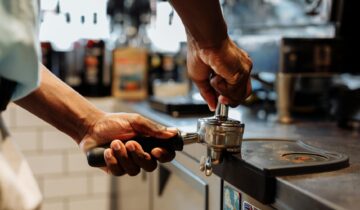
Compressing the bed: A level and consistent tamp
With your grounds evenly distributed, it’s time to tamp. Tamping compacts the coffee grounds into a solid puck, creating the necessary resistance for the water to extract flavor and oils effectively. The old advice of “tamp with 30 pounds of pressure” is largely outdated. For the Cafelat Robot, consistency and a level puck are far more important than a specific force. An uneven tamp will create density variations, undoing all your hard work during distribution and leading directly to channeling.
To ensure a level tamp, use your fingertips as a guide. Spread them around the edge of the tamper base and press down until your fingertips touch the rim of the basket. This helps you feel if the tamper is level. Press down firmly and consistently, but there is no need to exert excessive force. A single, solid compression is all that is needed. Avoid the temptation to “polish” or twist the tamper on the way out, as this can fracture the surface of the puck and compromise its integrity.
Using a tamper that fits your basket snugly (a 58.5mm tamper is ideal for the Robot’s stock basket) will also help prevent an un-tamped “ring” of coffee around the edge, which is another common source of channeling.
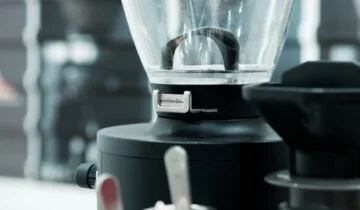
Elevating your shot: Filters and puck screens
Once you have mastered the fundamentals of grinding, distributing, and tamping, you can explore additional tools to further improve consistency and shot quality. Puck screens and paper filters are popular accessories in the Robot community, each offering unique benefits that address different aspects of extraction.
A puck screen is a metal mesh disc placed on top of your tamped coffee. Its primary benefit is improving water dispersion. It helps the water from the Robot’s piston distribute more evenly across the surface of the puck, reducing the chance of the initial jet of water disrupting the coffee bed. It also keeps your Robot’s silicone seal and piston cleaner, which simplifies maintenance.
Paper filters can be used either below the coffee (on the bottom of the basket) or on top of the tamped puck. A paper filter on top acts similarly to a puck screen, aiding in water distribution. A paper filter on the bottom, however, offers a different advantage. It prevents very fine coffee particles from migrating and clogging the basket holes, which can lead to a cleaner, less silty taste in the cup and potentially allow for grinding finer and achieving higher extractions without choking the machine.
| Tool | Placement | Primary benefit | Best for |
|---|---|---|---|
| Puck screen | On top of tamped puck | Improves water dispersion, keeps machine clean | Users seeking to reduce channeling and simplify cleanup. |
| Paper filter (top) | On top of tamped puck | Improves water dispersion | An alternative to a metal puck screen for similar benefits. |
| Paper filter (bottom) | In basket before adding coffee | Prevents fines migration, cleaner cup profile | Users with high-end grinders chasing clarity and high extraction. |
Experimenting with these tools can help you fine-tune your shots to your exact preference, adding that final 10% of polish to an already great routine.
Conclusion: The path to consistency
Pulling consistently excellent espresso from the Cafelat Robot is a rewarding journey that hinges on a repeatable puck preparation workflow. The process is a chain of interconnected steps where each one builds upon the last. It begins with a consistent grind and an accurately weighed dose. This is followed by the most crucial step: meticulous distribution with a WDT tool to create a homogenous and clump-free coffee bed. A firm, and most importantly, level tamp then solidifies this foundation, ensuring the puck provides even resistance to the water. Finally, advanced tools like puck screens or paper filters can be introduced to further refine water flow and shot clarity. By mastering this routine, you eliminate variables, making it easier to diagnose issues and replicate your best shots. This control is the true beauty of the Robot, turning the craft of espresso into a delicious daily ritual.
 No products in the cart.