Dialing in your Gaggia Classic PID: A step-by-step guide
The Gaggia Classic has earned its legendary status as a gateway to authentic home espresso. It’s a robust, capable machine that, with one key upgrade, can rival equipment costing many times more. That upgrade is a PID (Proportional-Integral-Derivative) controller. By adding precise, stable temperature control to the Gaggia’s raw power, you unlock a new level of consistency and flavor potential. But having the right tools is only half the battle. The true craft lies in “dialing in” your coffee beans—a systematic process of adjusting variables to pull a balanced, delicious shot of espresso. This guide will walk you through that process step-by-step, transforming your PID-equipped Gaggia Classic from a machine into a precision instrument for crafting the perfect cup.
Before you pull the shot: Understanding the core variables
Before you even touch your grinder, it’s crucial to understand the main factors you’ll be controlling. Espresso brewing is a science of extraction, and your goal is to manage these variables to achieve a balanced taste. Think of them as a recipe that you adjust for every new bag of coffee beans.
- Dose: This is the weight of your dry coffee grounds in the portafilter basket, measured in grams. A typical double shot uses between 16-19 grams. Your dose sets the foundation for the shot’s strength and overall character. For consistency, always keep your dose the same while you are first dialing in.
- Yield: This is the weight of the liquid espresso in your cup, also measured in grams. Using a scale is non-negotiable here. The relationship between your dose and yield is called the brew ratio. A standard starting point for modern espresso is a 1:2 ratio. For an 18-gram dose, this means you’re aiming for a 36-gram yield.
- Time: This is the total duration of the shot, from the moment you flip the brew switch to the moment you stop it. A good target is typically between 25 and 35 seconds. Time is an indicator of your extraction, not a goal in itself. It tells you if your grind setting is in the right ballpark.
- Grind size: This is the most important variable you will adjust. The fineness or coarseness of your coffee grounds directly controls the resistance the water faces. A finer grind creates more resistance, slowing down the shot. A coarser grind creates less resistance, speeding it up. Your primary goal is to adjust the grind size to achieve your target yield in your target time.
- Temperature: This is where your PID shines. The Gaggia Classic’s original thermostat has a wide temperature swing, leading to inconsistent shots. A PID holds the water temperature stable to within a single degree. Temperature dramatically affects flavor. Higher temperatures can extract more bright, fruity notes from light roasts, while lower temperatures can tame bitterness in dark roasts.
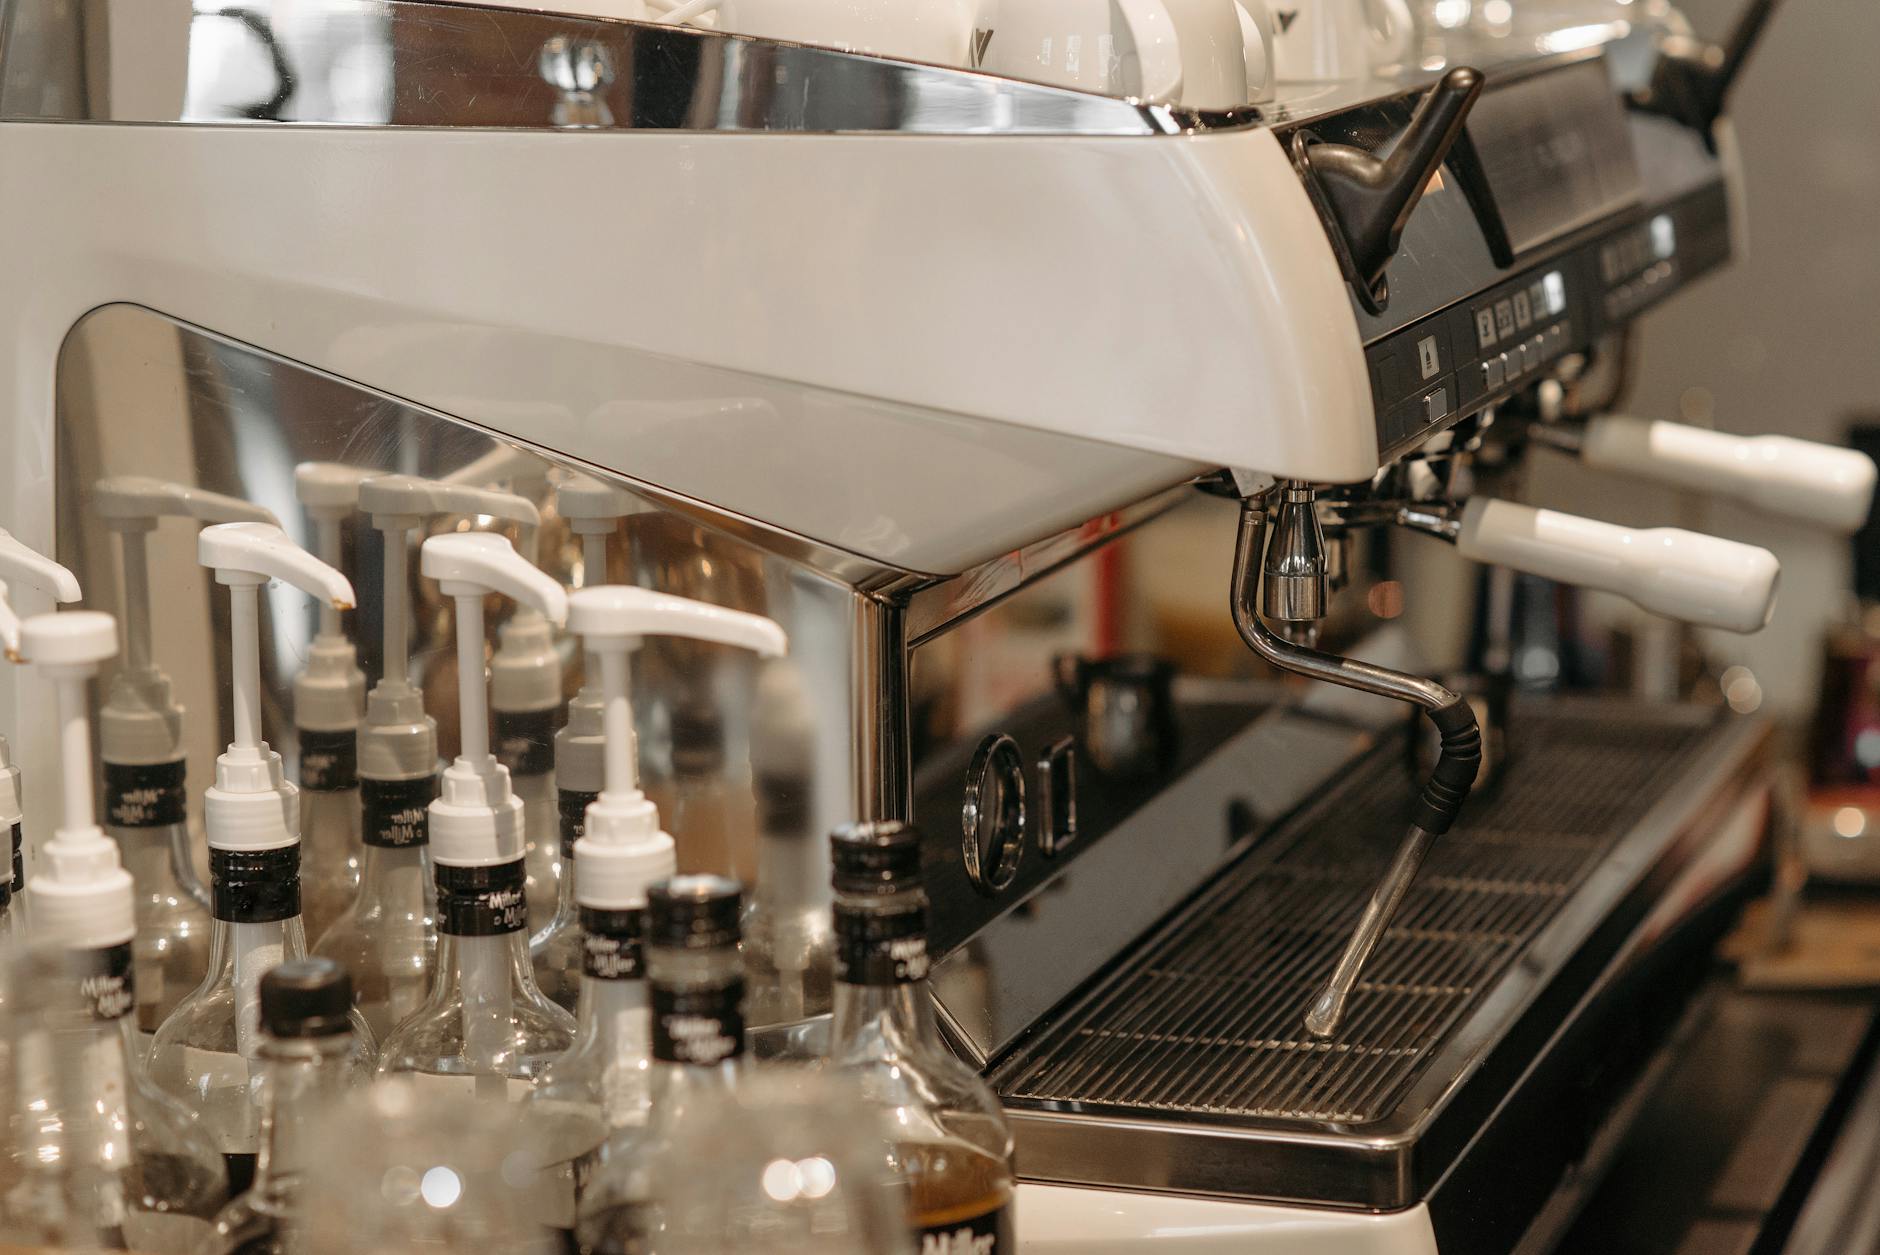
Gathering your tools and preparing the puck
Consistency in your preparation is just as important as the recipe itself. If your technique changes with every shot, you’ll be chasing a moving target. Eliminating these inconsistencies allows you to make deliberate, effective changes. Here is the essential kit for dialing in your Gaggia Classic PID:
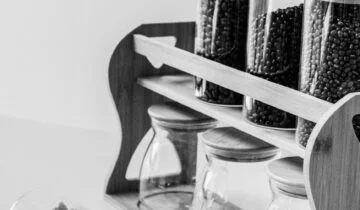
- A quality burr grinder: This is arguably more important than the espresso machine itself. It must be able to make fine, incremental adjustments.
- Digital scale (0.1g accuracy): You need this for measuring your dose and your yield. It is the most critical tool for repeatable results.
- Tamper: A quality, well-fitting 58mm tamper ensures you can apply even pressure.
- WDT tool: The Weiss Distribution Technique involves using a tool with fine needles to break up clumps and distribute the grounds evenly in the portafilter. This simple step drastically reduces channeling (where water punches holes through the puck) and improves extraction.
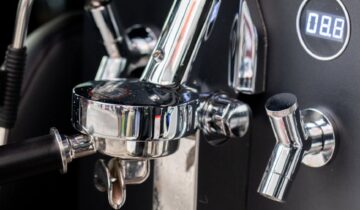
- Bottomless portafilter (recommended): This diagnostic tool lets you see the extraction in real-time. A perfect shot will show beautiful, even “tiger striping” as a single cone forms in the center. Squirts or dead spots are clear signs of channeling.
Your puck preparation workflow should be the same every time: Grind your dose into the portafilter, use the WDT tool to distribute the grounds until they are fluffy and level, give the portafilter a gentle tap on the counter to settle the grounds, and then tamp firmly and evenly. This consistent routine is your foundation for success.
The dialing-in workflow: Finding your recipe
Now, let’s combine the theory and the tools into a practical, step-by-step workflow. We will start with a standard recipe and adjust one variable at a time until we hit our targets.
Step 1: Choose a starting recipe
Let’s begin with a very common and reliable recipe. If you’re unsure where to start, use this:
- Dose: 18g
- Yield: 36g (a 1:2 ratio)
- Time: Aim for 25-35 seconds
- Temperature: 93°C (a great middle ground for most medium roast coffees)
Step 2: Prepare and pull the shot
Set your PID to 93°C and wait for it to stabilize. Weigh out exactly 18g of beans. Grind them and perform your consistent puck prep routine. Place your cup and scale on the drip tray and tare it to zero. Lock the portafilter in, and start your shot and timer simultaneously. Watch the scale carefully. As soon as it reads 36g, stop the shot and stop the timer.
Step 3: Evaluate the time and taste
Now, look at your two key results: time and taste.
- Was the shot too fast? (e.g., 36g in 18 seconds). The espresso will likely taste sour, acidic, and thin. This is a classic sign of under-extraction. The water passed through the grounds too quickly to pull out the desirable sweet compounds.
- Was the shot too slow? (e.g., 36g in 45 seconds). The taste will probably be bitter, harsh, and drying. This is over-extraction. The water sat with the coffee for too long, pulling out unpleasant, bitter compounds.
Step 4: Adjust only the grind size
This is the most important rule. Do not change your dose, yield, or temperature yet. Your only goal is to get the time into the 25-35 second window.
- If your shot was too fast, make your grind finer.
- If your shot was too slow, make your grind coarser.
Make a small adjustment on your grinder, purge a few grams of old coffee, and repeat Step 2. Keep repeating this process until your 18g dose produces a 36g yield in roughly 25-35 seconds. Once you’re in this range, you have successfully “dialed in” the basic recipe.
Refining the flavor: Adjusting ratio and temperature
Once your shot time is consistently in the 25-35 second range, you can start fine-tuning the taste. Now is the time to play with the brew ratio and leverage the power of your PID. The goal is to move from a technically correct shot to a delicious shot.
Playing with the brew ratio
Even with the perfect time, your shot might not taste exactly how you want it. This is where you can adjust the yield.
- If the espresso tastes too intense, acidic, or concentrated for your preference, try a longer ratio like 1:2.5. Keep your 18g dose, but now aim for a 45g yield. This will result in a slightly less intense but potentially sweeter and more balanced cup.
- If the espresso tastes a bit weak or you want a more syrupy, concentrated Ristretto-style shot, try a shorter ratio like 1:1.5. Aim for a 27g yield from your 18g dose.
Using the PID to steer flavor
Temperature is your secret weapon for targeting specific flavors in the coffee bean. After you’ve locked in your grind size and ratio, small temperature adjustments can have a profound impact.
- For light roasts that taste a bit sour or underdeveloped, increase the temperature to 94-96°C. The higher heat helps extract the delicate floral and fruity notes.
- For dark roasts that taste too bitter, ashy, or “roasty,” decrease the temperature to 90-92°C. The cooler water will tame the bitterness and bring out more chocolatey, nutty notes.
Below is a table to help you troubleshoot common issues once your basic parameters are set.
| Taste/Visual cue | Likely problem | Solution |
|---|---|---|
| Sour, thin, overly acidic | Under-extraction | Grind finer to slow the shot down. If time is correct, try increasing temperature slightly. |
| Bitter, harsh, drying, burnt | Over-extraction | Grind coarser to speed the shot up. If time is correct, try decreasing temperature slightly. |
| Shot squirts from bottomless portafilter | Channeling | Improve puck prep. Use a WDT tool to break up clumps and ensure an even, level tamp. |
| Both sour and bitter at the same time | Uneven extraction (Channeling) | This is a classic sign of channeling. Focus entirely on improving your puck prep. |
Conclusion
Dialing in espresso on a Gaggia Classic with a PID is a rewarding journey that puts you in complete control of your coffee. It transforms a guessing game into a methodical process. Remember the core principles: start by establishing a consistent dose and a target brew ratio, like 1:2. Use your grinder as the primary tool to adjust the shot time into the 25-35 second range. Only after achieving this baseline should you begin to experiment with brew ratio and temperature to refine the flavor. The PID is your precision tool for this final, crucial step, allowing you to unlock specific notes in different beans. It takes patience and practice, but by following these steps, you will learn to listen to what your coffee is telling you and develop the skills to craft truly exceptional espresso at home.
 No products in the cart.