Is your morning espresso from your Gaggia Classic starting to taste a bit off, maybe a little bitter or sour? Before you blame the beans or your grind, the culprit might be hiding right inside your machine. Over time, coffee oils and microscopic grounds build up in the group head, turning rancid and tainting every shot you pull. The secret to restoring that rich, sweet flavor you love is a simple but crucial maintenance routine: backflushing. This process cleans the internal pathways of your machine, specifically the group head and the three-way solenoid valve. This guide will walk you through every step of backflushing your Gaggia Classic, ensuring your machine stays healthy and your espresso tastes consistently delicious.
Why backflushing is crucial for your Gaggia Classic
Many new espresso enthusiasts might wonder what backflushing even is. Simply put, it’s like giving the heart of your machine a deep clean from the inside out. The Gaggia Classic is equipped with a three-way solenoid valve, a fantastic feature that relieves pressure from the group head after you finish pulling a shot, leaving you with a dry, easy-to-knock-out puck of coffee. However, this valve, along with the shower screen and the internal pathways of the group head, can become a trap for stale coffee oils and fine grounds. When you brew fresh coffee, the hot water flows through this old residue, picking up rancid, bitter flavors that ruin your shot.
Failing to backflush regularly leads to two major problems. First, your coffee quality will noticeably decline. No matter how perfect your beans or your technique, you can’t get a clean taste from a dirty machine. Second, you risk damaging your Gaggia Classic. A buildup of gunk can clog the three-way solenoid valve, a component that is critical for the machine’s operation and can be costly to repair or replace. Regular backflushing isn’t just about flavor; it’s preventative maintenance that protects your investment and ensures your machine runs smoothly for years to come.
Gathering your tools and materials
Before you begin the cleaning process, you’ll need to gather a few essential items. Having everything ready will make the process quick and efficient. Most of these tools are inexpensive and will last you a very long time, making them a worthwhile investment for any serious home barista.
Here is what you will need:
- Blind basket: This is the most important tool. It’s a portafilter basket with no holes. It blocks the water from exiting, forcing it back up through the group head to flush out the system. It’s sometimes called a backflush disc.
- Espresso machine cleaner: You need a powder specifically designed for backflushing, such as Cafiza or Puly Caff. Do not use vinegar or dish soap, as these can damage the machine’s internal components or leave behind unwanted residue.
- Group head brush: A simple brush with stiff bristles and an angled head helps you scrub the group head gasket and shower screen, dislodging stubborn grounds.
- Screwdriver: A standard Phillips head screwdriver is needed for the deeper cleaning step of removing the shower screen.
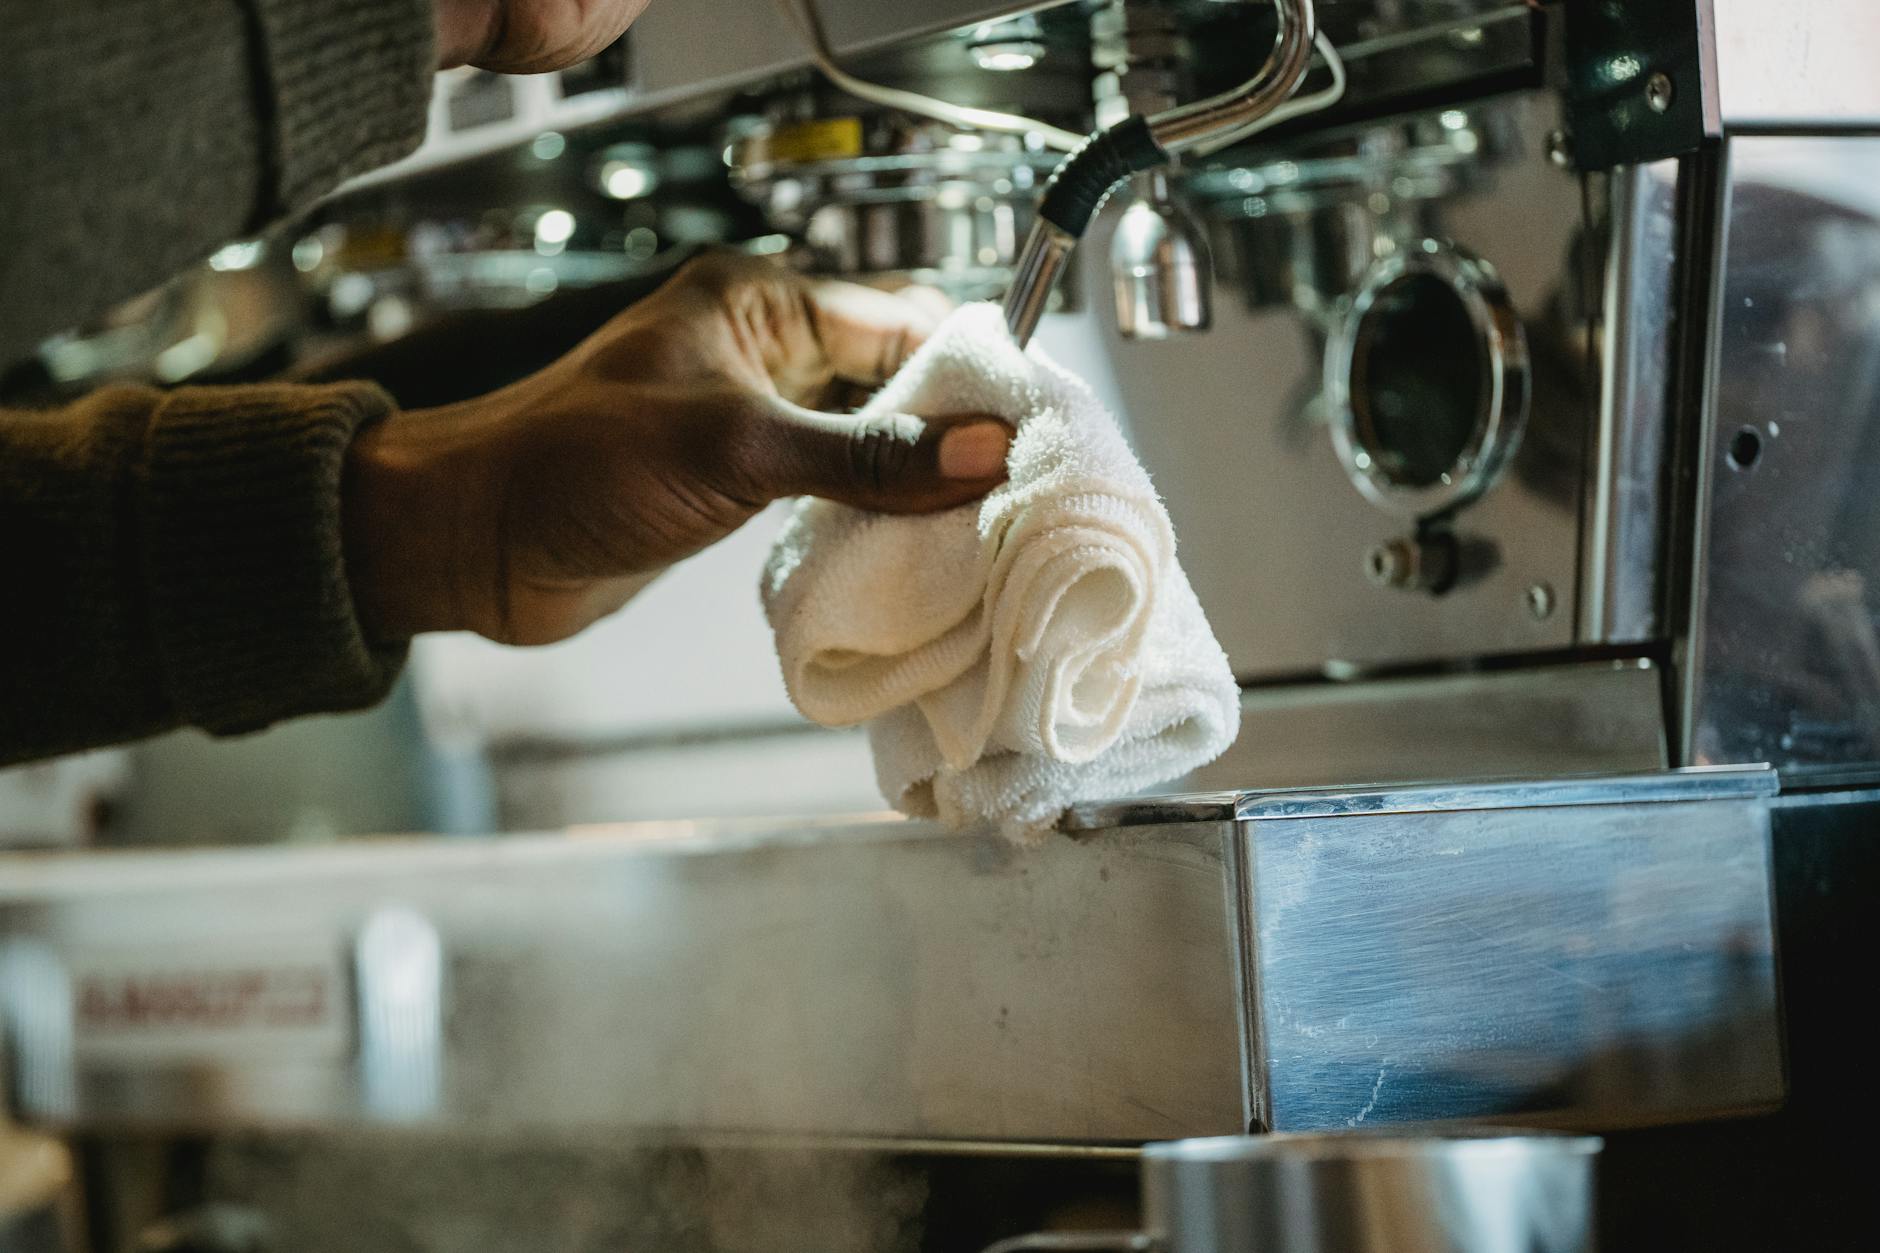
- Clean cloths: A couple of microfiber or cotton cloths are useful for wiping down the components and your machine.
This table summarizes the essential equipment for the job.
| Tool | Purpose |
|---|---|
| Blind Basket | Blocks water flow to build pressure for cleaning the group head internals. |
| Espresso Machine Cleaner | A chemical agent that dissolves built-up coffee oils and residue. |
| Group Head Brush | For manually scrubbing the shower screen and gasket. |
| Screwdriver | Required for removing the shower screen for a deeper clean. |
The step-by-step backflushing process
With your tools ready, it’s time to perform the backflush. We will break this down into three stages: an initial water rinse, the chemical clean, and a final thorough rinse to ensure no cleaner is left behind. This whole process should only take about 10-15 minutes.
1. The initial water rinse
First, ensure your Gaggia Classic is fully heated. Remove the regular basket from your portafilter and insert the blind basket. Lock the portafilter into the group head as if you were pulling a shot. Now, engage the brew switch for about 10 seconds. You will see the pressure gauge (if your model has one) rise. Then, turn the brew switch off. You should hear a “whoosh” sound as the machine discharges water and pressure into the drip tray. This is the three-way solenoid valve doing its job. Repeat this 10-second on, 10-second off cycle four to five times. This initial flush removes loose coffee grounds.
2. The chemical clean
Next, remove the portafilter and add about a half-teaspoon of your espresso machine cleaning powder into the blind basket. Lock the portafilter back into the machine. Repeat the same cycle as before: engage the brew switch for 10 seconds and then turn it off. This time, you’ll see foamy, brown water being discharged into the drip tray. This is the cleaner dissolving all those nasty, rancid coffee oils. Repeat this cycle five to six times. You may notice the foam becoming cleaner with each cycle, which is a good sign.
3. The final rinse
This is a critical step. You must thoroughly rinse all the cleaning detergent from the system. Remove the portafilter and rinse it and the blind basket completely with water to remove any residual powder. Lock the clean portafilter back into the group head. Now, repeat the water-only backflush cycle at least 10 times. This extensive rinsing ensures that your next espresso doesn’t have a chemical taste. After you’re done, remove the portafilter and run the brew switch for a few seconds to give the shower screen a final rinse.
Deep cleaning your group head components
While a chemical backflush cleans the internal pathways, the shower screen and the metal dispersion plate behind it also need attention. This deeper clean should be done every month or so, and it’s a perfect task to perform right after your chemical backflush.
First, make sure your machine is turned off and has had some time to cool down. Use your screwdriver to remove the central screw holding the shower screen in place. The screen and the brass dispersion plate should come right off. Prepare a small bowl with hot water and a teaspoon of your espresso machine cleaner. Place the shower screen, dispersion plate, and your portafilter baskets into the solution to soak for about 30 minutes. Important: Do not soak the entire portafilter, especially if it has a plastic or wooden handle, as the detergent can damage it.
After soaking, use your group head brush to scrub all the components until they are sparkling clean. Also, take this opportunity to use the brush to scrub up inside the group head and around the rubber gasket to remove any trapped grounds. Once everything is clean, rinse all the parts thoroughly with fresh water and reassemble the group head, making sure not to overtighten the screw. As a final step, pull one “sacrificial” shot of espresso and discard it. This helps season the newly cleaned metal parts, preventing any metallic taste in your next cup.
In conclusion, incorporating backflushing into your regular maintenance routine is the single most effective thing you can do to improve the taste of your coffee and extend the life of your Gaggia Classic. It’s a simple procedure that directly combats the buildup of rancid oils and grounds, which are the primary culprits behind bitter and inconsistent shots. By following the steps of a water rinse, a chemical clean, and a final thorough flush, you are actively cleaning the machine’s internal pathways. Pairing this with a monthly deep clean of the shower screen and dispersion plate ensures every part of the water’s journey is pristine. For best results, perform a water-only backflush weekly and a full chemical backflush every two to four weeks, depending on your usage.

 No products in the cart.