Mastering temperature management for Flair Espresso brewing
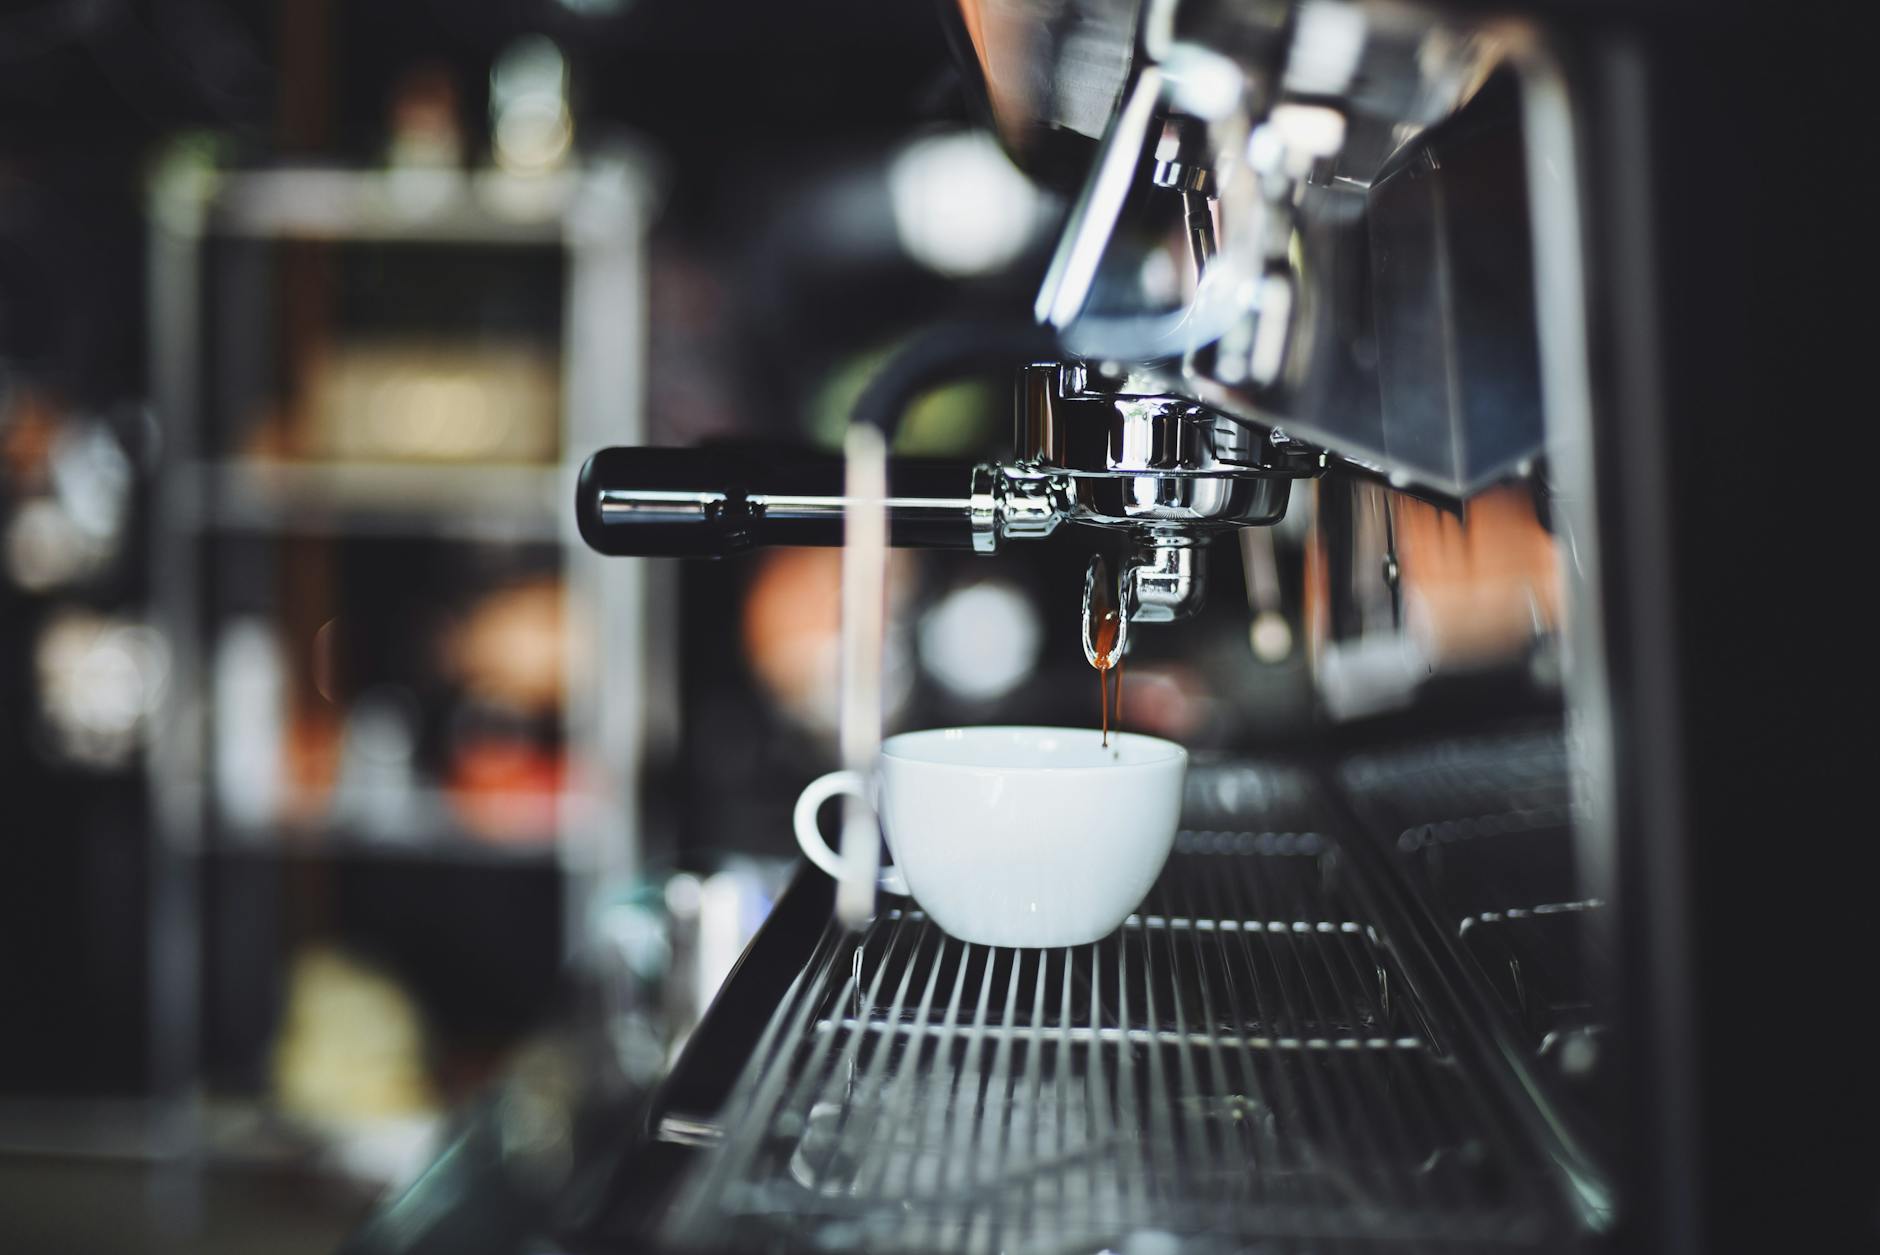
The Flair Espresso maker represents a beautiful intersection of manual control and exceptional coffee. It empowers you to pull genuine, café-quality espresso shots without the complexity or cost of a semi-automatic machine. However, this complete control comes with a responsibility, and the most critical variable you must manage is temperature. Unlike a machine with a boiler, the Flair relies entirely on you to introduce and maintain heat. This guide is your roadmap to mastering temperature management. We will explore why it is so crucial for extraction, break down effective preheating methods, and provide advanced techniques to help you move from pulling decent shots to consistently crafting spectacular ones, perfectly tailored to your favorite beans.
Why temperature is the secret ingredient
In espresso, water is not just a liquid; it is a solvent. The temperature of that water directly dictates how effectively it can extract the soluble compounds from your coffee grounds, including acids, sugars, and oils that create the flavors and aromas we love. Think of it like trying to dissolve sugar in iced tea versus hot tea. The same principle applies here. If your brew water is too cold, you will struggle to extract the desirable sugars and deeper flavors, resulting in a shot that is weak, sour, and distinctly under-extracted. The acidity will be sharp and unpleasant, lacking the balancing sweetness.
Conversely, if your water is too hot, it becomes an overly aggressive solvent. It will strip everything from the grounds too quickly, including bitter-tasting compounds that should have remained behind. This leads to an over-extracted shot that tastes harsh, astringent, and bitter, masking any of the coffee’s delicate nuances. The Flair’s brew chamber, being a solid piece of metal, acts as a massive heat sink, ready to steal precious degrees from your water. This is why understanding and controlling temperature isn’t just a minor tweak; it’s the fundamental pillar upon which good Flair espresso is built.
The essential art of preheating
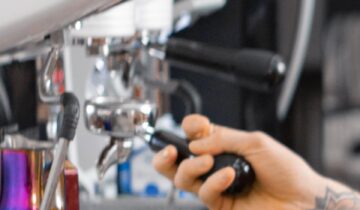
Since the Flair has no internal heating element, preheating is not optional; it is the most important step in your workflow. A cold brew chamber can drop your water temperature by 10-15°C (18-27°F) almost instantly, guaranteeing a sour, under-extracted shot. Your goal is to get the metal brew chamber as close to your target brew temperature as possible before you add your brew water. This minimizes thermal loss and ensures the water contacting your coffee is at the correct temperature for a balanced extraction. Here are the most effective methods:
- The steam method: This is often considered the most effective way to achieve a high preheat temperature. After your kettle boils, place the brew chamber (with the piston removed) upside down over the kettle’s spout. The escaping steam will heat the metal very quickly and thoroughly. Be careful, as the chamber will become extremely hot. This method is ideal for light roasts that require near-boiling water.
- The submersion method: A simpler and safer approach is to fully submerge the brew chamber in a cup of freshly boiled water. Let it sit for at least 60 seconds to absorb as much heat as possible. While slightly less effective than direct steam, it is a great, repeatable method for medium and dark roasts where you don’t need every last degree of heat.
- The funnel cap method: Many Flair models come with a silicone cap that doubles as a preheating funnel. Place this on top of the brew chamber and pour boiling water directly into it, letting it sit for a minute before discarding the water. This is a clean and convenient option that heats the chamber from the inside out.
Whichever method you choose, consistency is key. Performing the same preheating routine every time removes a major variable and allows you to make more precise adjustments to other factors, like grind size or dose.
Matching temperature to your coffee beans
Once you have a consistent preheating routine, you can begin tailoring your water temperature to the specific coffee you are using. Not all beans are created equal; their roast level dramatically changes their density and solubility, which in turn dictates the ideal temperature for a balanced extraction. Using the wrong temperature for a specific roast is like using the wrong key for a lock; it simply will not work as intended. A general rule is that lighter roasts require hotter water, while darker roasts benefit from cooler water.
Lightly roasted beans are much denser and less soluble. You need higher thermal energy to properly penetrate the grounds and extract their complex, delicate notes of fruit and florals. Using water that is too cool will result in a disappointingly sour shot. For dark roasts, the opposite is true. The roasting process makes these beans more brittle, porous, and easily soluble. Using water that is too hot will quickly over-extract them, producing a harsh, ashy, and overly bitter cup. Medium roasts offer the most flexibility, but still have a sweet spot for optimal balance.
| Roast level | Recommended water temperature | Tasting notes when optimal |
|---|---|---|
| Light roast | 96-99°C / 205-212°F (Just off boil) | Bright acidity, floral, fruity, sweet |
| Medium roast | 92-96°C / 198-205°F | Balanced sweetness, chocolate, caramel, round body |
| Dark roast | 88-92°C / 190-198°F | Low acidity, deep chocolate, roasty, full body |
Advanced techniques and workflow tips
With the fundamentals in place, a few advanced techniques can elevate your consistency and give you even greater control. First, consider the concept of temperature surfing. This involves starting with water slightly hotter than your target to compensate for the inevitable heat loss that occurs when you pour water into the chamber and assemble the Flair. For example, if your target for a medium roast is 94°C, try pouring your water at 97°C. The heat lost during the workflow should land you right at your target temperature when you begin to pull the shot.
Next, think beyond just the brew chamber. Your portafilter and even your cup can steal heat from the final product. A simple way to mitigate this is to rest the portafilter in or on top of your cup and fill both with hot water while you prepare your puck. Dump the water just before you assemble everything. This small step helps maintain a stable temperature from the brewer to the cup. For those who crave data, consider purchasing an adhesive liquid crystal thermometer strip and placing it on the outside of your brew chamber. This provides a real-time visual reading of the chamber’s external temperature, giving you valuable feedback to perfect your preheating routine.
Above all, an efficient workflow is paramount. Have your coffee ground, your scale ready, and all components laid out. The less time that passes between pouring your brew water and starting the extraction, the less heat you will lose. Practice your steps until they become smooth and second nature. This combination of smart preparation and precise execution is the final piece of the temperature management puzzle.
In the end, mastering temperature with a Flair Espresso maker is a journey, not a destination. It is about transforming a potential weakness of a manual brewer into its greatest strength: ultimate control. By understanding that temperature is the engine of extraction, you can avoid the pitfalls of sour or bitter shots. Committing to a consistent and thorough preheating routine lays the groundwork for success, turning the cold metal of the brew chamber into a stable thermal environment. From there, you can intelligently adjust your water temperature to honor the unique characteristics of each coffee, using hotter water for light roasts and cooler water for darks. By integrating these principles into a swift and practiced workflow, you take command of the most important variable in your brew. The result is not just better espresso; it is your espresso, crafted with intention and precision, shot after delicious shot.
 No products in the cart.