Mastering dial-in: How to adjust your routine for slow feeding
There’s a unique frustration in the world of home espresso. You’ve done everything right: you’ve weighed your beans, prepared your puck with care, and locked in the portafilter. You start the shot, and the timer begins to climb… and climb. Instead of a beautiful, flowing extraction, you get a few slow, dark drips. This is known as a “slow feeding” or “choked” shot, a common hurdle for baristas at every level. It’s a sign that the water is struggling to pass through the coffee puck, leading to an over-extracted and often unpleasantly bitter taste. This guide is designed to demystify the slow shot. We will walk you through a systematic process to diagnose the cause and adjust your routine, turning that choked shot into a perfectly balanced espresso.
Understanding the problem: Why is my shot so slow?
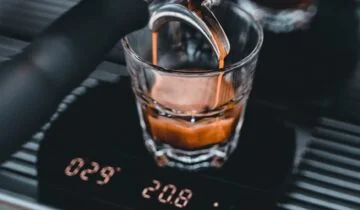
Before we can fix the problem, we need to understand it. A slow feeding shot is simply an extraction that takes too long to reach the desired yield. For a standard espresso recipe, like a 1:2 ratio (e.g., 18g of coffee in, 36g of liquid out), a healthy shot time is typically between 25 and 35 seconds. When your timer pushes past 40, 50, or even 60 seconds for that same yield, you’re in slow-shot territory. The result in the cup is over-extraction. The water spends too much time in contact with the coffee grounds, pulling out unwanted bitter and astringent compounds while muting the desirable sweet and acidic notes.
The fundamental cause is excessive resistance in the coffee puck. Imagine trying to force water through a solid rock versus a bucket of gravel. The “rock” is your slow-feeding puck. This resistance is almost always created by one or more of these factors:
- The grind is too fine. This is the most common culprit, by far.
- The dose of coffee is too high for the basket, leaving no room for water.
- Your tamping is inconsistent or excessively forceful.
- Poor puck preparation is creating dense spots and blockages.
By isolating and addressing these variables one by one, you can systematically reduce the resistance and bring your shot time back into the ideal range.
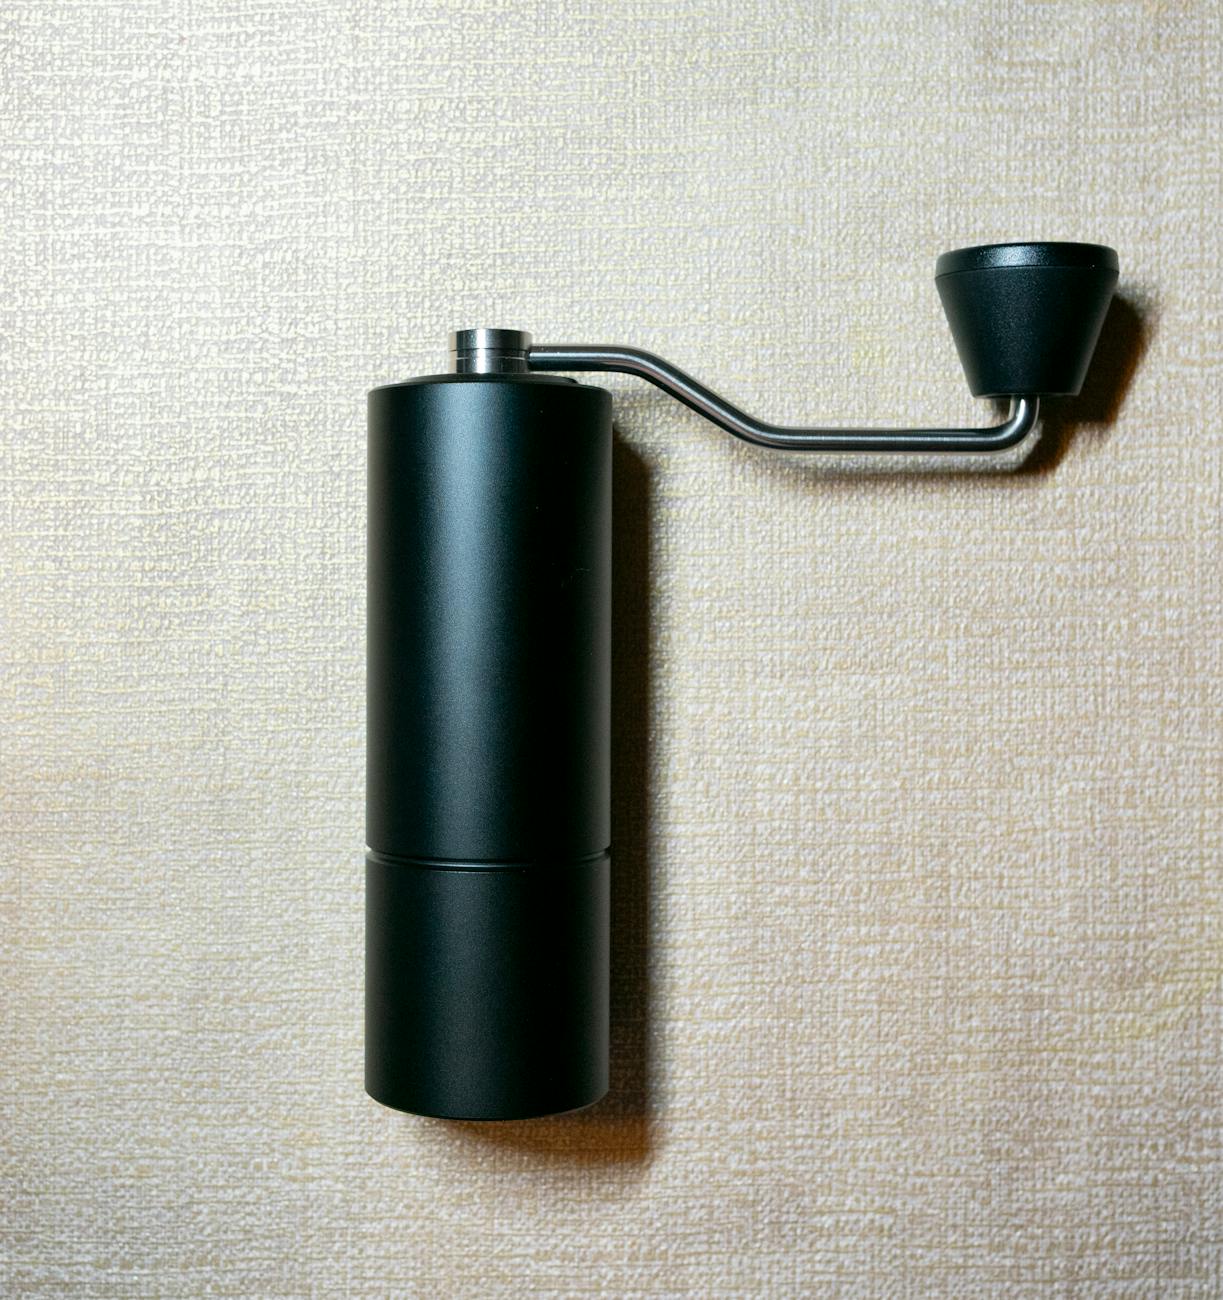
The first adjustment: Making your grind coarser
When troubleshooting a slow shot, your coffee grinder is your most powerful tool. The size of your coffee grounds has the single biggest impact on the speed of your extraction. Finer grounds pack together more tightly, creating a dense bed with very little space for water to pass through. This increases resistance and slows down the shot. Conversely, a coarser grind creates larger particles with more space between them, allowing water to flow more freely and speeding up the shot.
Therefore, the first and most crucial adjustment for a slow shot is to make your grind coarser. It’s critical to follow a methodical process here. Do not change any other part of your routine yet. Keep your dose, your tamping pressure, and your puck prep exactly the same. Make one small adjustment on your grinder towards a coarser setting. After adjusting, it’s a good practice to purge a small amount of coffee (a few grams) to ensure you have flushed out any of the previous, finer grounds. Then, pull another shot and time it. You should see a noticeable decrease in your shot time. Continue making small, incremental adjustments coarser until your shot falls within that ideal 25-35 second window.
Fine-tuning dose and puck preparation
If you’ve made your grind significantly coarser and the shot is still too slow, it’s time to investigate your dose and puck prep. While grind size is the primary driver of shot time, these factors create the “container” and structure that the water must navigate. If the grind adjustment alone doesn’t solve it, return your grinder to a more reasonable setting and turn your attention to the portafilter.
First, consider your dose. Every espresso basket is designed to hold an optimal amount of coffee. Overdosing, or putting too much coffee in the basket, can cause the puck to press directly against the machine’s shower screen when you lock in the portafilter. This creates a highly compacted, dense puck with zero headroom for the water to pre-infuse and distribute evenly, severely restricting flow. As a rule of thumb, try reducing your dose by 0.5g to 1g. This can often provide the necessary space to alleviate the problem.
Next, evaluate your puck preparation. The goal is to create a homogenous bed of coffee with no clumps or areas of varying density. Clumps act like tiny boulders, blocking water flow and slowing down the shot. Using a Weiss Distribution Technique (WDT) tool, which looks like a set of fine needles, to stir the grounds before tamping is the most effective way to break up clumps and ensure an even distribution. Follow this with a firm, level tamp. Remember, the goal of tamping isn’t to apply as much force as possible, but to apply consistent pressure to create a flat, evenly compacted surface.
A systematic troubleshooting guide
Dialing in can feel chaotic, but a structured approach makes it manageable. The key is to only change one variable at a time. If you adjust your grind, dose, and tamp all at once, you’ll never know which change actually fixed the problem. The table below provides a quick reference guide for diagnosing and fixing a slow-feeding shot based on observable symptoms.
| Symptom | Likely Cause | Primary Solution | Secondary Solution |
|---|---|---|---|
| Shot takes more than 12-15 seconds to first appear (blonding) | Grind is significantly too fine | Make a notable coarser adjustment to your grind setting. | N/A |
| Shot time is 40+ seconds for a 1:2 ratio | Grind is too fine | Make a small coarser adjustment to your grind. | If grind is already coarse, reduce your dose by 0.5g. |
| Dry puck has an imprint of the shower screen screw | Dose is too high for the basket | Reduce your coffee dose by 1g. | Check your basket’s manufacturer-recommended dose size. |
| Shot chokes and barely flows, even with a coarse grind | Poor distribution or uneven tamp | Use a WDT tool to break up clumps before tamping. | Focus on a level tamp with consistent pressure. |
By following this logic, moving from the most impactful variable (grind) to the less impactful ones (dose, prep), you can efficiently diagnose the issue.
Conclusion
Conquering the slow-feeding espresso shot is a milestone in any home barista’s journey. It’s a transition from guessing to understanding the mechanics of extraction. Remember that the problem is almost always rooted in too much resistance within the coffee puck. Your primary tool for controlling this resistance is your grinder; adjusting the grind size coarser is the most direct and effective solution. If that fails to bring your shot into the ideal 25-35 second range, you can then move on to refining your dose and improving your puck preparation techniques. The key is a methodical approach: change only one variable at a time, observe the result, and adjust again. With patience and this systematic process, you’ll transform those frustrating, choked shots into consistently balanced, sweet, and delicious espresso.
 No products in the cart.