Solving low lever resistance: A manual espresso troubleshooting guide
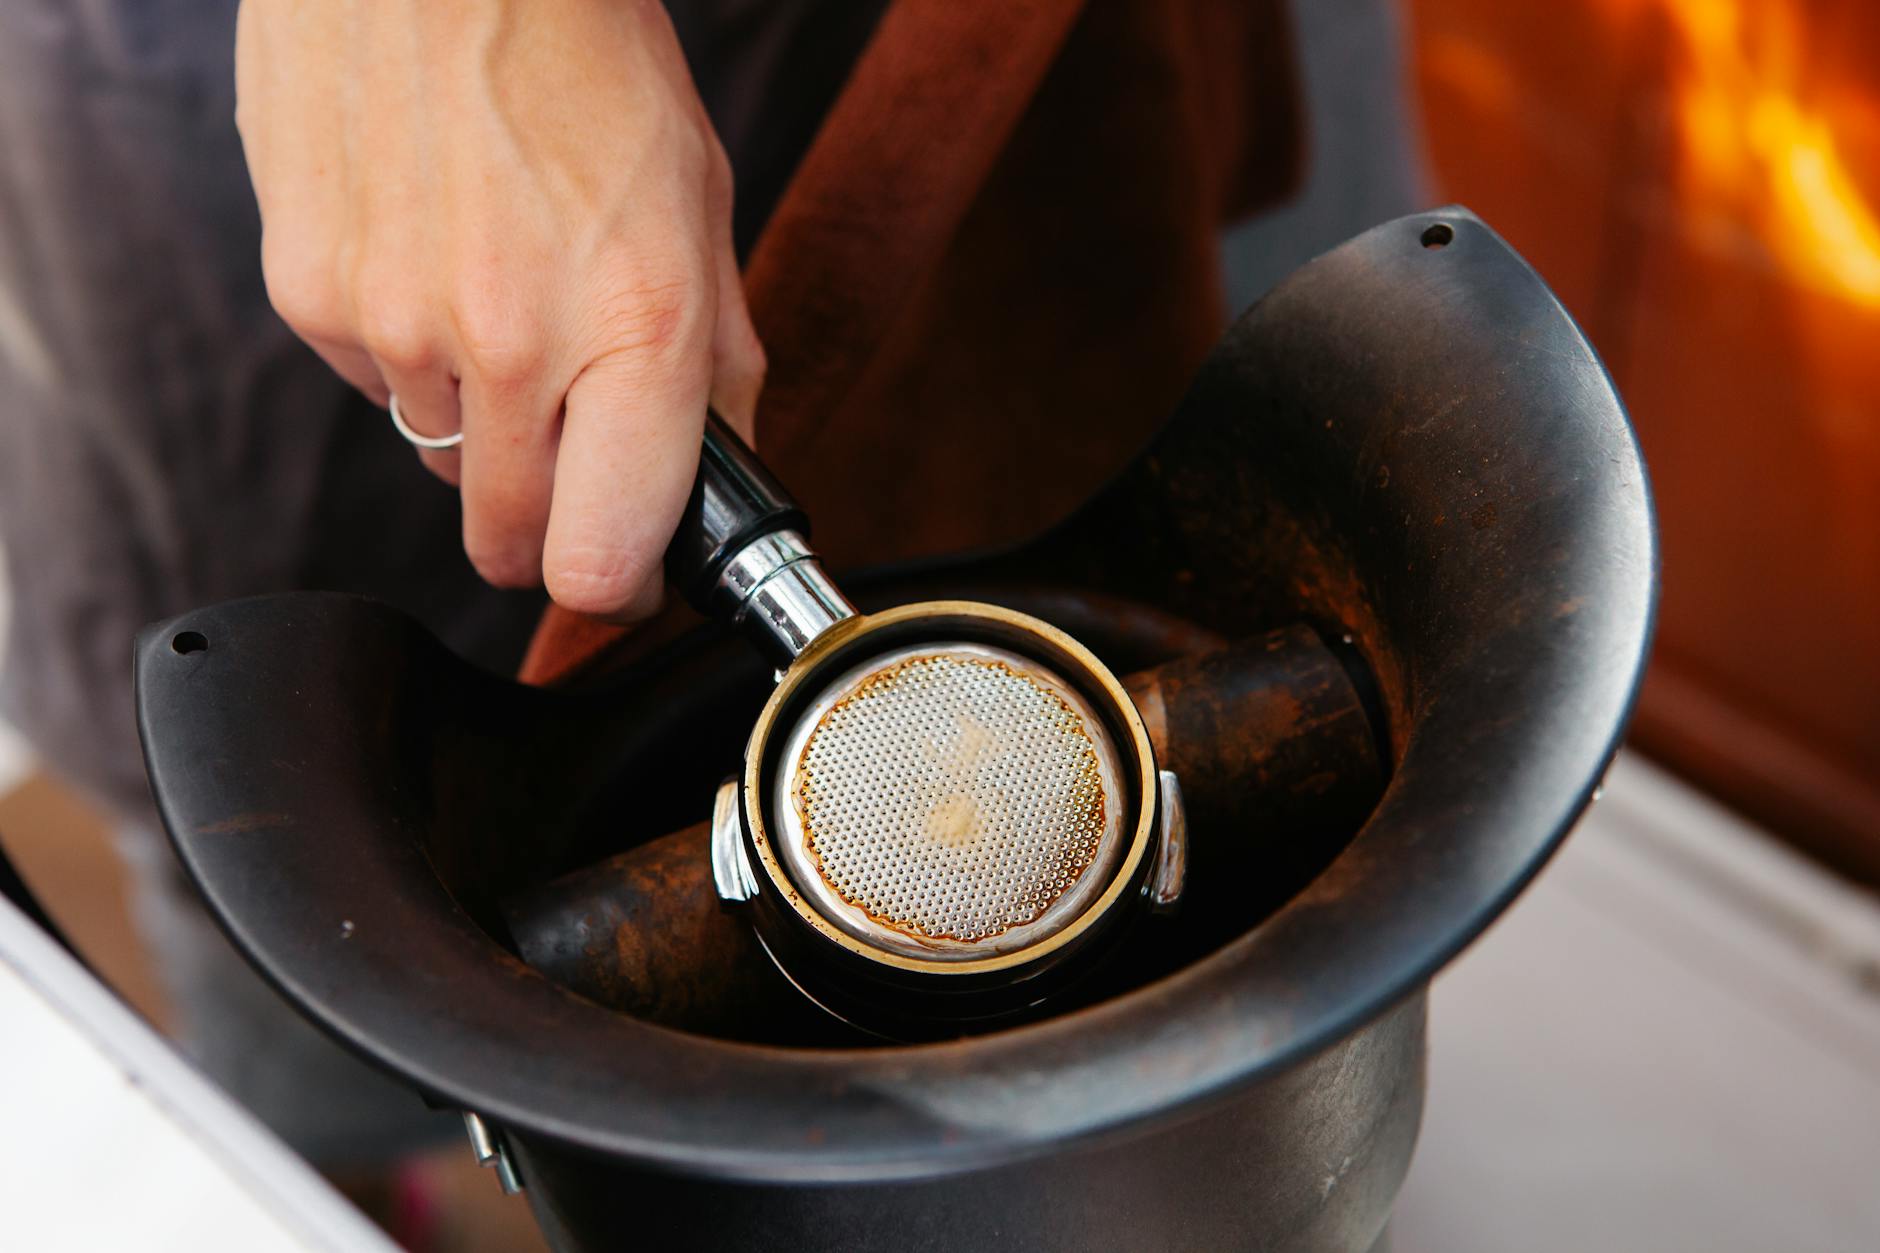
There’s a unique satisfaction that comes from pulling a shot on a manual espresso machine. It’s a tactile experience, a delicate dance of pressure and time. A key part of that feedback is the firm resistance you feel as you press the lever down, forcing hot water through a tightly packed puck of coffee. When that resistance feels weak, soft, or disappears entirely, it’s a clear sign something is wrong. The resulting shot is often a fast, blond, and watery mess—a far cry from the syrupy, rich espresso you’re chasing. This guide will walk you through the common culprits behind low lever resistance, helping you diagnose the problem and get back to pulling beautiful, balanced shots with that satisfying feedback you love.
The grind: Your first line of defense
Before you even think about taking your machine apart, the first and most common reason for low lever resistance is your coffee grind. The entire principle of espresso relies on creating resistance. Finely ground coffee creates a dense bed with very little space between particles, forcing the water to work hard to pass through. This is what generates pressure and gives you feedback through the lever.
If your grind is too coarse, it’s like trying to build a dam with gravel instead of sand. Water will rush through the large gaps with almost no effort. You’ll pull the lever down, and it will offer little to no fight, resulting in a shot that extracts in just a few seconds. This is known as under-extraction, leading to a sour and thin taste.
- The fix: Adjust your grinder to a finer setting. The key is to make small, incremental changes. Grind a small amount, feel the texture, and pull a test shot. You are looking for a setting that provides enough resistance to achieve your desired shot time, typically between 25-35 seconds. Don’t be afraid to go very fine; you can always dial it back if the lever becomes impossible to press.
Dose and distribution: Building a solid foundation
A perfect grind setting is only effective if it’s supported by a proper dose and even distribution. Think of this as creating the foundation for your puck. If the foundation is weak, it will collapse under pressure, no matter how good the materials are.
Dosing refers to the weight of ground coffee you put in your portafilter basket. If you under-dose, there will be too much empty space (headspace) between the coffee and the shower screen. When water enters the chamber, the puck becomes saturated and sloppy before you can build any real pressure, leading to a soft, spongy feel at the lever.
Equally important is distribution. Even if your dose is correct, clumps or an uneven spread of grounds create weak points. As you apply pressure, water will exploit these low-density areas, carving a path of least resistance. This is called channeling, and it immediately kills your lever resistance, sending water squirting through one part of the puck while the rest remains under-extracted.
- The fix: Use a coffee scale to weigh your dose every time. Consistency is crucial. A typical double shot uses between 16-20 grams of coffee, but check the recommendation for your specific basket. To improve distribution, use a Weiss Distribution Technique (WDT) tool—essentially a set of fine needles—to break up clumps and evenly spread the grounds before tamping.
The art of the tamp: Compacting for pressure
Once your coffee is perfectly ground, dosed, and distributed, tamping is the final step in creating a solid, uniform puck. The goal of tamping isn’t to press as hard as you can, but to compact the coffee grounds into a level and dense cake that will provide uniform resistance to the water.
A tamp that is too light will leave the puck porous and weak, easily broken apart by the initial flow of water. An uneven or crooked tamp is even worse. It creates a tilted surface where one side is more compressed than the other. Water will naturally flow towards the less-dense side, creating a massive channel along the edge of the basket. In both cases, you will feel an initial bit of resistance that suddenly gives way as the water breaks through the puck’s weak point. The lever will then plunge down with little effort.
- The fix: Focus on a level, consistent tamp. Apply enough pressure to feel the coffee bed fully compress, but don’t strain yourself. Your goal is to remove any air pockets and create a flat surface. Using a calibrated tamper, which clicks at a set pressure, can be a great tool for building consistency when you’re starting out.
Beyond the puck: Checking your machine
If you have meticulously dialed in your grind, dose, and tamping technique and still find the lever depressingly easy to push, the problem may lie with the machine itself. The most common mechanical failure leading to a loss of pressure is worn-out piston seals or gaskets.
These rubber or silicone rings are what create a tight seal inside the brew group. As you pull the lever, they ensure water is forced down through the coffee puck. Over time and with constant exposure to heat, these seals can become hard, brittle, or cracked. A failing seal will allow water to bypass the piston, leaking back into the chamber above instead of being forced through the portafilter. You’ll feel the lever lose all its resistance because the pressure is escaping internally. You may not even see an external leak, making it a tricky issue to diagnose based on sight alone.
- The fix: Inspect your machine’s piston seals. This is a standard maintenance task for any lever machine owner. Consult your machine’s manual for instructions on how to access and replace them. It’s often a simple and inexpensive repair that can bring your machine back to life.
Quick troubleshooting summary
| Symptom | Possible Cause | Solution |
|---|---|---|
| Lever offers no resistance from the start; shot is very fast and sour. | Grind is too coarse. | Adjust your grinder to a finer setting in small increments. |
| Lever feels spongy or soft; shot starts slow then gushes. | Dose is too low or poorly distributed. | Use a scale to ensure the correct dose for your basket. Use a WDT tool to break up clumps. |
| Lever has initial resistance, then suddenly drops. | Poor tamping (uneven or too light) or channeling. | Ensure your tamp is firm and perfectly level. Improve distribution to prevent weak spots. |
| Puck prep is perfect, but the lever has no “bite” and feels weak. | Worn-out piston seals/gaskets. | Inspect and replace the seals in the brew group as part of regular maintenance. |
Troubleshooting low lever resistance is a journey back to the fundamentals of espresso. It forces you to re-examine each step of your process, from the bean to the machine. More often than not, the solution lies within the variables you control: your grind, dose, and puck preparation. By methodically working through these elements, you can isolate the issue. Start with your grind, ensure your dose is consistent, perfect your distribution and tamping, and only then consider a mechanical fault. Mastering this process is part of the craft. When you finally feel that solid, reassuring resistance return to the lever, you’ll know you’ve earned the delicious, balanced shot of espresso that follows.

 No products in the cart.