Unlocking silky microfoam: A guide to Gaggia steam pressure management
For many home baristas, the Gaggia Classic or Gaggia Classic Pro represents the first serious step into the world of espresso. While capable of pulling exceptional shots, these single boiler machines often present a steep learning curve when it comes to milk texturing. The dream of pouring glossy latte art can quickly turn into a frustrating cycle of frothy, bubbly milk. The secret, however, often lies not just in your wand technique, but in understanding and actively managing the machine’s steam pressure. This guide will delve into the nuances of a single boiler system, providing a clear workflow to help you tame your Gaggia and consistently produce the silky, perfectly textured milk needed for café-quality cappuccinos and lattes right in your own kitchen.
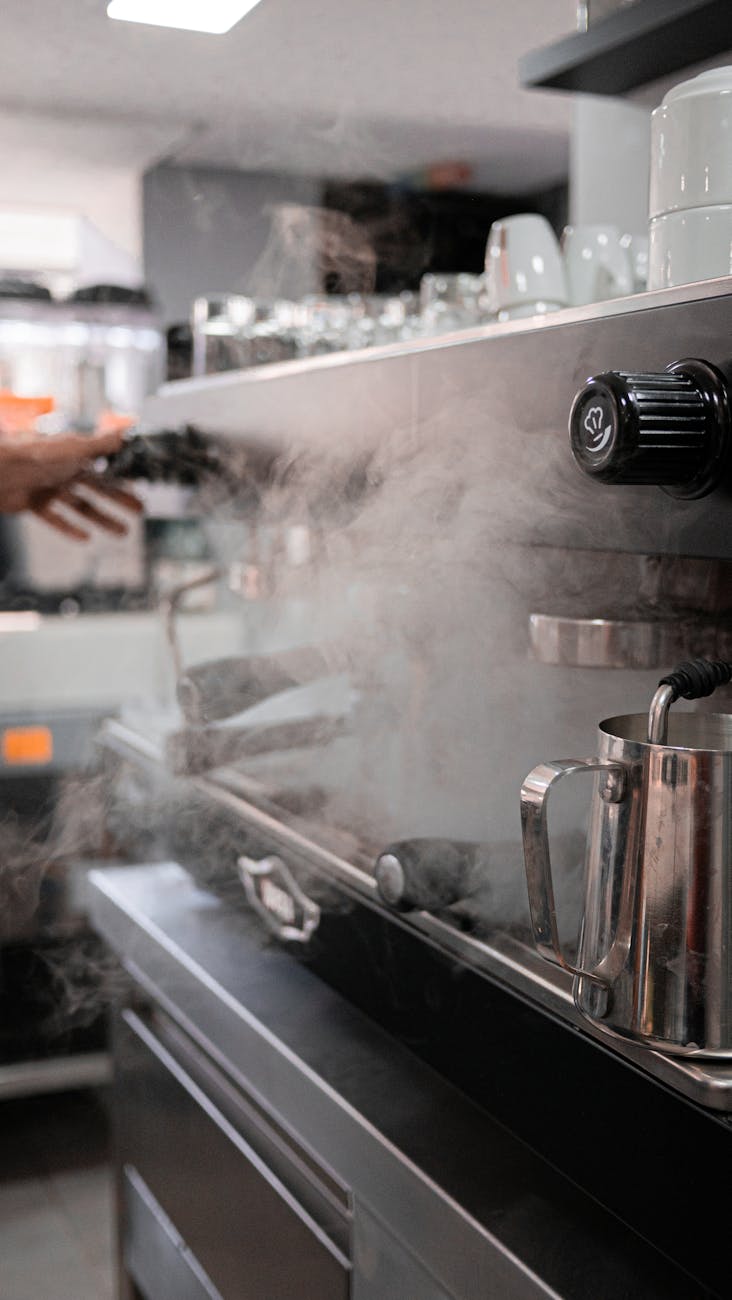
The single boiler challenge explained
To master your Gaggia’s steam, you first need to understand its core design. Unlike more expensive dual boiler or heat exchanger machines that can brew espresso and steam milk simultaneously, a single boiler machine uses one heating element for both tasks. This creates a fundamental conflict of temperatures.
For brewing espresso, water needs to be heated to around 90-95°C (195-205°F). For creating steam, that same water must be heated well past boiling, to approximately 120-140°C (250-285°F). Because your Gaggia can’t be at both temperatures at once, you must follow a specific sequence: brew first, then steam. This transition period is where most users struggle. When you flick the steam switch, the boiler begins its climb to steam temperature. If you start too early, you get weak, wet steam. If you wait too long, the heating element might cycle off, causing pressure to drop mid-steam. The goal is to catch the boiler at its peak power to get a short but powerful burst of dry steam.
Temperature surfing for powerful steam
Just as “temperature surfing” is a technique used by Gaggia owners to nail their brew temperatures, a similar principle applies to steaming. You need to learn your machine’s heating cycle and time your actions to coincide with maximum steam power. This isn’t a passive process; it requires an active workflow to get consistent results. Forget simply flipping the switch and hoping for the best. Follow these steps to take control.
The process begins immediately after your espresso shot is finished pulling:
- Engage the steam mode: As soon as your cup is off the scale, press the steam button on your Gaggia. The machine will now divert all its energy to heating the boiler to steam temperature.
- Wait for the ready light: On most Gaggia Classic Pro models, the ready light will turn on when the boiler reaches the initial steam temperature. This is your cue to get ready, but do not start steaming yet.
- Purge the wand: Open the steam knob for 2-3 seconds. You will see a spray of hot water and wet steam. This is crucial for two reasons: it clears the condensed water from the wand and encourages the boiler’s heating element to kick back on, ensuring you start with maximum pressure.
- Find the sweet spot: The ideal moment to begin steaming is right after this purge, as the boiler is actively heating to compensate for the initial pressure loss. This gives you the most powerful and driest steam the machine can produce.
This active management ensures you are working with the machine’s heating cycle, not against it.
Your workflow: Timing and technique
With a single boiler machine, efficiency is key. You have a limited window of optimal steam pressure, often called “steam debt,” before the power begins to fade. This means you need to have your milk pitcher ready and your technique dialed in. You simply don’t have the sustained power of a commercial machine to correct mistakes mid-steam.
Your technique should be broken into two distinct phases. First, the stretching phase, where you introduce air to create foam. This should only last a few seconds at the beginning. Position the steam tip just below the surface of the milk to create a “tss-tss-tss” or ripping paper sound. Once the pitcher feels lukewarm and the volume has increased by about 20-30%, you move to the second phase.
The second phase is all about texturing. Plunge the wand deeper into the milk and find a position that creates a powerful vortex, or whirlpool. This whirlpool folds the air you just introduced into the milk, breaking down large bubbles into a uniform, silky microfoam. Continue this until the pitcher is hot to the touch (around 60-65°C or 140-150°F), a temperature you can briefly hold your hand to. Immediately turn off the steam, wipe the wand, and give it a final purge.
Gaggia milk steaming workflow at a glance
| Step | Action | Purpose |
|---|---|---|
| 1 | Finish pulling espresso shot | Free up the boiler for steaming. |
| 2 | Press the steam switch | Begin heating the boiler to steam temperature. |
| 3 | Wait for the ready light | Indicates the boiler has reached its target temperature. |
| 4 | Purge the steam wand (2-3 sec) | Clear condensation and trigger the heating element. |
| 5 | Immediately start steaming milk | Utilize the peak of the heating cycle for maximum power. |
| 6 | Wipe and purge wand after use | Keep your machine clean and ready for the next use. |
Troubleshooting and final tips
Even with a perfect workflow, you might encounter issues. If your milk has large, soapy bubbles, you likely introduced air for too long or too aggressively. Focus on a shorter stretching phase. If your milk gets hot before it’s properly textured, your initial steam pressure was too weak, likely because you started steaming when the heating element was off. Revisit the timing of your purge and start steaming immediately after.
Don’t underestimate the basics. Always start with a cold pitcher and cold milk; this gives you more time to work the milk before it gets too hot. Whole milk is the most forgiving for beginners due to its high fat content, which helps stabilize the foam. As you gain confidence, you can experiment with lower-fat dairy or alternative milks like oat, which also steams beautifully. By combining a solid understanding of your Gaggia’s steam cycle with a repeatable technique, you’ll move from frustration to confidence, ready to pour beautiful latte art.
Conclusion
Texturing milk on a single boiler Gaggia is a skill that blends technique with thermal management. It’s a dance with your machine’s heating cycle. By moving beyond a passive approach and actively controlling the process, you can overcome the inherent limitations of a single boiler system. Remember the core workflow: finish your shot, flip to steam, wait for the light, perform a crucial purge to build pressure, and then immediately begin steaming. This sequence allows you to harness the boiler’s peak power for the short window you need. While it requires more attention than a high-end machine, mastering this process is incredibly rewarding. With practice and an understanding of these principles, consistent, silky microfoam is well within your reach, transforming your home coffee experience.


 No products in the cart.