Managing oily beans: Cleaning your grinder after using CBTL roasts
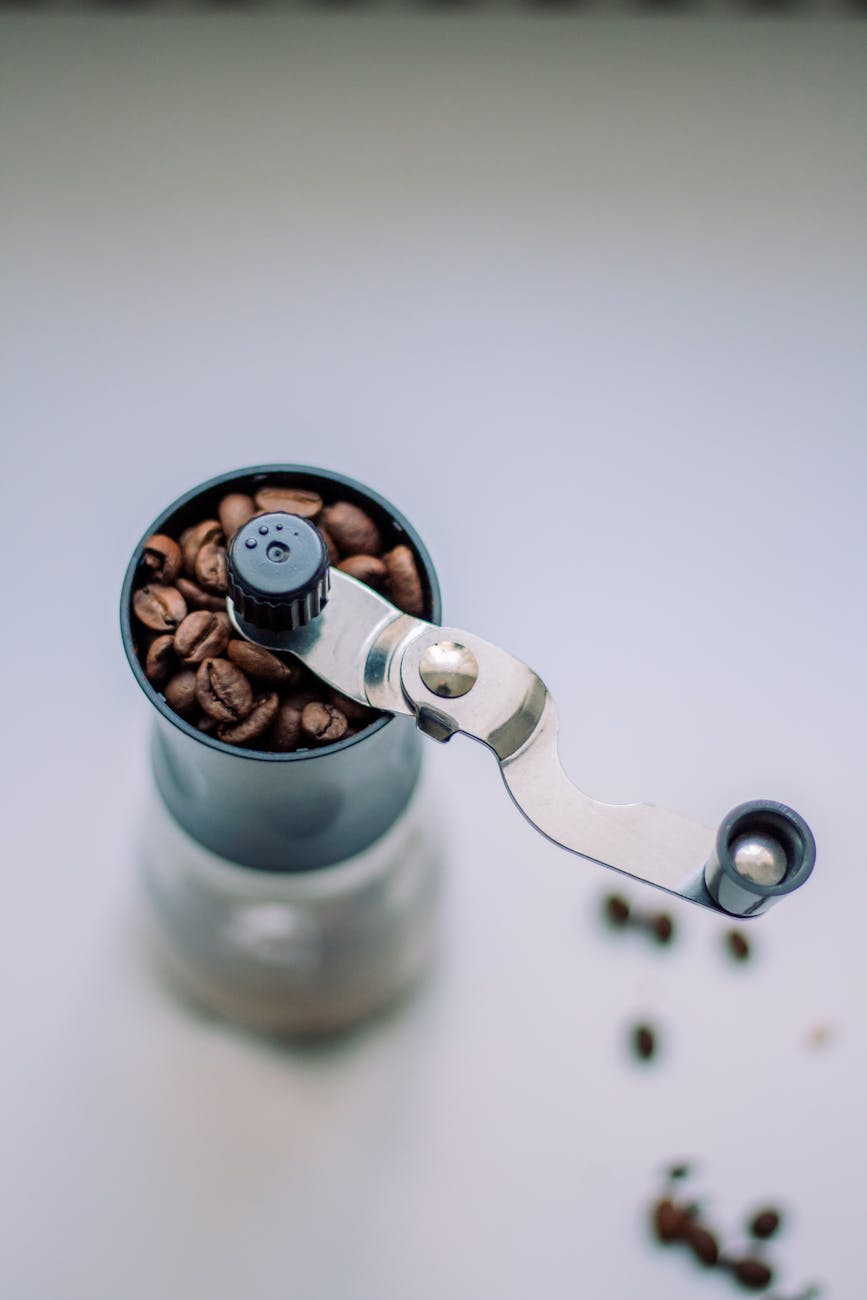
There’s nothing quite like the rich, bold flavor of a dark roast from a place like The Coffee Bean & Tea Leaf. Those deep, chocolatey, and often smoky notes are the result of a roasting process that brings the coffee bean’s natural oils to the surface, creating a characteristic sheen. While this glossy coating is a sign of a flavorful brew to come, it can be a nightmare for your coffee grinder. These sticky oils, combined with fine coffee grounds, create a stubborn residue that can clog your machine, dull its burrs, and ultimately impact the taste of your coffee. This guide will walk you through exactly why these oily beans pose a challenge and provide a step-by-step process for cleaning your grinder, ensuring every cup is as fresh as the last.
Why oily beans are a problem for your grinder
Before diving into the cleaning process, it’s important to understand why oily beans, like many popular CBTL dark roasts, demand special attention. When coffee beans are roasted longer, the internal oils migrate to the surface. This is what gives French, Italian, and Espresso roasts their signature dark, shiny appearance. While delicious, this oil is the primary culprit behind most grinder issues.
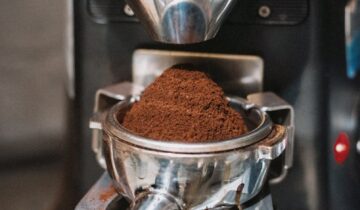
Over time, this oil acts like a glue. It combines with microscopic coffee particles, or fines, to form a dense, paste-like gunk that sticks to every surface inside your grinder. This buildup causes several problems:
- Clogging: The sticky residue can clog the grinding chamber, burrs, and the chute where the grounds exit. This forces the motor to work harder and can lead to inconsistent grind sizes, or even a complete blockage.
- Flavor contamination: Coffee oils go rancid when exposed to air. Old, stale oil residue left in your grinder will impart a bitter, unpleasant taste to your fresh beans, ruining the flavor profile you paid for.
- Reduced performance: A layer of oily gunk on your grinder’s burrs reduces their sharpness and efficiency. They can no longer cut the beans cleanly, instead crushing them, which leads to a less uniform grind and a subpar extraction during brewing.
Simply put, failing to clean your grinder after using oily beans means you aren’t getting the best-tasting coffee, and you’re shortening the lifespan of your equipment.
The cleaning toolkit: What you’ll need
Fortunately, you don’t need a workshop full of specialized tools to effectively clean your grinder. Most of the necessary items are likely already in your home or can be purchased affordably. Assembling your toolkit beforehand makes the process quick and efficient. Here’s what we recommend:
Essential supplies:
- A stiff-bristled brush: A small, firm brush (like a pastry brush or a dedicated grinder brush) is perfect for dislodging stubborn grounds from the burrs and nooks.
- A vacuum cleaner: A vacuum with a narrow hose attachment is invaluable for sucking out all the loose particles without making a mess.
- A dry microfiber cloth: Ideal for wiping down the hopper and other non-electrical components.
- Toothpicks or a bamboo skewer: For getting into the tiny crevices around the burrs and chute that a brush can’t reach.
Cleaning agents (choose one):
- Grinder cleaning tablets: Products like Grindz are specifically formulated from food-safe, biodegradable ingredients that absorb coffee oils and scrub away residue. They are the safest and most effective option for most grinders.
- Uncooked white rice: Use with caution. While some people use a small amount of instant white rice, it can be too hard for the motors of some home grinders and may void your warranty. Never use brown or wild rice, as their higher oil content will only make the problem worse. Check your grinder’s manual before attempting this method.
A step-by-step deep cleaning guide
With your tools ready, it’s time to give your grinder the deep clean it deserves. This process should take about 15-20 minutes and is best done before you run out of your oily beans, so you can use a few to purge the machine at the end. Follow these steps for a pristine grinder.
- Unplug your grinder. This is the most important first step. Never attempt to clean your grinder while it is connected to a power source.
- Disassemble the grinder. Remove the hopper and any grounds bin. Most burr grinders allow you to easily remove the upper burr by twisting it. Consult your user manual if you are unsure how to do this for your specific model.
- Empty all beans and grounds. Turn the grinder upside down over a trash can and give it a few gentle taps to dislodge any whole beans or large clumps of grounds.
- Brush and vacuum. Use your stiff-bristled brush to vigorously scrub the upper and lower burrs, the grinding chamber, and the chute. Focus on areas with visible buildup. Follow up with the vacuum hose to suck up all the loosened particles. Use a toothpick for any particularly stubborn gunk.
- Use a cleaning agent. Reassemble the grinder. Measure out the recommended amount of grinder cleaning tablets (usually a capful) and pour them into the empty hopper. If using rice, use a small amount (about 1/4 cup).
- Grind the cleaner through. Run the grinder until all the tablets or rice have passed through and the chamber is empty. The resulting grounds will be a yellowish or tan color as they have absorbed the coffee oils. Discard these grounds.
- Purge the grinder. To remove any residual dust from the cleaning agent, grind a small handful of coffee beans (about 15-20 grams). Oily beans work fine for this step. Throw away these grounds, as they may have an off-taste.
- Final wipe-down. Use your microfiber cloth to wipe the hopper and exterior of the grinder. Your machine is now clean and ready for your next brew.
Creating a consistent maintenance routine
A deep clean is essential, but preventing major buildup in the first place is even better. By adopting a simple maintenance routine, you can keep your grinder in top shape and make those deep cleans much easier. The frequency of your routine will depend on how often you use your grinder and how oily your beans are. For daily drinkers of dark CBTL roasts, a more frequent schedule is recommended.
Here is a sample routine to help you manage oily bean residue effectively:
| Frequency | Task | Best practice |
|---|---|---|
| After each use | Quick brush out | Use a small brush to quickly clean out the exit chute. This prevents grounds from getting stuck and going stale. |
| Weekly | Hopper and burr brush | Empty the hopper and brush the visible upper burr and surrounding area. This takes only two minutes and significantly reduces oil buildup. |
| Every 2-4 weeks | Deep clean | Perform the full step-by-step deep clean outlined above, using grinder cleaning tablets to fully absorb oils and remove all residue. |
| As needed | Wipe the hopper | If you store beans in your hopper, wipe it down with a dry cloth every time you refill it to remove oil residue that can turn rancid. |
Conclusion
Enjoying a dark, oily roast from The Coffee Bean & Tea Leaf shouldn’t come at the expense of your coffee equipment or the quality of your brew. While these beans leave behind a sticky, flavor-damaging residue, the problem is entirely manageable. Understanding that coffee oils can build up, clog burrs, and turn rancid is the first step. By assembling a simple cleaning toolkit and committing to a routine, you can easily combat these issues. A quick weekly brush-down and a more thorough deep clean every few weeks will protect your investment, ensure your grinder performs at its best, and, most importantly, allow the true, delicious flavors of your favorite beans to shine through in every single cup you brew.
 No products in the cart.