Mastering your grinder: How to manage grind retention when switching roasts
For any coffee enthusiast, exploring the vast spectrum of roast levels is a true delight. One day you might be savouring the bright, acidic notes of a light roast Ethiopian, and the next, the rich, chocolatey body of a dark roast Sumatran. However, this exploration can lead to frustration. Your first shot with a new bean is a gusher, the next chokes the machine, and the taste is muddy. The hidden culprit is often grind retention—the old coffee grounds left inside your grinder from the previous batch. This article will serve as your guide to understanding and managing grind retention, ensuring that every time you switch beans, your coffee is consistent, delicious, and a true representation of its origin and roast profile.
Understanding grind retention and its link to roast level
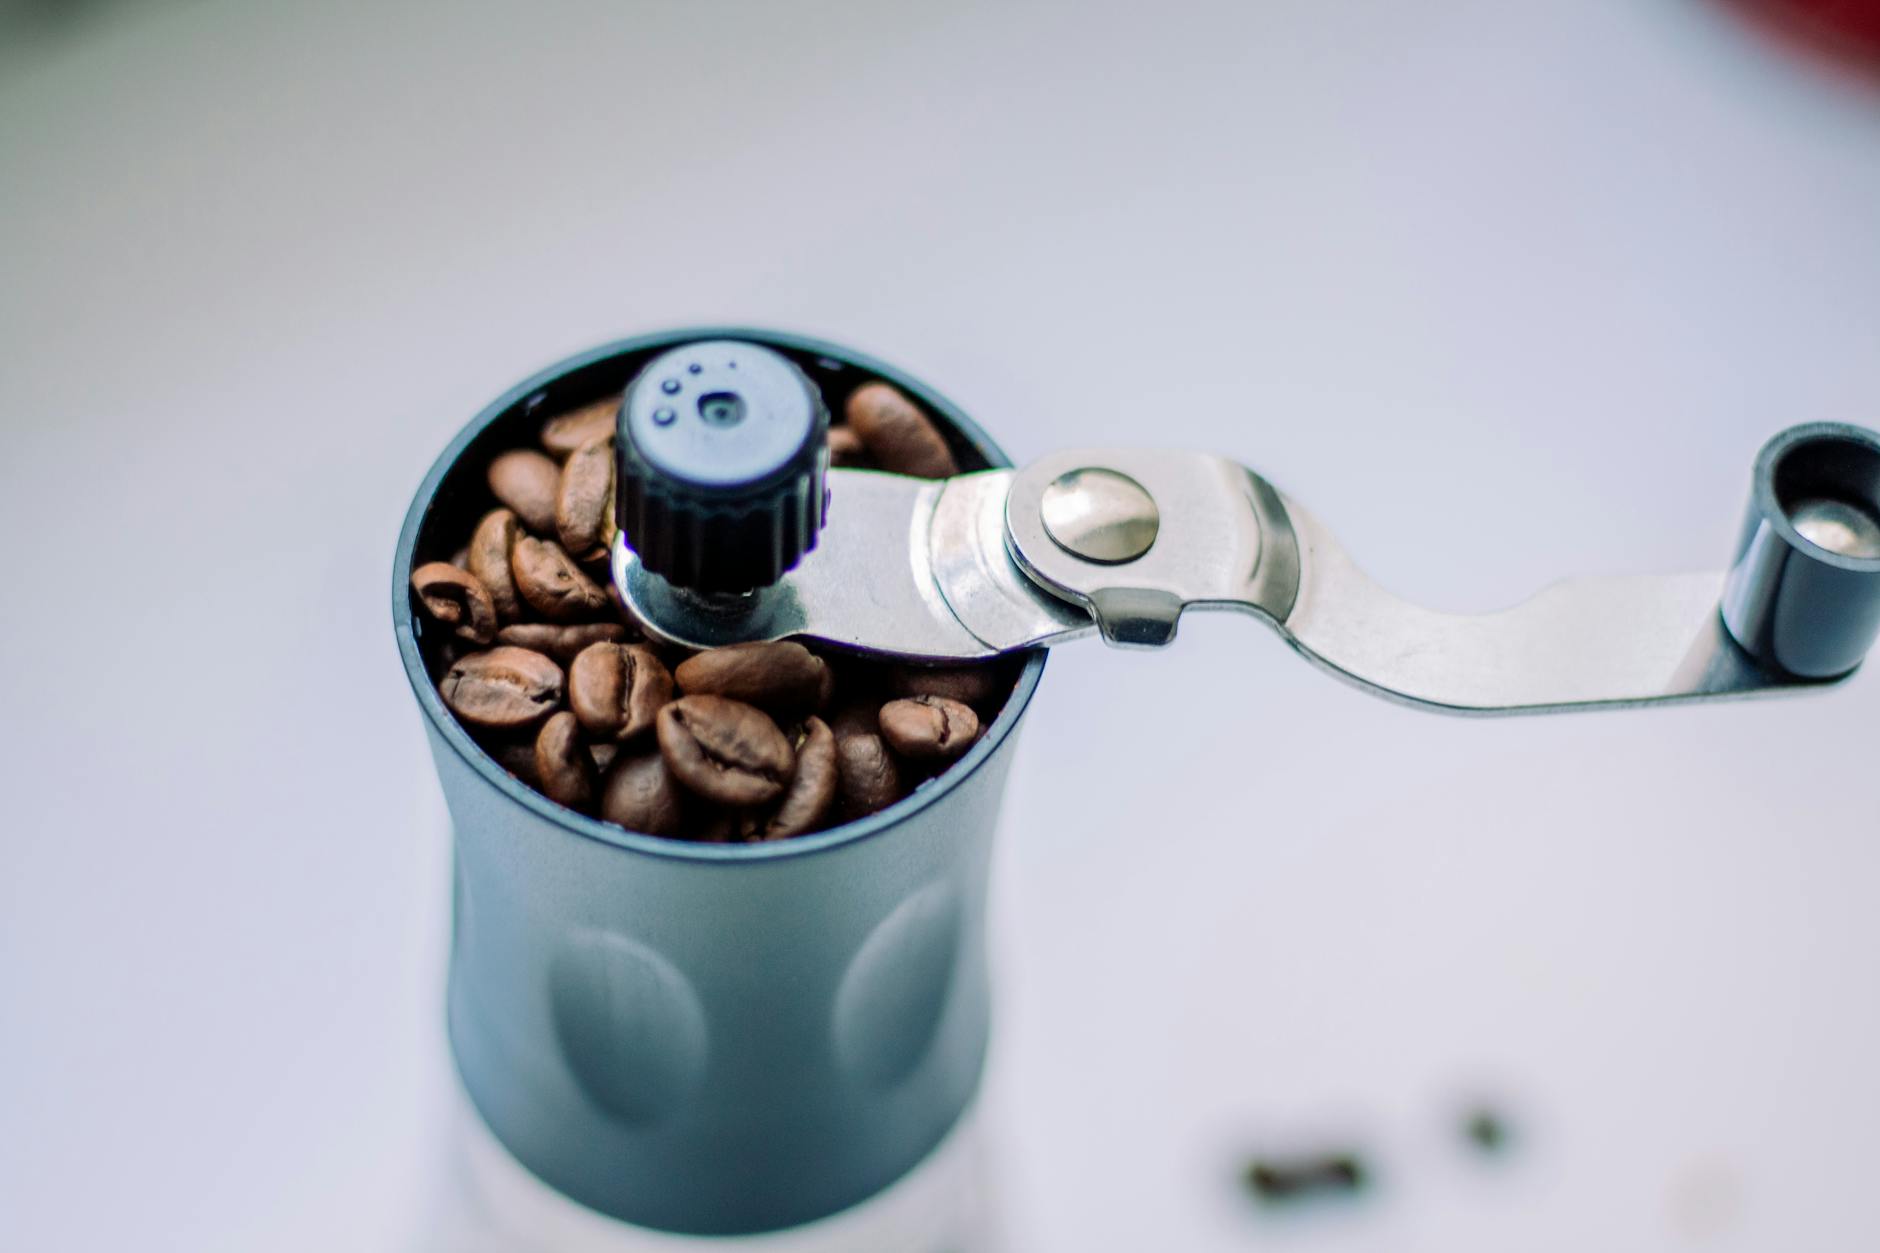
At its core, grind retention refers to the amount of ground coffee that remains inside your grinder’s burrs, chamber, and chute after the grinding cycle is complete. Virtually every grinder has some level of retention. The problem arises because these retained grounds are stale and, more importantly, are ground at a different setting than your new beans. This issue is magnified when switching between different roast levels because light and dark roasts behave very differently in a grinder.
Light roasts are denser and harder. To achieve a proper espresso extraction, they typically require a much finer grind setting. Because they are less brittle, the grinding process can create more fine particles, which are prone to clumping and sticking due to static electricity.
Dark roasts, on the other hand, are more brittle and oily. The roasting process makes them less dense, so they require a coarser grind setting to achieve the same flow rate as a light roast. Their oily surface can cause grounds to stick to the grinder’s internal components, creating a different kind of retention challenge.
The transition between these two is where the biggest problems occur. If you switch from a coarse-ground dark roast to a fine-ground light roast, several grams of large, oily particles from the dark roast will be mixed in with your first dose of finely ground light roast, leading to disastrous results.
The practical impact on your cup of coffee
Failing to manage grind retention isn’t just a technical issue; it directly sabotages the taste, consistency, and overall quality of your coffee. When you introduce a new bean into a grinder holding old grounds, you are essentially creating an unpredictable blend in your portafilter.
- Compromised flavour: Imagine you’ve just finished a bag of oily, smoky dark roast beans. You switch to a delicate, floral light roast. The first few grams of coffee you grind will contain stale, coarse, and roasty particles from the dark roast. This will completely overwhelm the nuanced flavours of the light roast, making it taste muddy, bitter, and generic. The unique characteristics you paid for are lost.
- Inconsistent extraction: A perfect espresso shot relies on water flowing evenly through a bed of uniformly sized coffee grounds. When you have a mix of coarse particles from an old dark roast and fine particles from a new light roast, you create channels for the water to exploit. This leads to channelling, where some parts of the coffee puck are over-extracted (imparting bitterness) and other parts are under-extracted (imparting sourness). The result is a chaotic and unbalanced shot.
- Wasted coffee and time: The process of “dialing in” a new coffee bean—adjusting the grind size to achieve the desired shot time and volume—is already a delicate dance. If your first one or two shots are contaminated by retained grounds, you are making adjustments based on faulty information. This leads to wasted coffee, frustration, and a much longer, more expensive dialing-in process.
Effective techniques for managing retention
Fortunately, with a few adjustments to your workflow, you can take control of grind retention and ensure a clean slate for every new bean. The goal is to flush out the old grounds before you pull your first meaningful shot.
Purging: The most direct method is to purge the grinder. This involves grinding a small amount of your new coffee beans to push out the majority of the old, retained grounds. The amount you need to purge depends heavily on your grinder’s design. High-retention, hopper-style grinders may require 5-10 grams of purging, while “zero-retention” single-dose grinders may only need 1-2 grams. It’s a good practice to discard these purged grounds, as they are a mix of old and new coffee.
Single dosing: This workflow involves weighing out the exact amount of beans needed for a single drink (e.g., 18 grams) and grinding the entire dose. This prevents beans from sitting in the hopper and going stale. While it doesn’t eliminate retention within the grind chamber, it makes it more manageable. Many single-dose grinders also incorporate bellows—a rubber or silicone dome you can press to puff air through the grinder, dislodging stubborn retained grounds.
Ross Droplet Technique (RDT): Static electricity is a major cause of retention, causing fine coffee particles to cling to every surface. RDT is a simple yet powerful solution. Use a small spray bottle to apply a single, tiny spritz of water to your beans before grinding. This minuscule amount of moisture dissipates the static charge, allowing the grounds to pass through the grinder much more cleanly. Use this technique sparingly—too much water can cause rust on your burrs.
Grinder maintenance and purging guide
Active techniques are crucial, but they are most effective when paired with a foundation of good grinder maintenance. Think of purging as a daily task and deep cleaning as a weekly or monthly reset.
Regularly cleaning your grinder is non-negotiable for coffee quality. At least once a month, or whenever you notice a decline in performance, you should unplug the grinder, remove the hopper, and disassemble the upper burr carrier. Use a stiff brush and a vacuum cleaner to remove all visible coffee grounds and oils from the burrs, the grind chamber, and the exit chute. This “deep clean” removes impacted, oily residue that simple purging can’t dislodge and resets your grinder to a neutral state.
The type of grinder you own will heavily influence your strategy. A large commercial grinder with a hopper will always retain more grounds than a grinder specifically designed for single dosing with an angled chamber and a clear grind path. Understanding your equipment helps you manage it better.
Here is a general guide for how much to purge when switching roasts:
| Switching Scenario | Retention Type | Recommended Purge Amount | Notes |
|---|---|---|---|
| Dark Roast to Light Roast | High Risk | 4-8 grams | Crucial step. Coarse, oily dark roast grounds will ruin a fine-ground light roast shot. |
| Light Roast to Dark Roast | Medium Risk | 2-4 grams | Less critical, but retained light roast fines can cause the dark roast shot to run slow or taste sour. |
| Similar Roast to Similar Roast | Low Risk | 1-2 grams | A small purge is still good practice to flush out stale grounds from the previous day. |
Switching between different coffees is one of the great joys of the hobby, and it shouldn’t be a source of frustration. Grind retention is the invisible variable that can spoil your experience, but it is entirely manageable. By understanding how different roast levels behave in your grinder, you can anticipate the challenges. Implementing a consistent workflow that includes purging an appropriate amount of coffee, considering techniques like single dosing and RDT, and committing to regular deep cleaning will give you ultimate control. This proactive approach will not only save you from wasting expensive beans but will also elevate the quality and consistency of your coffee, allowing you to taste each bean exactly as the roaster intended.

 No products in the cart.