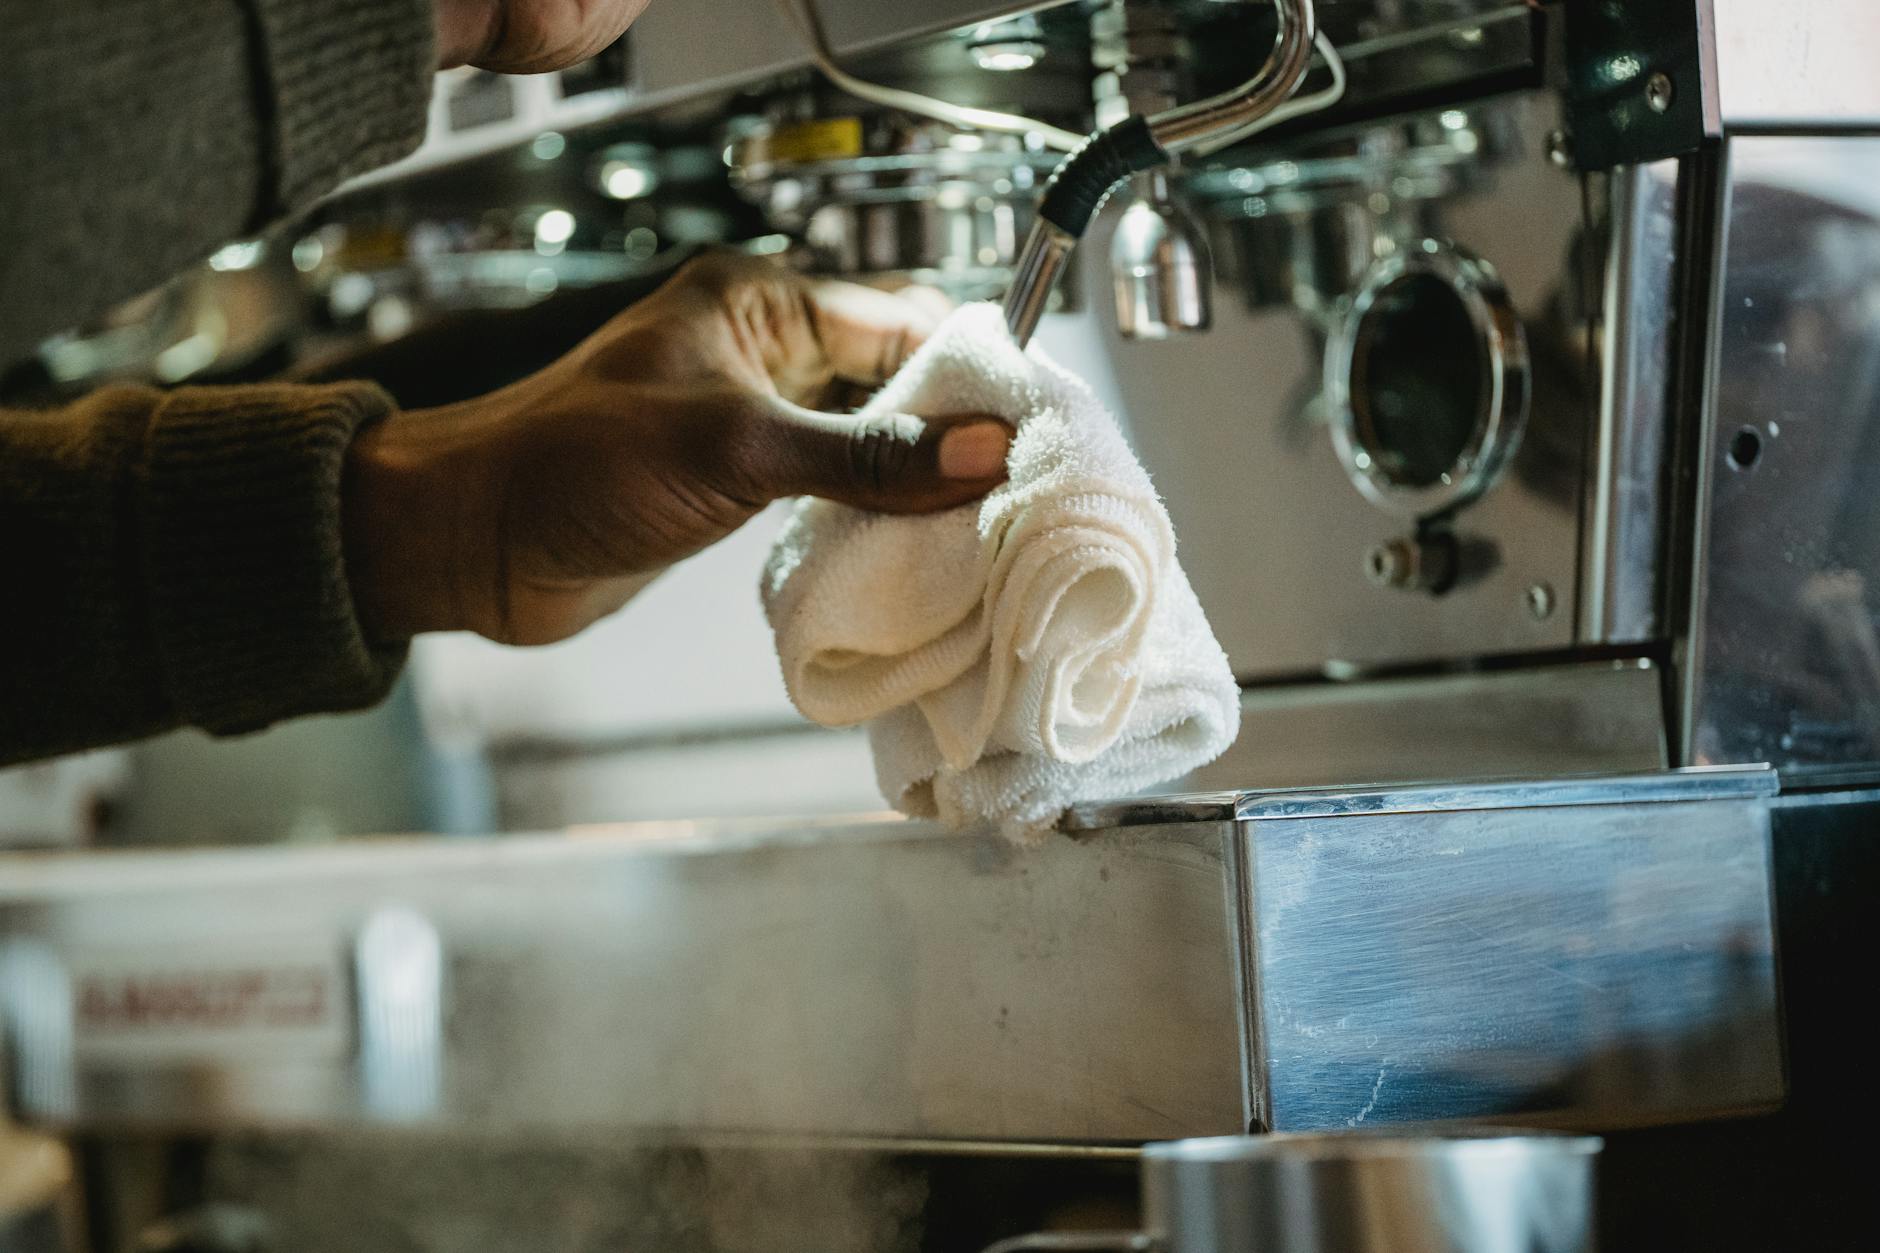
Maintenance guide: Lubricating pistons and seals on manual espresso makers
A manual espresso maker is a testament to the art of coffee, offering unparalleled control over every shot. This hands-on approach, however, comes with a responsibility for regular maintenance. The heart of any lever machine is its piston and seal assembly, the components responsible for generating the immense pressure needed for true espresso. Over time, friction can cause the lever action to become stiff, jerky, or noisy, while dry seals can crack and fail. Proper lubrication is the single most important preventative task you can perform. This guide will walk you through why it’s essential, how to choose the right lubricant, and the step-by-step process to keep your machine pulling smooth, delicious shots for years to come.
Why lubrication is crucial for your lever machine
To understand the need for lubrication, you first need to appreciate the mechanics at play. When you pull the lever on a manual machine, you are physically forcing a piston through a cylinder. This action pressurizes the hot water and pushes it through the coffee puck. The piston’s seals, typically made of rubber or silicone, are critical because they form a tight barrier, ensuring water goes through the coffee and doesn’t leak back past the piston. Without these seals, achieving the necessary 9 bars of pressure would be impossible.
This entire process involves intense friction. A dry seal scraping against a metal cylinder wall not only makes the lever difficult and unpleasant to operate but also causes premature wear. The seal material will degrade, harden, and eventually crack, leading to pressure loss and leaks. A jerky, inconsistent pull also translates directly to the cup, causing channeling in the coffee puck and resulting in a poorly extracted, unbalanced shot. Regular lubrication creates a smooth, low-friction barrier that protects the seals, ensures a consistent application of pressure, and makes the entire experience of pulling a shot feel fluid and controlled.
Choosing the right food-safe lubricant
This is a non-negotiable point: you must only use a lubricant that is certified as food-safe. The piston and seals are in direct contact with the water that brews your coffee. Using any non-food-grade grease, like automotive lubricant or a product like Vaseline, will contaminate your coffee and poses a serious health risk. Furthermore, common kitchen oils like olive or vegetable oil are terrible choices; they can turn rancid, impart foul tastes, and are not designed to withstand the heat and pressure inside a brew group, often breaking down quickly.
The industry standard for espresso machines is a food-grade silicone grease. Silicone is temperature-resistant, hydrophobic (repels water), and inert, meaning it won’t react with the metal or seal components of your machine. When shopping, look for products with an NSF H1 rating, which certifies them as safe for incidental food contact. A small tube will last a very long time, as you only need a tiny amount for each application.
| Lubricant Type | Common Base | Key Characteristics | Recommendation |
|---|---|---|---|
| Food-Grade Silicone Grease | Silicone | High temperature resistance, odorless, tasteless, long-lasting. Excellent for rubber and silicone seals. | Highly Recommended. The best choice for espresso machines. Look for brands like Molykote 111 or Haynes Lubri-Film Plus. |
| Petrol-Gel Lubricant | Mineral Oil | Effective and widely available. Generally safe but can sometimes impart a slight odor if over-applied. | Acceptable Alternative. A decent second choice if a high-quality silicone grease is unavailable. |
| Household/Kitchen Oils | Plant/Animal Fat | Low heat resistance, can go rancid, imparts off-flavors, breaks down quickly. | AVOID. Never use these products inside your espresso machine. |
A step-by-step guide to disassembly and lubrication
While the exact process varies between models like a Flair 58, Cafelat Robot, or La Pavoni Europiccola, the general principles are the same. Always consult your manufacturer’s manual first. Ensure your machine is completely cool before you begin.
- 1. Preparation and disassembly: Gather your supplies: food-safe lubricant, a few clean lint-free cloths, and any tools required for your specific machine. Carefully disassemble the brew group to access the piston and seals. This may involve unscrewing the group head, removing a retaining clip, or simply pulling the piston out from the cylinder. Take photos as you go if you are unsure about reassembly.
- 2. Cleaning: This is a critical step. Using a clean cloth, wipe away all the old lubricant, coffee grounds, and oils from the piston seals and the inside walls of the cylinder. If there is significant buildup, you can use a damp cloth, but ensure every component is perfectly dry before applying new lubricant.
- 3. Inspection: With the parts clean, take a moment to inspect the seals. Look for any nicks, tears, cracks, or signs that they have become brittle or misshapen. If you see any damage, now is the perfect time to replace them. Lubricating a damaged seal is only a temporary fix.
- 4. Application: Squeeze a very small amount of lubricant onto your fingertip or a clean cloth. Apply a thin, even film directly onto the piston seals. The goal is to make them look shiny, not to cake them in grease. Less is more. Too much lubricant can attract coffee grounds, get squeezed into your puck, and make the lever feel “mushy.”
- 5. Reassembly: Carefully reassemble the brew group, making sure all parts fit together snugly and correctly. Operate the lever a few times without water to distribute the lubricant evenly. The action should feel immediately smoother.
Maintenance schedule and troubleshooting
How often should you perform this maintenance? The answer depends heavily on your usage. For a daily user, a good rule of thumb is to inspect and lubricate every 3 to 6 months. For more infrequent use, you might stretch this to once a year. However, the best approach is to let the machine tell you what it needs. You should relubricate whenever you notice:
- An increase in resistance when pulling the lever.
- A jerky or “stepped” feeling instead of a smooth, fluid motion.
- Any squeaking, groaning, or grinding sounds during operation.
If you’ve lubricated the seals and the lever still feels stiff, you may have either used too little lubricant or, more likely, the seals themselves are worn out and need replacement. Conversely, if you notice any grease in your first shot after maintenance, it’s a clear sign you used too much. Simply wipe the group screen clean and pull a throwaway shot of hot water to flush any excess.
Properly maintaining the piston assembly is a simple task that pays huge dividends. It’s a core part of the ritual of owning a manual espresso maker, ensuring the machine operates as beautifully as it was designed to. By understanding the importance of lubrication, choosing the correct food-safe product, and following a regular maintenance schedule, you protect your investment and preserve the quality of your coffee. This small effort guarantees a smooth, tactile connection to your espresso-making process and consistently delicious results in the cup. Making this 15-minute task a biannual habit will keep your machine in peak condition, allowing you to focus on what truly matters: pulling the perfect shot of espresso.

 No products in the cart.