Your guide to the Gaggia group head gasket for a perfect, leak-free seal
There are few things more frustrating for a home barista than a sputtering, leaky group head. That perfect espresso shot you envisioned is ruined by water seeping around the portafilter, creating a mess and, more importantly, a weak and under-extracted coffee. The unsung hero responsible for preventing this disaster is a small, inexpensive component: the group head gasket. This crucial seal ensures that every bit of pressurized water is forced through your coffee grounds, which is essential for proper extraction and flavour. In this guide, we will delve into everything you need to know about your Gaggia’s group head gasket. We’ll explore the tell-tale signs that it needs attention, cover the essential cleaning routines to extend its life, and provide a clear, step-by-step process for replacement.
What it is and why it matters
At its core, the group head gasket is a rubber or silicone ring that sits inside the group head of your Gaggia espresso machine. Its single, vital job is to create a tight, waterproof seal when you lock the portafilter into place. Without this seal, the nine bars of pressure your machine generates to brew espresso would force water out the easiest path, which is often around the edges of the portafilter basket rather than through the coffee itself. This leads directly to channeling, low brew pressure, and a disappointing, watery shot of espresso.
Traditionally, these gaskets were made from black rubber. While effective, rubber can become hard, brittle, and cracked over time due to constant exposure to heat and pressure. It can also absorb coffee oils, which eventually go rancid and impart off-flavors to your coffee. More modern machines, and a popular upgrade for older ones like the Gaggia Classic, use silicone gaskets. Silicone is far more durable, remains flexible for longer, is less prone to absorbing oils, and makes locking in the portafilter feel noticeably smoother.
Signs your gasket needs attention or replacement
Before your gasket fails completely, it will usually give you a few warning signs. Learning to spot them can save you from a messy brewing session and ensure you’re always getting the best out of your machine. The most obvious sign is, of course, water leaking from around the portafilter during an extraction. This indicates the seal is no longer complete.
However, there are more subtle clues to watch for:
- The “Gaggia death-lock”: You find yourself having to turn the portafilter handle much further to the right than you used to. A healthy gasket provides a firm seal when the handle is near the six o’clock position. If you’re cranking it far past that, it means the gasket has compressed and hardened, requiring more force to seal.
- A hard and brittle feel: If you touch the gasket (when the machine is cool!), it should feel slightly pliable. An old gasket will feel rock-hard and may even have visible cracks or chunks missing.
- Portafilter slipping: In some cases, a worn gasket may cause the portafilter to slightly rotate or “slip” back towards the left during a shot due to the high pressure.
- Residue buildup: A visual inspection might reveal caked-on, dark coffee grounds that are difficult to scrub off. This buildup can interfere with the seal and also negatively impact the taste of your coffee.
The essential cleaning and maintenance routine
Proper maintenance can significantly extend the life of your group head gasket and improve your coffee’s flavour. The enemy is old coffee oil, which builds up, hardens, and accelerates the degradation of the gasket material.
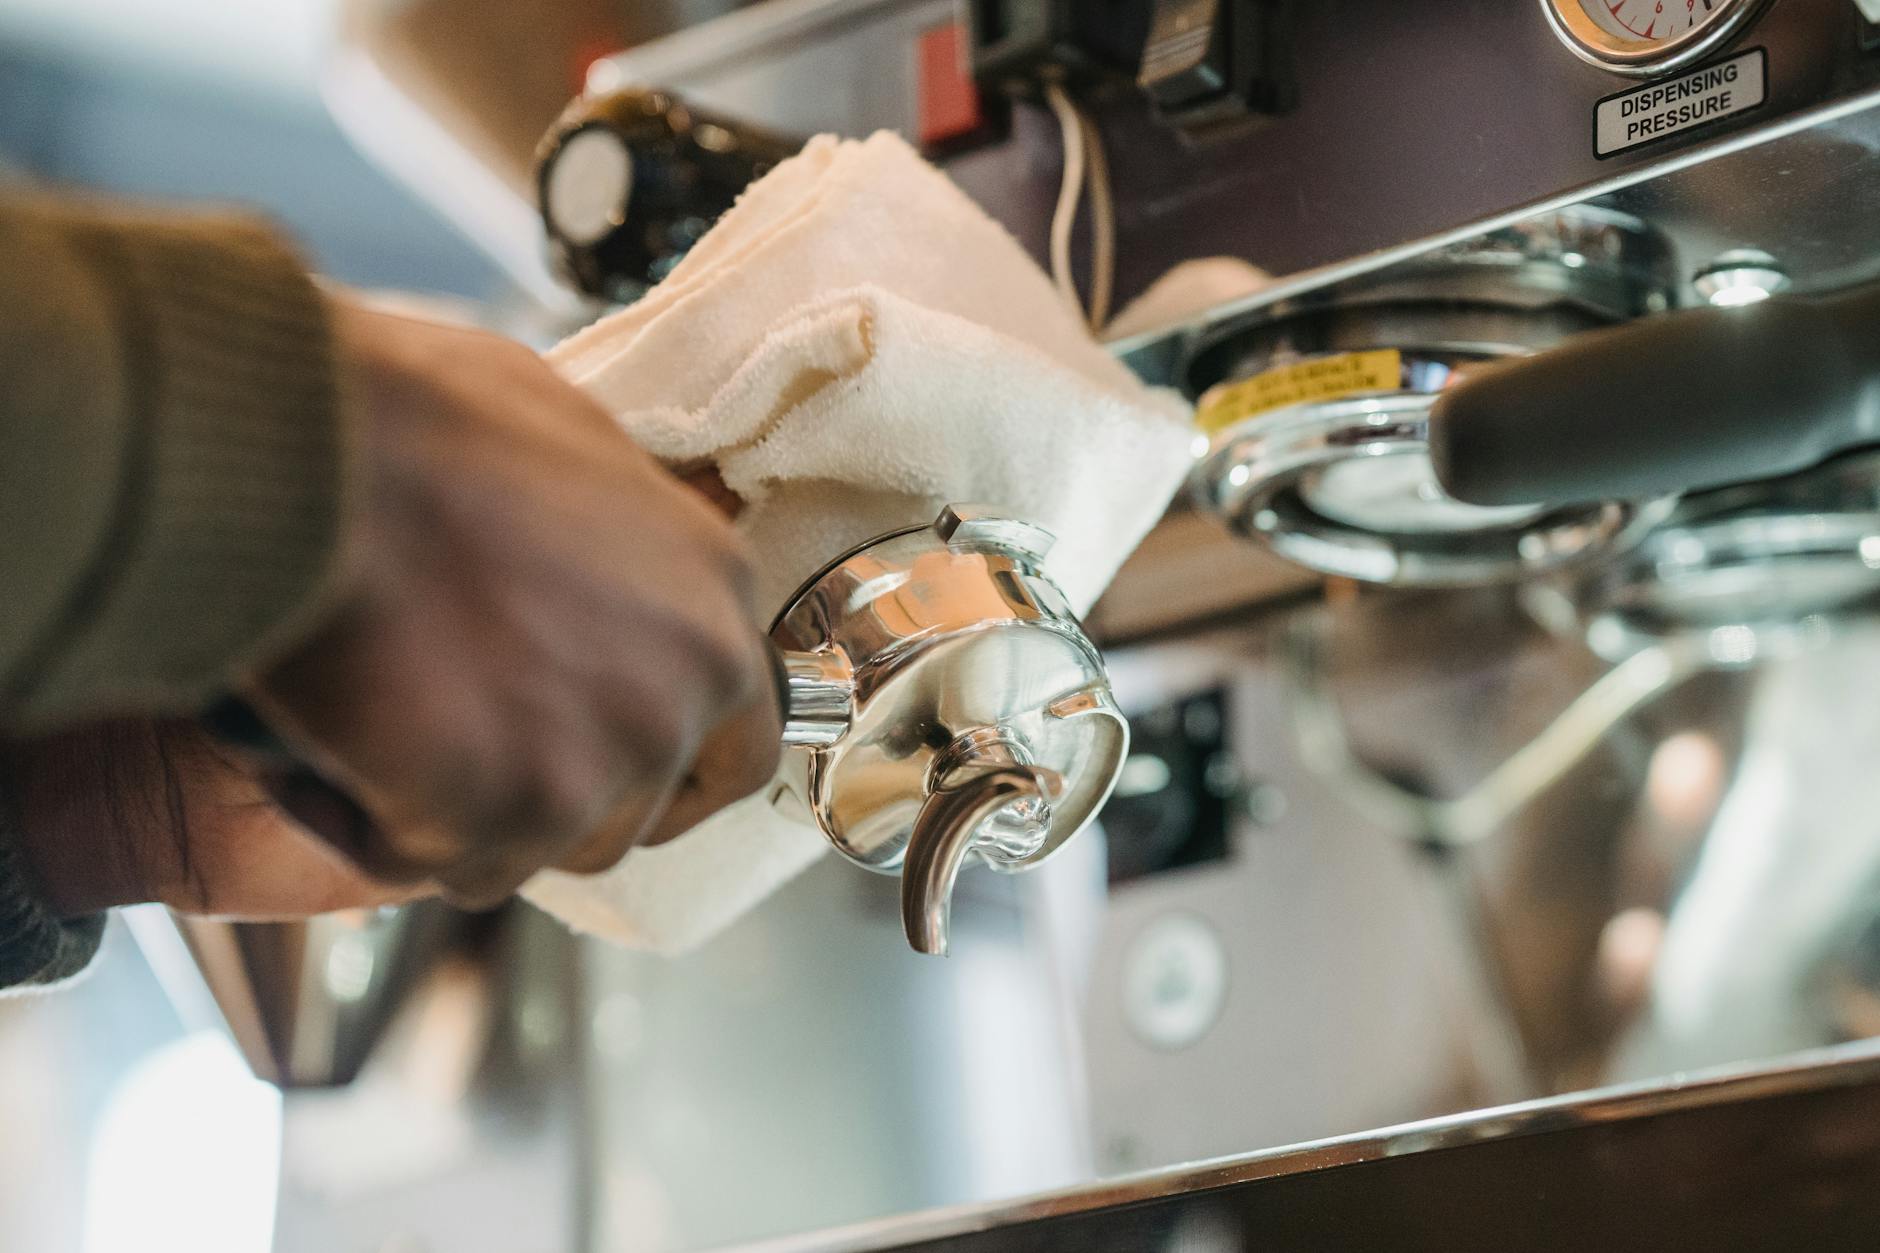
Your first line of defense is a simple daily habit. After you’re done brewing for the day, remove the portafilter and run the pump for a few seconds to flush out any loose grounds. Then, take a dedicated group head brush or a damp cloth and give the gasket and the shower screen a quick but thorough wipe. This prevents residue from baking onto the components.
For a deeper clean, you should perform a chemical backflush weekly or bi-weekly, depending on your usage. This process uses an espresso machine cleaning powder (like Cafiza or Puly Caff) and a blind basket (a portafilter basket with no holes). The cleaner dissolves stubborn coffee oils inside the group head, cleaning the gasket, shower screen, and the three-way solenoid valve. This not only keeps the gasket healthy but ensures your machine is functioning at its best. A consistent cleaning schedule is the most effective way to postpone a full replacement.
A step-by-step guide to replacing your gasket
Even with perfect maintenance, your group head gasket is a wear-and-tear item that will eventually need to be replaced. Thankfully, it’s a simple and affordable task you can easily do yourself. You will need a new gasket (ensure it’s the correct size for your Gaggia model), a small pick or a flathead screwdriver, and your group head brush.
Here’s how to do it:
- Power down: Make sure your machine is turned off and completely cool to the touch.
- Remove the screen: Using a screwdriver, remove the central screw that holds the shower screen and dispersion plate in place. Set them aside.
- Pry out the old gasket: This is the trickiest part. Use your pick or screwdriver to carefully dig into the old gasket and pry it out. Be gentle to avoid scratching the metal housing of the group head. Old rubber gaskets can be very brittle and may come out in pieces.
- Clean the groove: This step is critical. Use your brush and a damp cloth to meticulously clean the groove where the gasket sits. Any lingering coffee residue will prevent the new gasket from sealing properly.
- Install the new gasket: Take your new gasket and press it evenly into the clean groove. Some gaskets have a beveled edge or writing on one side; this side typically faces up into the machine. Press firmly with your fingers to ensure it is seated flush all the way around.
- Reassemble: Put the dispersion plate and shower screen back in place and tighten the screw. Don’t overtighten it.
Once reassembled, lock your portafilter in. It should feel snug and secure without having to be turned as far as before. Run some water through the group head to confirm there are no leaks. You’re now ready for many more months of perfect espresso.
| Frequency | Maintenance Task | Purpose |
|---|---|---|
| Daily | Wipe with a cloth, water flush | Remove fresh coffee oils and grounds to prevent buildup. |
| Weekly | Backflush with cleaner | Deep clean internal parts, gasket, and shower screen. |
| Every 6-12 Months | Inspect for wear and tear | Proactively identify a hardening or cracking gasket before it fails. |
| As Needed (approx. 1-2 Years) | Replace the gasket | Ensure a perfect, leak-free seal for optimal extraction. |
Conclusion
The group head gasket may be a small part of your Gaggia espresso machine, but its impact on your coffee is immense. A healthy, clean gasket is the foundation of a leak-free seal, ensuring consistent pressure and a proper extraction every time you brew. By learning to recognize the signs of a failing seal—from obvious leaks to the subtle need to overtighten your portafilter—you can address the issue before it ruins your morning ritual. Regular cleaning, including daily wiping and weekly backflushing, will significantly prolong its life. Ultimately, replacing the gasket is a straightforward and inexpensive maintenance task that any home barista can perform, restoring your machine’s performance and guaranteeing the quality of your espresso for years to come.
 No products in the cart.