Mastering consistency: How to improve espresso repeatability on your Cafelat Robot
The Cafelat Robot is a marvel of simplicity, offering a purely manual espresso experience that can produce truly exceptional shots. However, that complete manual control can also be a source of frustration. One day you pull a shot of rich, syrupy espresso, and the next, using what feels like the same process, you get a sour, underextracted disappointment. This lack of consistency is a common challenge for new and even experienced Robot users. The key isn’t a secret technique or an expensive accessory; it’s about building a methodical and repeatable workflow. This article will guide you through the essential steps to tame the variables, helping you pull delicious, consistent espresso every single time.
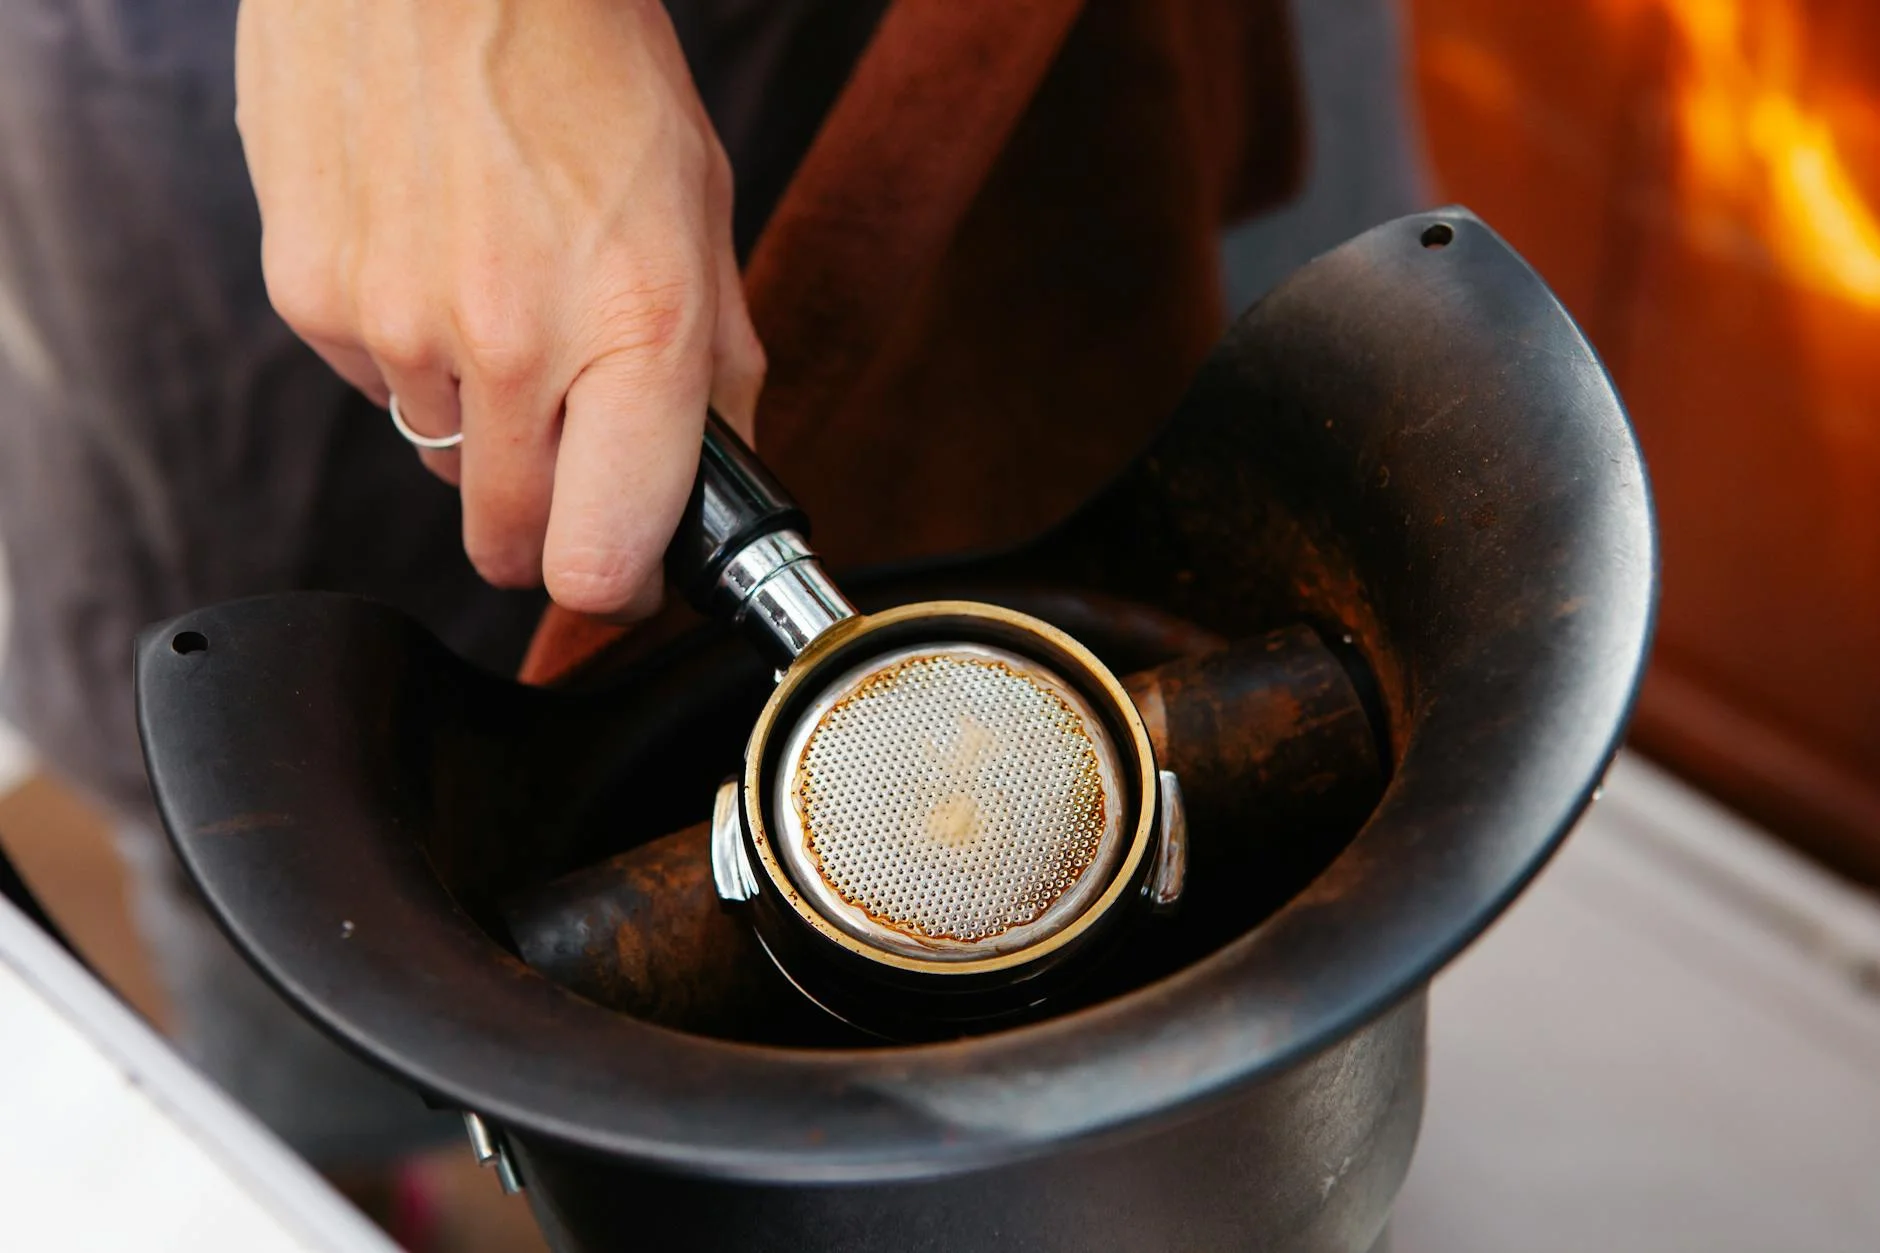
The foundation of repeatability: Puck preparation
Before water even touches the coffee, the fate of your shot is largely decided. Inconsistent puck preparation is the number one cause of inconsistent shots. A perfectly prepared puck encourages water to flow through it evenly, leading to a balanced extraction. A poorly prepared one will have channels, areas where water flows too quickly, causing both sour and bitter flavors in the same cup. Building a solid routine here is your first and most important step.
Your workflow should focus on four key areas:
- Dosing: Use a scale that is accurate to 0.1 grams. Don’t eyeball your dose. A difference of just half a gram of coffee can significantly alter your shot time and taste. Weigh your beans before grinding and weigh your ground coffee in the portafilter basket to ensure you’re using the exact same amount for every shot.
- Grinding: A quality grinder is non-negotiable for espresso. Your grind setting is the primary way you control how fast or slow your shot runs. For repeatability, always grind fresh for each shot and ensure your grinder setting hasn’t been accidentally knocked or changed.
- Distribution (WDT): The Weiss Distribution Technique, or WDT, is a game-changer for the Robot. After grinding into the basket, the coffee is often clumpy and unevenly distributed. Use a WDT tool (a set of fine needles) to stir the grounds thoroughly, breaking up all clumps and creating a fluffy, homogenous bed of coffee. This single step does more to prevent channeling than almost anything else.
- Tamping: The goal of tamping isn’t to press as hard as you can. The goal is to create a level and evenly compressed puck of coffee. Focus on applying firm, consistent pressure and ensuring your tamper is perfectly parallel to the rim of the basket. A crooked tamp will lead to uneven extraction.
By making these four steps a non-negotiable, identical part of your routine for every shot, you eliminate a massive source of variation and create the perfect foundation for a consistent pull.
Taming the variables: Water and temperature
With a consistent puck prepared, the next major variables to control are water and temperature. The Cafelat Robot has no built-in heating element, so thermal management is entirely up to you. An unstable or inconsistent temperature will directly impact the flavor of your espresso. Colder water tends to produce sour, underdeveloped flavors, while water that is too hot can create harsh, bitter, and astringent shots. Achieving thermal stability is simpler than it sounds.
First, consider your water temperature. Use a kettle with temperature control to heat your water to a precise degree. A great starting point for most medium roast coffees is around 93-95°C (200-203°F). For darker roasts, you might go slightly cooler, and for very light roasts, you might go slightly hotter. The key is to pick a temperature and stick with it while you are dialing in a coffee.
Second, you must preheat the Robot’s components. The heavy brass piston, in particular, acts as a significant heat sink, robbing your brew water of precious degrees. There are several effective methods for preheating:
- The steam method: Place the piston (without the silicone seal) on top of your steaming kettle as it heats up. This is a very effective and clean way to get it hot.
- The boiling water method: Fill the basket with boiling water (without the coffee, of course) and lock it into the portafilter. You can also carefully pour boiling water over the piston. Be sure to dry everything thoroughly before adding your coffee grounds.
By always using water at the same starting temperature and consistently preheating your piston, you create a stable thermal environment for extraction, moving you one step closer to shot-to-shot repeatability.
The art of the pull: Mastering pressure and time
This is where the magic of a manual lever machine comes to life. Unlike a machine with a pump, you have direct, tactile control over the pressure applied to the puck throughout the entire shot. Replicating this pressure profile is critical for consistency. To do this effectively, you need two tools: a scale with a built-in timer and your own sense of feel.
A typical espresso pull can be broken down into three phases. By thinking about your pull in these stages, you can make it more deliberate and repeatable.
- Pre-infusion: This initial phase is about gently saturating the puck with water before applying full pressure. Raise the arms and slowly apply about 1-2 bars of pressure. You can watch for the first few drops to appear at the bottom of the basket. A typical pre-infusion lasts between 8-12 seconds. This step helps reduce channeling and leads to a more even extraction.
- Ramp-up and peak pressure: Once the puck is saturated, smoothly and steadily increase the pressure to your target, which is typically between 6 and 9 bars. Hold this pressure as the main part of your extraction takes place. Pay attention to the stream of espresso; it should look like a thin stream of warm honey.
- Ramp-down: As you approach your desired output weight (e.g., 36 grams of liquid for an 18-gram dose), you can either maintain full pressure or begin to gently ramp down. This can help smooth out the end of the shot and reduce the chance of bitterness. Stop the shot by completely releasing the pressure when you hit your target yield on the scale.
The best way to visualize and repeat this is by using your scale’s timer to hit specific milestones. For example, aim for first drops at 10 seconds, and your full yield of 36 grams at a total time of 30-35 seconds.
| Shot phase | Target pressure | Target time | Key indicator |
|---|---|---|---|
| Pre-infusion | 1-2 bars | 8-12 seconds | First drops of espresso appear |
| Peak extraction | 6-9 bars | 15-20 seconds | Steady flow, target shot weight |
| Ramp-down | Gradually decrease | 2-5 seconds | Stop the shot at the target yield |
Dialing in and taking notes: The feedback loop
You can have a perfect workflow, but coffee is an organic product. Different beans, or even the same beans as they age, will require adjustments. This is where the final piece of the repeatability puzzle comes in: creating a feedback loop. Your palate is the ultimate judge, but your memory can be unreliable. The key is to taste your shot, decide what needs to change, and then change only one variable at a time.
If your shot tastes sour and runs too fast (e.g., you get 36 grams out in 20 seconds), the most logical change is to adjust your grinder to a finer setting. Don’t change your dose, your temperature, and your grind all at once. Grind a little finer and keep everything else identical. Pull the shot again. Is it better? Did you overshoot and now it’s bitter and slow? Make another small adjustment. This methodical process is called “dialing in.”
To make this process even more reliable, consider keeping a simple coffee journal. It doesn’t need to be complicated. Just note down:
- Coffee bean name
- Dose in (grams)
- Grind setting
- Yield out (grams)
- Total time (seconds)
- Taste notes (e.g., “sour, fast,” or “balanced, sweet,” or “a bit bitter”)
This log creates an invaluable record. When you get a new bag of the same beans a month later, you can look at your notes and have an excellent starting point instead of starting from scratch. This disciplined approach of tasting, adjusting one variable, and recording the results is what truly separates a frustrating experience from a rewarding one.
Achieving espresso repeatability on the Cafelat Robot is not about luck; it’s about discipline and process. By transforming your routine from a series of haphazard guesses into a deliberate, step-by-step workflow, you take control of the outcome. It begins with a meticulous and unvarying puck preparation routine to ensure an even extraction. It continues with precise control over your water and preheating temperature to create a stable brewing environment. From there, you master the physical pull by replicating your pressure profile and shot time. Finally, you close the loop by tasting critically, making single, informed adjustments, and keeping notes. This methodical approach empowers you to understand cause and effect, turning your Robot from an unpredictable device into a reliable tool for crafting consistently exceptional espresso.

 No products in the cart.