How to switch coffee beans efficiently in your Gaggia Velasca grinder
Owning a Gaggia Velasca super-automatic espresso machine opens up a world of coffee exploration right in your kitchen. The excitement of trying a new single-origin from Ethiopia after finishing a classic Italian blend is a joy for any coffee lover. However, making the switch isn’t as simple as just pouring new beans into the hopper. Residual grounds and oils from the previous coffee can linger, tainting the delicate notes of your new selection and preventing you from tasting its true profile. This guide is designed to walk you through the most efficient process for changing beans in your Gaggia Velasca. We will cover everything from thoroughly cleaning the grinder to dialing in the perfect settings for your new coffee, ensuring every cup is as fresh and flavorful as it should be.
Preparing for the switch: Why a clean grinder matters
Before you even open that new bag of beans, it is crucial to understand why a proper transition is so important. Every coffee bean leaves behind a unique signature in your grinder. This comes in the form of microscopic grounds and, more significantly, coffee oils. When you simply add new beans on top of old ones, you create a mix that muddles flavors. This phenomenon, often called flavor ghosting, is why your bright, fruity new coffee might taste unexpectedly roasty or bitter. The remnants of a dark, oily roast can easily overpower a more delicate light roast.
The goal is to create a clean slate for your new beans. This ensures that the first cup you brew showcases the flavor profile intended by the roaster, not a confused blend of old and new. A clean switch also contributes to the long-term health of your Gaggia Velasca. A buildup of old oils and fines can lead to blockages and affect the grinder’s performance over time. A little preparation now prevents flavor contamination and future maintenance headaches.
The step-by-step grinder clearing process
To achieve a truly clean switch, you need to purge the grinder of any old coffee. This multi-step process is the most effective way to prepare your Gaggia Velasca for a new batch of beans. Follow these steps for the best results.
- Step 1: Grind out the remaining beans. The first and most obvious step is to use up the coffee that is already in the machine. The best way to do this is to simply continue making coffee until you hear the grinder’s sound change, indicating it is no longer pulling in beans from the hopper. Avoid letting it run completely dry for too long.
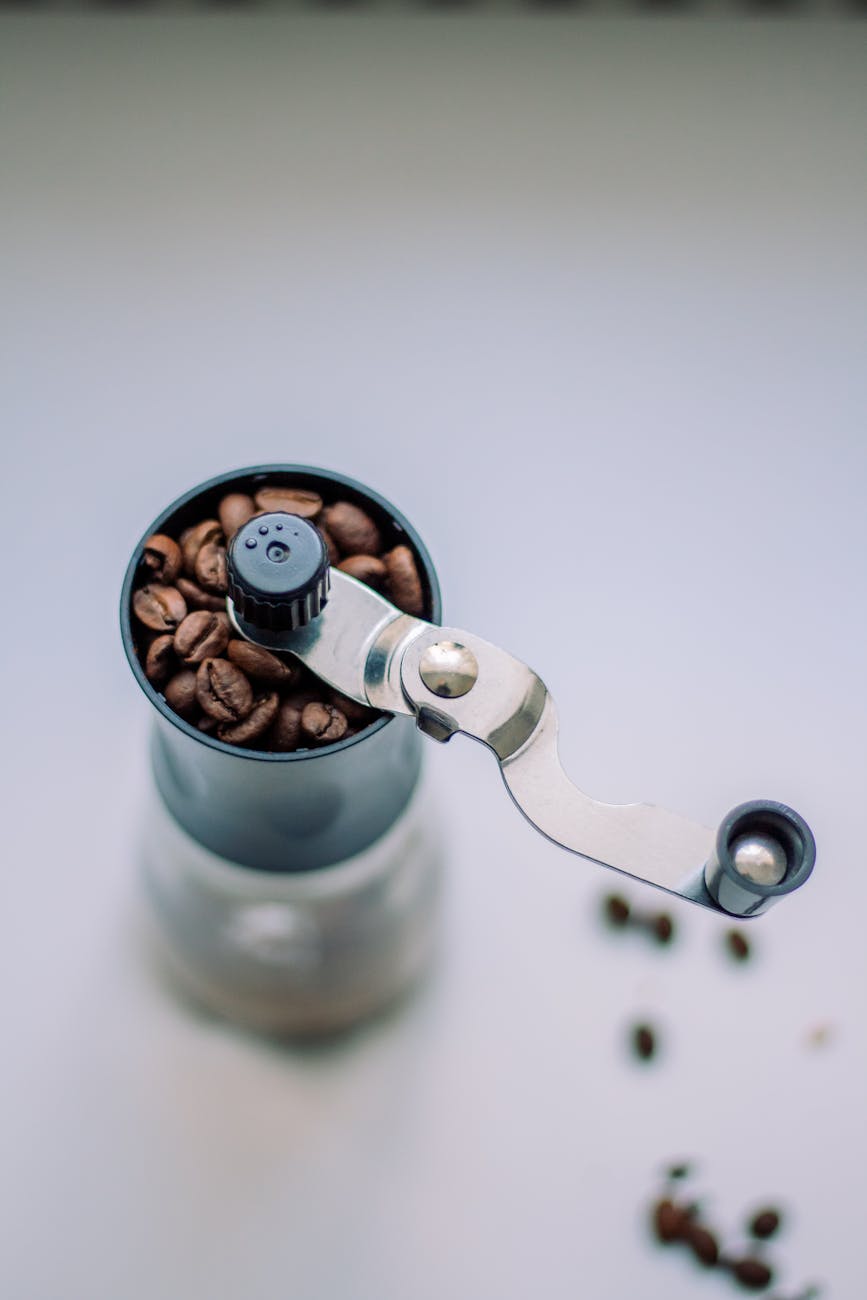
- Step 2: Empty and clean the hopper. Once the grinder is clear, remove any stray beans left in the hopper. Use a dry cloth to wipe out any residual oils or chaff clinging to the sides. For a more thorough job, a vacuum cleaner with a narrow hose attachment is your best tool. Use it to suck out any fine dust and particles from the hopper and the visible entry to the burrs.
- Step 3: Purge with “sacrificial” beans. This is the most critical step for ensuring flavor purity. Even after running the grinder empty, a few grams of the old coffee remain trapped between the burrs and in the chute leading to the brew group. To push these out, add a small handful of your new coffee beans to the hopper and grind a single shot. Discard this first shot, as it will contain a mix of the old and new coffee. These are your “sacrificial beans,” and they effectively purge the system.
By following this purge method, you ensure the grounds used for your first real cup are 100% from your new bag of coffee, giving you an accurate taste from the very beginning.
Dialing in your new coffee beans
With the grinder now clean and loaded with new beans, the final step is to adjust the settings to extract the perfect shot. Different beans have different densities, sizes, and roast levels, all of which require a specific grind setting for optimal flavor. A dark roast, for example, is more brittle and soluble than a light roast, so it typically needs a coarser grind to prevent over-extraction and bitterness.
Start by setting your Gaggia Velasca’s grinder to a medium setting, often a good starting point. Brew a single espresso and observe. How does it taste? How does it pour? Use your senses to guide your adjustments. Remember to only change the grind setting while the grinder is in operation to prevent damaging the burrs.
Use this table as a quick reference for troubleshooting your shot:
| Problem | Observation | Solution |
|---|---|---|
| Under-extraction | The shot tastes sour or acidic. The coffee flows out very quickly (like water). | Adjust the grinder to a finer setting (a lower number). |
| Over-extraction | The shot tastes excessively bitter or hollow. The coffee drips out very slowly or chokes the machine. | Adjust the grinder to a coarser setting (a higher number). |
| Balanced Shot | The flavor is rich, sweet, and complex. The coffee flows like warm honey. | You’ve found the sweet spot! Keep this setting. |
Pull two to three shots, making small adjustments each time, until you achieve a taste you enjoy. This process, known as dialing in, is essential to unlocking the full potential of your new beans.
Special considerations for oily beans
A frequent topic among Gaggia Velasca owners is the use of oily beans. These are typically very dark roasts where the roasting process has brought the natural oils to the surface of the bean, giving them a visible sheen. While appealing to some, these beans can pose a risk to super-automatic machines. The excess oil can coat the grinder burrs, causing the ground coffee to clump together and potentially clog the grinder chute and the brew group.
If you prefer dark roasts, try to select beans that have a matte or only slightly shiny finish rather than ones that look wet or greasy. Using extremely oily beans can lead to inconsistent grinding and may require you to perform maintenance and cleaning much more frequently. If you do choose to use an oily blend, be extra vigilant. After finishing the bag, perform a particularly thorough cleaning of the hopper and consider using grinder cleaning pellets (made from food-safe materials) to help absorb and remove some of the residual oil before you switch to your next coffee.
Switching coffee beans in your Gaggia Velasca is more than just a task; it is part of the ritual of appreciating fine coffee. By taking the time to properly clean out the old grounds, you honor the unique character of your new beans and ensure a pure, unadulterated tasting experience. The process is simple: run the grinder empty, vacuum the hopper, purge the last remnants with a small amount of the new beans, and then dial in your grind setting to perfection. This small investment of effort pays huge dividends in the cup, transforming your machine from a simple coffee maker into a gateway for exploring the vast and delicious world of coffee. Treat your machine and your beans with this care, and your taste buds will thank you.

 No products in the cart.