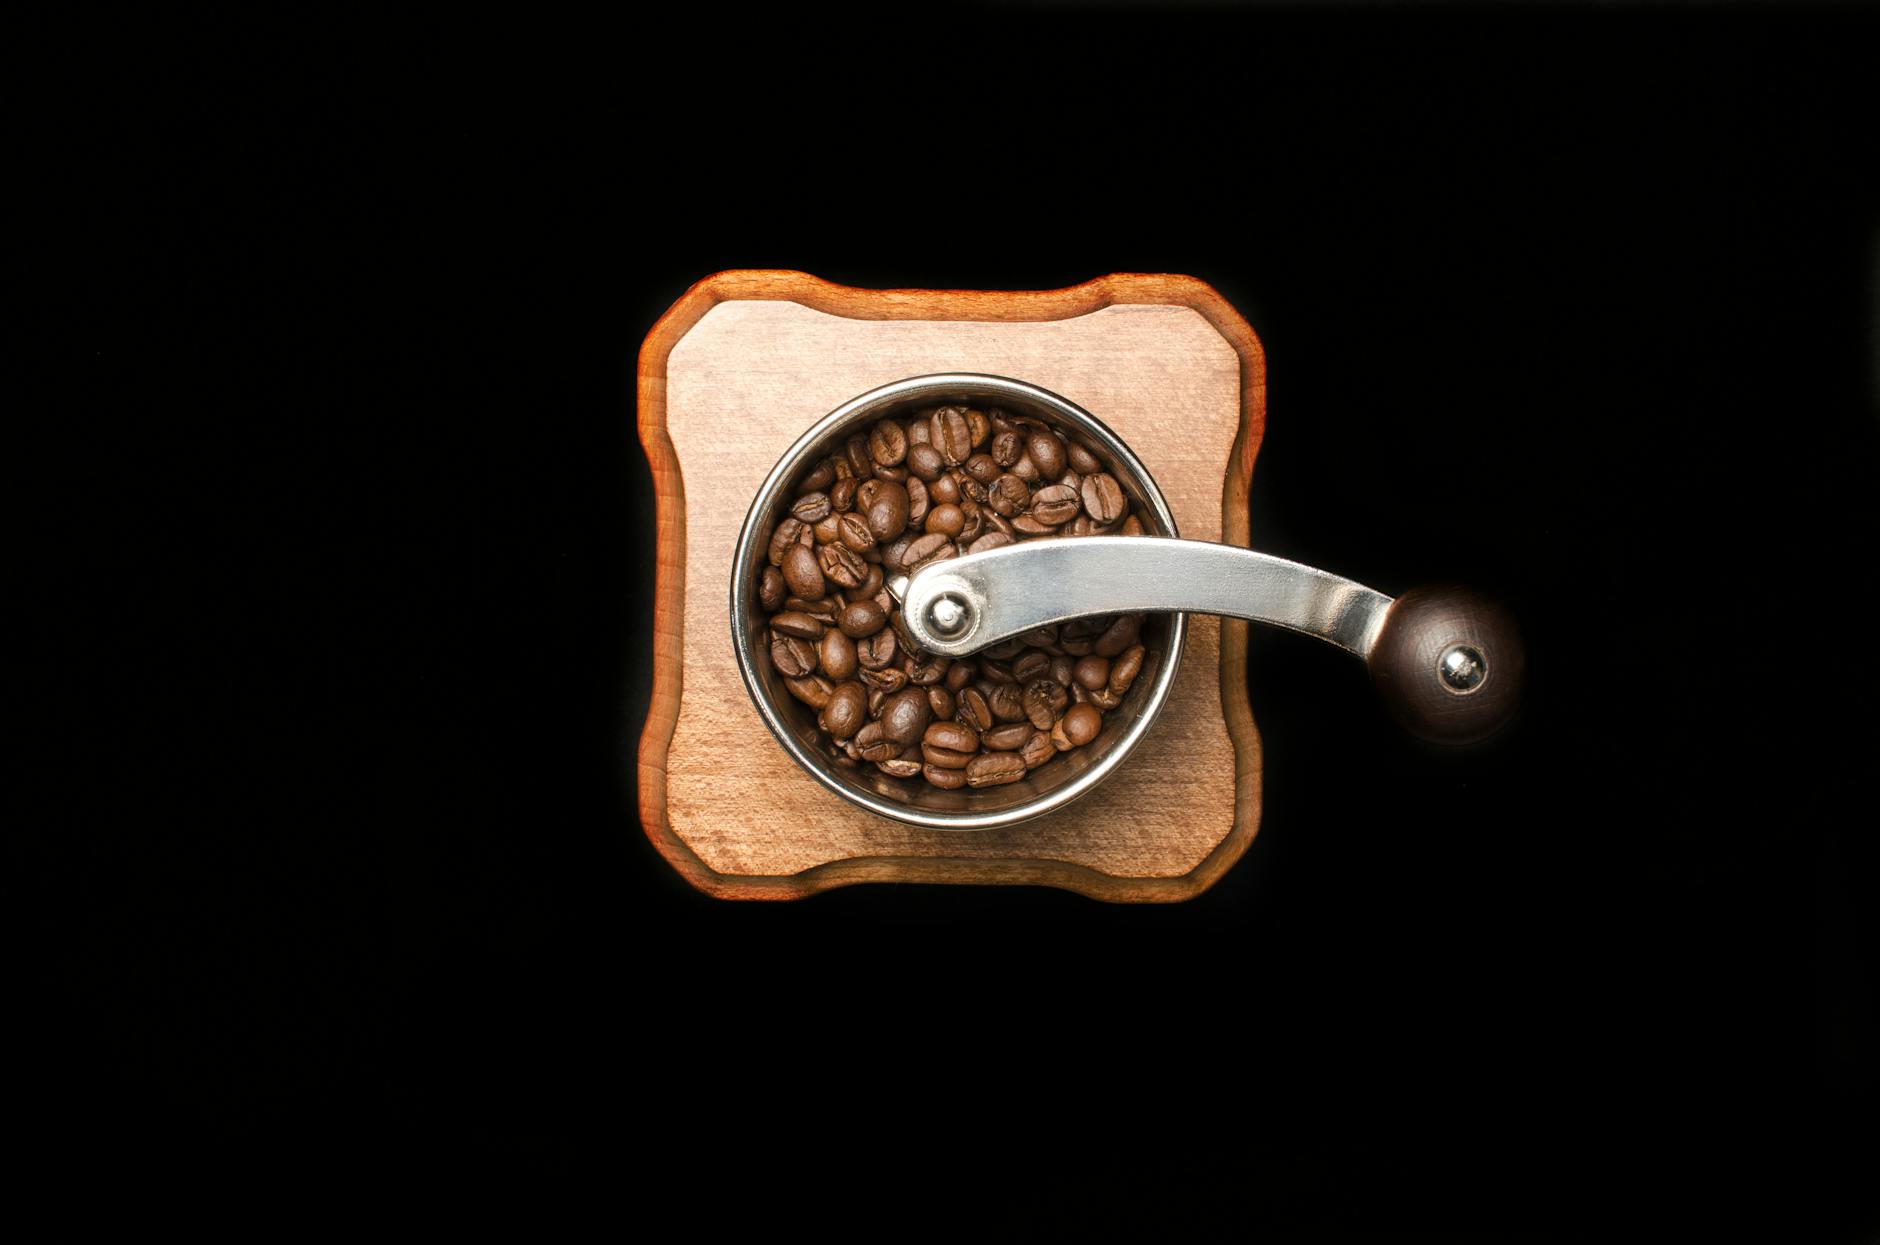
How to switch between different beans on one espresso grinder
For any home barista, the journey into specialty coffee is an exciting one, filled with an endless variety of beans to explore. From fruity single-origin Ethiopians to chocolatey Brazilian blends and even the occasional decaf, the possibilities are vast. However, this exploration presents a common challenge: how do you switch between these different coffees when you only have one grinder? Simply swapping the beans in the hopper isn’t enough. The process involves dealing with old grounds left inside the grinder and completely readjusting your settings. This article will serve as your comprehensive guide, walking you through the challenges of grinder retention, the best practices for purging old coffee, and the step-by-step process for dialing in new beans efficiently, ensuring every espresso shot is as delicious as it should be.
Understanding the core challenges: Retention and grind settings
Before you can successfully switch beans, it’s crucial to understand the two main obstacles you’ll face: grinder retention and the need to adjust grind settings. These two factors are intrinsically linked and are the reason you can’t just pour new beans in after the old ones are gone.
Grind retention refers to the amount of coffee grounds that remain inside the grinder’s burrs, chute, and internal pathways after a grinding cycle is complete. Even after the motor stops, a certain amount of coffee, from a fraction of a gram to several grams, is left behind. When you introduce new beans, these old grounds will mix with the new ones, contaminating the flavor of your first few shots. Imagine pulling a shot with your bright, floral new beans, only to have it tainted by the dark, roasty notes of the previous coffee. This is the problem of retention.
Furthermore, every coffee is different. Beans vary in density, size, roast level, and moisture content. These characteristics directly impact how they fracture and, therefore, require a unique grind setting to achieve the perfect espresso extraction. A setting that produces a beautiful 28-second shot with one blend might result in a gushing 15-second shot (too coarse) or a choked 50-second shot (too fine) with another. This process of finding the perfect grind size for a specific bean is called dialing in, and it must be done every time you switch to a new coffee.
Choosing the right type of grinder for frequent switching
While any grinder can be used to switch beans, some designs make the process significantly easier and less wasteful. The main distinction lies between traditional hopper-style grinders and modern single-dosing grinders.
Hopper-style grinders are designed to hold a large quantity of beans, feeding them into the burrs by gravity. They are convenient for high-volume environments or for those who stick to one type of coffee for an extended period. However, they typically have higher retention, making the process of switching beans more cumbersome. You must first empty the hopper, then run the grinder to clear out the internal chamber, and then purge with a significant amount of new beans to ensure all the old grounds are gone.
Single-dosing grinders, on the other hand, are designed specifically for this workflow. As the name suggests, you weigh out the exact amount of beans you need for a single dose (e.g., 18 grams) and grind them all at once. These grinders are engineered for zero retention or low retention. Key features often include:
- Steeply angled pathways: To help grounds exit the grinder with minimal assistance.
- Bellows: A rubber or silicone dome on top that you can pump to push a blast of air through the grinder, forcing out any stubborn residual grounds.
- Easy-to-access burrs: For simple and frequent cleaning.
If you plan to switch between different beans regularly (for example, between caffeinated and decaffeinated coffee), investing in a low-retention or single-dosing grinder will save you time, frustration, and a significant amount of wasted coffee in the long run.
A step-by-step guide to switching beans
Once you understand the ‘why’, the ‘how’ becomes a clear and manageable process. Follow these steps to switch beans on your grinder while minimizing waste and ensuring a clean, accurate flavor profile for your new coffee.
Step 1: Remove the old beans
If you use a hopper-style grinder, your first task is to empty it. You can either close the hopper gate (if it has one) and remove it, or simply use a cup to scoop the beans out. For single-dose grinders, this step is already done, as there are no beans left from the previous session.
Step 2: Purge the retained grounds
This is the most critical step. You must clear out all the old coffee grounds. Run the grinder for a few seconds to push out the majority of what’s left. Then, to get the rest, you need to grind a small amount of your new coffee. This is often called a “sacrificial dose.” For a typical home grinder, 5-7 grams of the new beans should be enough to push out nearly all the old grounds. Discard this initial grind, as it will be a mix of old and new coffee. If you have a grinder with a bellows, a few good pumps can significantly reduce the amount of coffee needed for purging.
Step 3: Dial in the new beans
With the grinder now clear of old coffee, it’s time to find the correct grind setting for the new beans.
- Start with an educated guess for your grind setting. If you’re switching from a dark roast to a light roast, you will likely need to grind finer.
- Weigh your desired dose of the new beans and grind them.
- Pull your espresso shot, keeping a close eye on the time and the output weight. Aim for a standard recipe, such as a 1:2 ratio (e.g., 18g in, 36g out) in about 25-30 seconds.
- Based on the result, adjust your grind. If the shot runs too fast, make the grind finer. If it runs too slow or chokes the machine, make it coarser.
- Repeat the process, making small adjustments each time, until you hit your target parameters.
This systematic approach ensures you aren’t just guessing, but are actively working toward the perfect extraction for your new beans.
Workflow optimization and advanced techniques
For those who switch beans daily, optimizing your workflow can make the process faster and more consistent. One of the best tools for this is keeping a “grind journal.” This can be a simple notebook or a note-taking app on your phone. For each new coffee you buy, record the name of the bean, the dose you used, and, most importantly, the final grind setting number on your grinder’s dial. The next time you buy that same coffee, you’ll have a precise starting point, often getting you dialed in with the very first shot.
Another consideration is the difference in bean properties. Switching between beans with very different oil levels or densities can sometimes require a brief “seasoning” period. After purging, the first shot with the new beans might behave slightly differently as the burrs get coated with the oils and fines of the new coffee. This is usually a minor effect, but it’s something to be aware of if your first dialed-in shot doesn’t taste quite right.
Here is a simple comparison of the two main workflows:
| Workflow Type | Pros | Cons |
|---|---|---|
| Hopper-Style Grinding | Convenient for making many drinks with the same bean; faster for a single coffee type. | High bean waste when switching; risk of flavor contamination; beans can go stale in the hopper. |
| Single Dosing | Minimal waste when switching; allows for easy experimentation; keeps beans fresher. | Requires weighing beans for every shot; can be a slower overall process. |
Ultimately, a combination of the right technique and organized notes will transform switching beans from a chore into a seamless part of your coffee ritual.
Conclusion: Embrace the variety with confidence
Switching between different coffee beans on a single espresso grinder is entirely possible and a rewarding part of the home barista experience. It opens the door to a world of flavor that would otherwise be missed. The key to success is a methodical approach rooted in understanding the core challenges of grinder retention and the necessity of dialing in. By diligently emptying your grinder, purging the old grounds with a small amount of new beans, and systematically adjusting your grind size, you can achieve a clean and delicious extraction every time. Whether you use a traditional hopper grinder or a modern single-doser, this process ensures consistency. Don’t let the fear of a little extra work hold you back. Embrace the process, keep notes to make it easier next time, and enjoy the rich diversity that the world of specialty coffee has to offer, one perfect shot at a time.


 No products in the cart.