How to program custom drink volumes on your Gaggia Velasca: A step-by-step guide
Owning a super-automatic espresso machine like the Gaggia Velasca is all about convenience and quality. But what if the factory-set espresso shot is a little too short for your favorite mug, or the lungo is a bit too long for your taste? The true beauty of the Velasca lies in its ability to adapt to your personal preferences. This guide is designed to unlock that potential. We will walk you through the simple yet powerful process of programming custom drink volumes on your machine. By learning how to use the built-in memo function, you can move beyond the default settings and start brewing coffee that is perfectly tailored to your cup, your beans, and your unique taste, every single time.
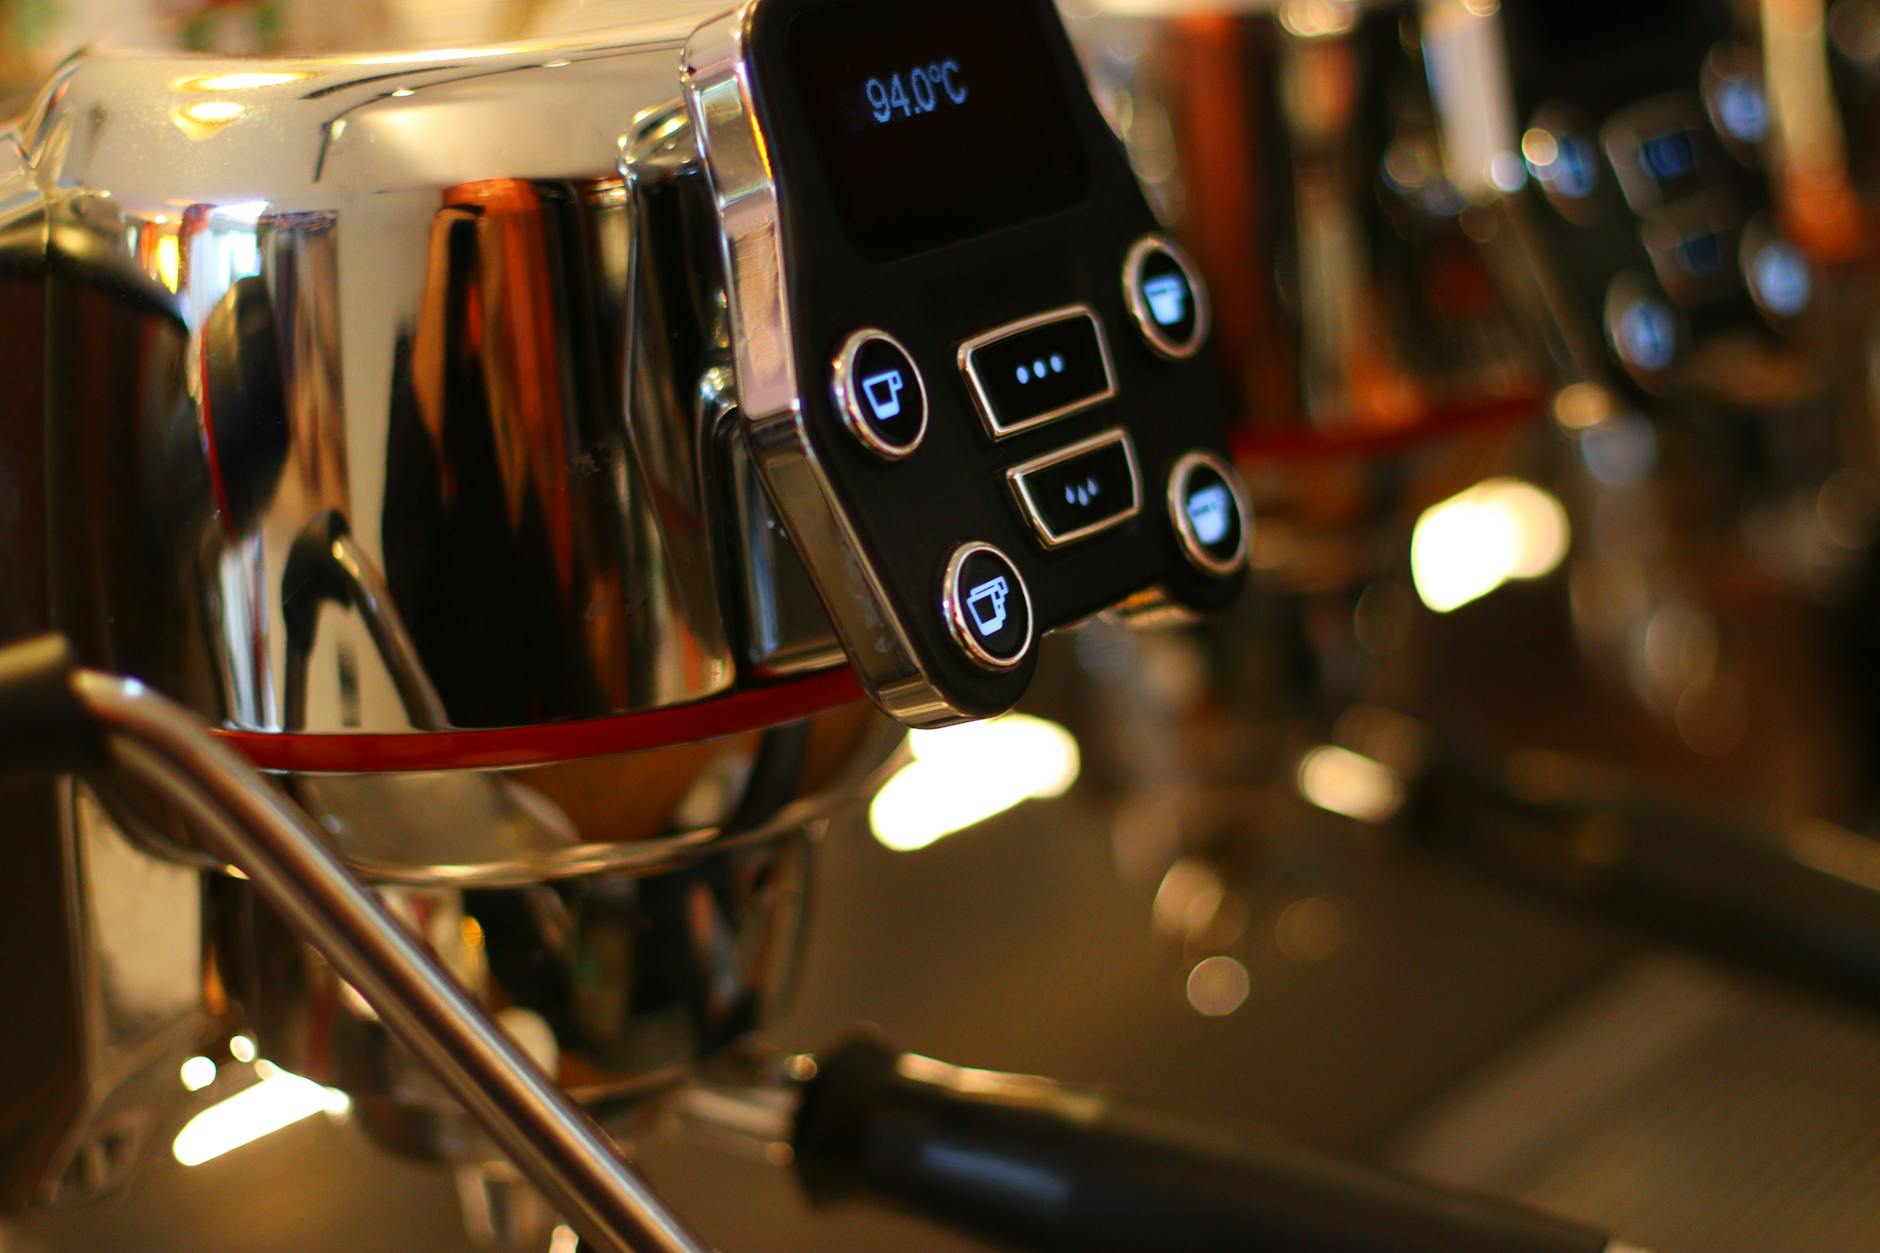
Understanding the Velasca’s memo function
Before we jump into the “how,” it’s helpful to understand the “what.” The Gaggia Velasca features a special programming mode often referred to as the “memo” function. This isn’t a complicated coding process; it’s an intuitive feature that allows the machine to remember the amount of water (for coffee) or milk you prefer for each specific drink button. When you first unbox your machine, each button—Espresso, Espresso Lungo, Cappuccino, etc.—is programmed with a standard, factory-default volume.
While these defaults are a great starting point, they can’t account for variables like the size of your cup, the specific coffee beans you’re using, or your personal strength preference. By programming a custom volume, you are essentially telling the machine, “This is how I like my espresso. Remember it.” This ensures perfect consistency with every press of the button, taking the guesswork out of your morning routine and elevating your home coffee experience from good to exceptional.
Preparing your machine for programming
A successful programming session starts with a little preparation. Taking a minute to get your machine ready ensures that the volume you save is accurate and that the process goes smoothly without any interruptions. Rushing this step can lead to saving the wrong amount or having the machine stop midway due to a lack of water or beans. It’s a simple checklist, but a crucial one.
- Fill the water tank: Make sure the water tank is at least half full to avoid the machine stopping mid-brew.
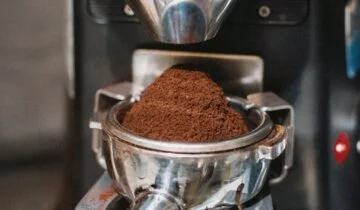
- Check the bean hopper: Ensure you have enough coffee beans for the drink you intend to program.
- Grab your favorite cup: This is the most important step! Always program the volume using the specific cup or mug you plan to drink from. Programming an espresso shot in a large cappuccino cup will make it very difficult to judge the correct volume.
- Power on and rinse: Turn your Gaggia Velasca on and allow it to complete its heat-up and rinse cycle. This ensures the machine is at the optimal temperature for brewing.
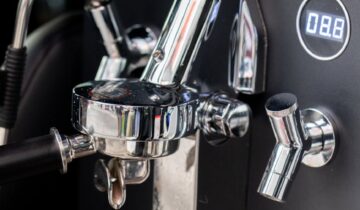
Programming your espresso and espresso lungo
This is where you take control of your coffee. The process for programming the straight coffee drinks on the Gaggia Velasca is incredibly straightforward. It uses a simple “press and hold” mechanic to enter programming mode and save your preference. Follow these steps carefully for either the Espresso or Espresso Lungo button.
- Step 1: Place your chosen cup under the coffee spouts.
- Step 2: Press and hold down the button for the drink you wish to program (e.g., the Espresso button). Do not release it.
- Step 3: After a few seconds, the button’s light will start to flash, and you will see a “MEMO” icon appear on the display. This confirms you are in programming mode. You can now release the button.
- Step 4: The machine will grind the beans and begin brewing coffee into your cup. Watch it closely.
- Step 5: When the coffee reaches your desired level in the cup, press the same button again (just a quick press this time) to stop the flow of water.
- Step 6: The machine will stop brewing, and the “MEMO” icon will disappear. Your custom volume is now saved!
From now on, every time you press that button, the Gaggia Velasca will dispense the exact amount of coffee you just programmed. You can repeat this process for the other coffee buttons to customize each one.
Tips for milk drinks and a quick reference table
If you own a Gaggia Velasca Prestige with the integrated milk carafe, you can also customize the volume of milk and coffee for drinks like cappuccinos and lattes. The process is very similar but involves two stages. You will press and hold the desired drink button to enter memo mode. The machine will first dispense frothed milk. When you have the right amount of milk, you press the button to stop it. The machine will then immediately start brewing coffee. You press the button a second time to stop the coffee at your desired level. The machine will then save both the milk and coffee volumes for that button.
To give you a better idea of the adjustments you can make, here is a simple table comparing typical factory settings to potential custom settings.
| Drink | Typical factory setting (approx.) | Example custom setting |
|---|---|---|
| Espresso | 40 ml (1.35 oz) | 30 ml (1 oz) for a more concentrated ristretto |
| Espresso Lungo | 120 ml (4 oz) | 90 ml (3 oz) for a stronger Americano base |
| Cappuccino (Milk) | 100 ml | 130 ml for a milkier, foamier drink |
| Cappuccino (Coffee) | 40 ml | 50 ml for a bolder coffee flavor in the mix |
Conclusion
You are now equipped with the knowledge to transform your Gaggia Velasca from a great coffee maker into your personal barista. We’ve covered the importance of the memo function, the simple preparatory steps to ensure accuracy, and the step-by-step process for programming both coffee and milk-based drinks. Remember that the “perfect” volume is entirely subjective; it’s a balance between your taste, the roast of your beans, and the size of your favorite cup. Don’t be afraid to experiment. If you program a volume and it isn’t quite right, you can simply repeat the process to adjust it. Taking a few moments to dial in these settings is a worthwhile investment that pays off with every delicious, perfectly customized cup of coffee.
 No products in the cart.