The Gaggia Anima Prestige is a marvel of home coffee engineering, a super-automatic machine designed to deliver café-quality beverages with minimal effort. While it produces fantastic drinks straight out of the box, its true potential is unlocked when you tailor it to your personal taste. One of the most impactful customizations you can make is programming the beverage volume. Whether you prefer a short, intense ristretto, a longer Americano-style coffee, or a cappuccino with the perfect milk-to-espresso ratio, the Anima Prestige can remember your preference. This article will serve as your complete guide, walking you through the simple yet powerful ‘memo’ function to program custom coffee and milk volumes, ensuring every cup from your machine is your perfect cup.
Understanding the ‘memo’ function
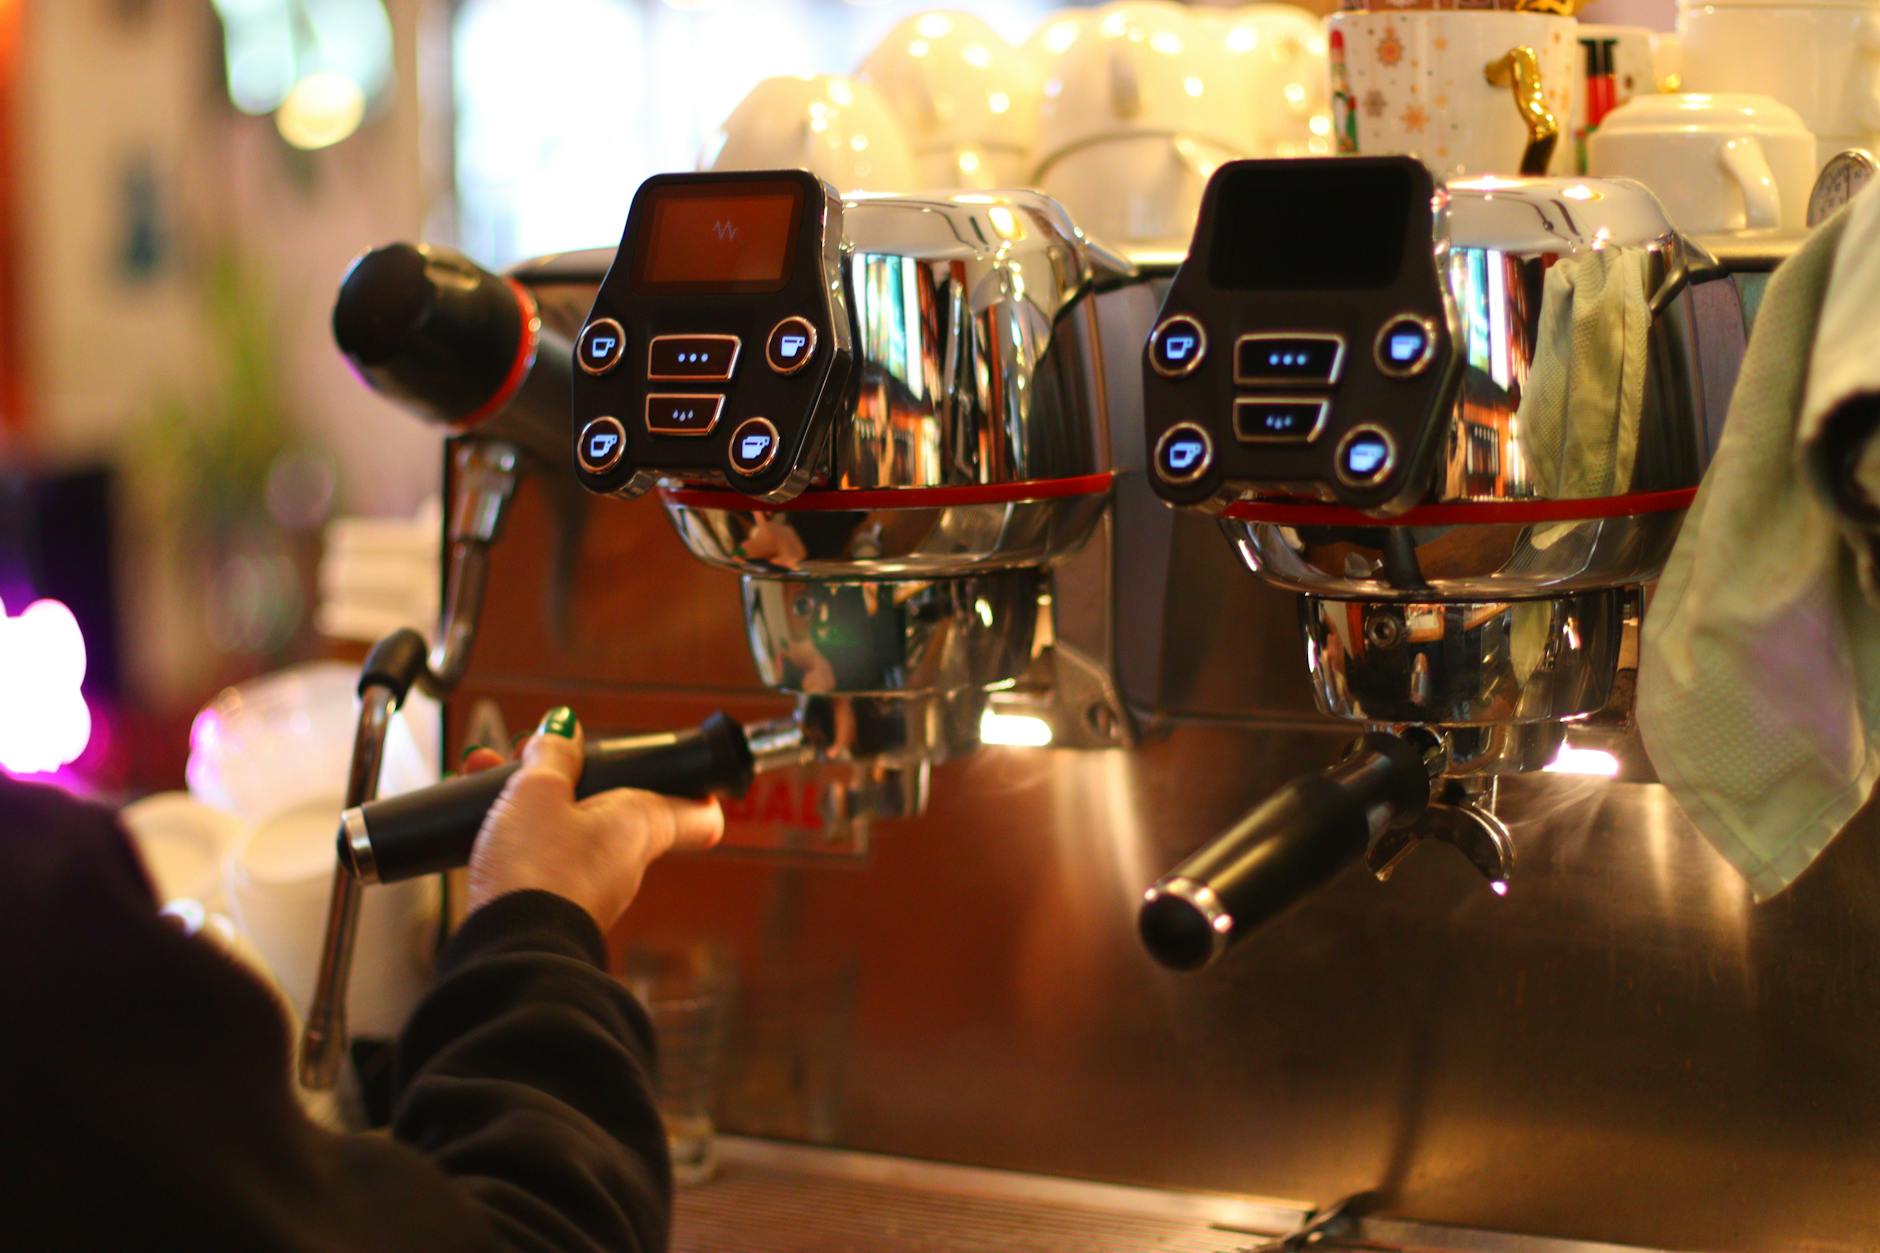
At the heart of the Gaggia Anima Prestige’s customization capability is its ‘memo’ function. This isn’t a complicated menu you need to navigate; instead, it’s an intuitive programming mode built directly into the main beverage buttons. Each of the four dedicated drink buttons—Espresso, Espresso Lungo, Cappuccino, and Latte Macchiato—can be programmed to remember a specific volume of coffee and/or milk. The process works by using a ‘press and hold’ command. When you press and hold a beverage button, the machine enters programming mode, indicated by a flashing light and a “MEMO” icon on the display. It then begins to dispense the beverage, waiting for your input to tell it when to stop. Once you stop it, that new volume is saved for all future single-press uses of that button, effectively overwriting the factory setting.
Programming your espresso and lungo
Customizing your straight coffee drinks is the most straightforward programming task on the Anima Prestige. This process applies to both the Espresso and Espresso Lungo buttons. To achieve your perfect shot volume, you’ll want to have your favorite cup ready. For best results, consider using a small kitchen scale to measure the output in grams for ultimate precision, but watching the volume by eye works perfectly well too.
- Place your desired cup under the coffee spouts.
- Press and hold the Espresso button (or Espresso Lungo button). Do not release it.
- The button will begin to flash, the “MEMO” icon will appear on the screen, and the machine will start brewing.
- Keep the button held down while the coffee dispenses.
- When the coffee in your cup reaches the exact amount you want, release the button.
That’s it. The machine will beep to confirm that the new volume has been saved. From now on, every time you give that button a short, normal press, it will dispense your newly programmed custom volume.
Customizing milk-based drinks
Programming milk-based drinks like the cappuccino and latte macchiato follows the same ‘press and hold’ logic, but it involves two distinct stages: the milk frothing and the coffee brewing. The machine allows you to set the duration for the milk frothing and the volume for the espresso shot independently within a single programming sequence. This gives you complete control over the final taste, texture, and ratio of your drink.
To program the Cappuccino or Latte Macchiato button:
- Place a suitable cup under the spout, ensuring the milk carafe is attached and filled.
- Press and hold the Cappuccino (or Latte Macchiato) button. The “MEMO” icon will appear.
- The machine will first begin dispensing frothed milk. Watch it closely.
- When you have the perfect amount of milk foam, give the button a short press. This stops the milk phase and saves the frothing time.
- The machine will immediately begin brewing the coffee phase into the same cup.
- When the espresso reaches your desired volume, give the button another short press to stop the flow.
The machine will confirm the setting is saved. Now, both your custom milk duration and coffee volume are stored for that specific drink button, ready to be prepared perfectly every time.
Tips for precision and resetting to factory defaults
Getting your volumes just right can take a bit of experimentation. To help you dial in the perfect cup, here are a few tips. First, use a scale. Measuring your coffee output in grams (where 1g is roughly 1ml) is far more accurate than relying on visual cues. Second, remember that changing the grind setting can slightly affect the flow rate and final volume, so you may need to reprogram after a significant grind adjustment. If you ever feel you’ve gone too far and want to start over, you can easily restore the machine’s original factory settings. This is done through the settings menu, not the memo function. Simply press the menu button, navigate to the factory reset option, and confirm. This will erase all your custom volumes and return the machine to its out-of-the-box state.
As a starting point for your experiments, here are some classic beverage ratios:
| Drink | Suggested Coffee Volume | Suggested Milk Volume |
|---|---|---|
| Ristretto (use Espresso button) | 15-20ml | N/A |
| Espresso (use Espresso button) | 25-35ml | N/A |
| Lungo (use Lungo button) | 60-90ml | N/A |
| Classic Cappuccino | 30ml | 120ml (frothed) |
| Latte Macchiato | 30ml | 150ml+ (frothed) |
The ability to program custom beverage volumes is what elevates the Gaggia Anima Prestige from a simple coffee maker to a personal barista. By using the intuitive ‘memo’ function, you can move beyond factory presets and truly define your coffee experience. We’ve covered how this simple ‘press and hold’ mechanism works for both coffee-only and complex milk-based drinks, allowing you to control espresso shots and milk froth down to the last drop. Remember to use tools like a scale for precision and don’t hesitate to experiment with different volumes to discover your ideal recipes. Should you wish to start fresh, a factory reset is always available. Mastering this one simple feature is the key to unlocking consistent, personalized, and delicious coffee, day after day.
 No products in the cart.