How to monitor brewing pressure without a gauge on La Pavoni
The La Pavoni lever espresso machine is an icon of design and a testament to the art of manual coffee making. Unlike modern semi-automatic machines, it places every variable directly into the hands of the barista, from temperature to pressure. This total control is its greatest appeal, but also its steepest learning curve. Many La Pavoni models, especially vintage ones, come without a pressure gauge, leaving new users wondering how to achieve the fabled 9 bars of pressure essential for a perfect espresso. This article is your guide to navigating this challenge. We will explore how to use your senses and a clever household tool to understand and control brewing pressure, turning you from a simple operator into a true lever machine maestro.
Understanding pressure in lever espresso
Before we can control pressure, we must understand why it’s so important. Espresso extraction is a process where hot water is forced through a tightly packed puck of finely ground coffee. This pressure is responsible for emulsifying the coffee’s oils and dissolving its solids, creating the rich, syrupy body and complex flavor profile we seek. The widely accepted standard for optimal extraction is around 9 bars of pressure.
On a pump-driven machine, this pressure is created and maintained electronically. On a La Pavoni, you are the pump. The force you apply to the lever directly translates to the pressure inside the group head. Without a gauge, you’re essentially flying blind. Too little pressure results in a fast, watery, and sour shot—a classic sign of under-extraction. Conversely, applying too much force against a puck that’s ground too fine will “choke” the machine, leading to a slow, dripping, and bitter shot from over-extraction. The goal is to find the sweet spot, a consistent and controlled pressure that produces a balanced and delicious espresso, shot after shot.
Using your senses: The qualitative approach
The most traditional and intuitive way to master the La Pavoni is to develop a deep connection with the machine through sensory feedback. This method turns brewing from a science experiment into a craft. It involves paying close attention to what you see and feel during the entire extraction process.
The feel of the lever
The resistance you feel when pulling down the lever is your primary indicator of pressure. With practice, your arm will become a surprisingly accurate pressure gauge.
- Too little resistance: If the lever pulls down with almost no effort and the shot gushes out in under 15 seconds, your pressure is too low. This is typically caused by a grind that is too coarse, an insufficient dose of coffee in the basket, or a tamp that is too light. The resulting shot will taste sour and thin.
- Too much resistance: If you have to exert an immense amount of force, the lever barely moves, and only a few dark drips emerge, you are choking the machine. The pressure is too high because the water cannot penetrate the coffee puck. This is caused by a grind that is too fine, too much coffee, or tamping too hard. The coffee will be bitter and acrid.
- The “just right” feeling: A perfect pull offers firm, consistent resistance. You should feel a solid connection to the coffee puck, allowing you to apply steady pressure for about 25 to 30 seconds to extract a 2:1 ratio (e.g., 14g of coffee in, 28g of espresso out). The pull is smooth, not shaky or overly strenuous. This tactile feedback is the key to consistency.
The look of the shot
Your eyes provide the second set of crucial data. A great extraction is beautiful to watch.
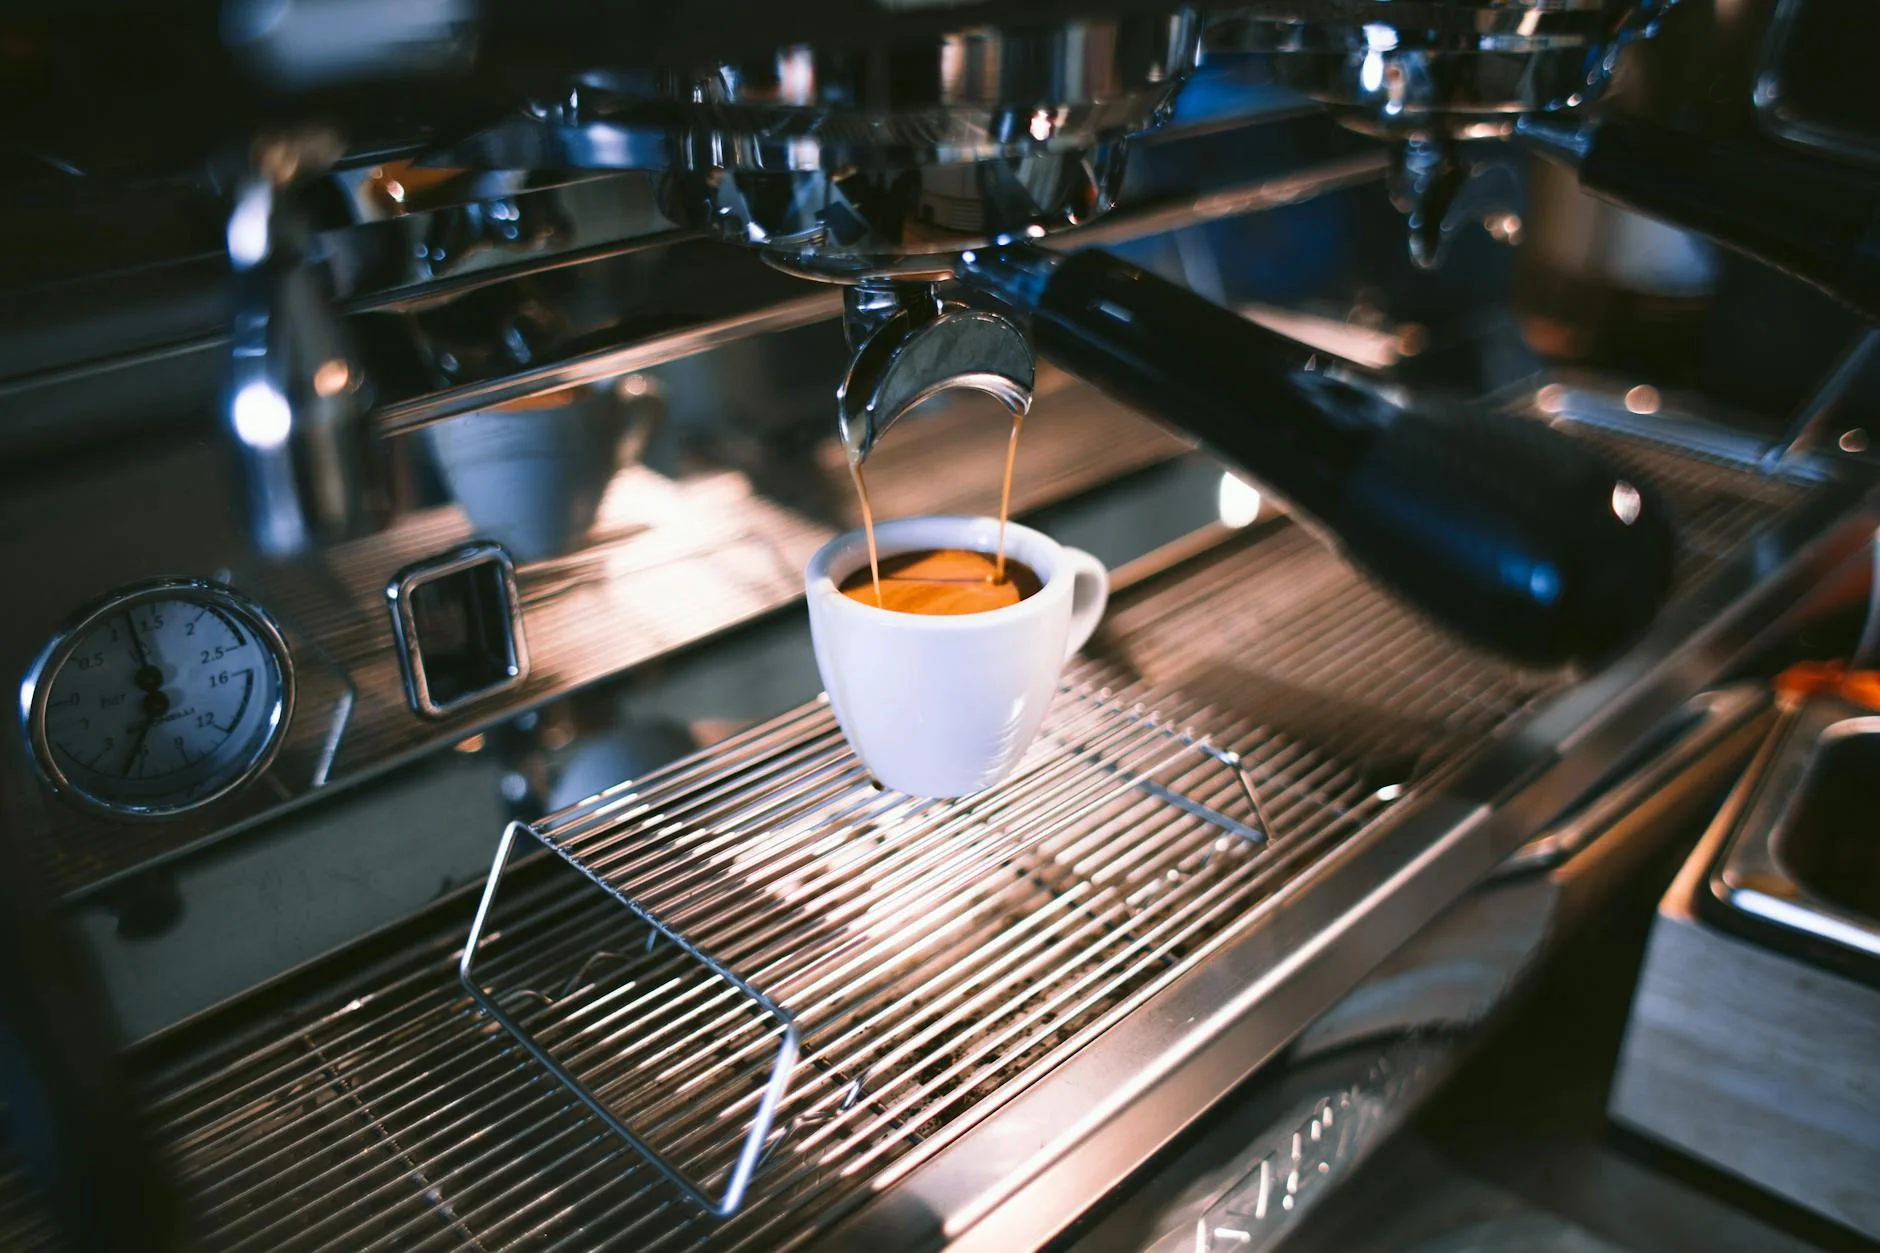
- First drops: After lifting the lever for pre-infusion, the first drops to appear at the spouts should be dark, viscous, and syrupy, almost like warm honey.
- The stream: As you pull, these drops should coalesce into one or two steady streams. The ideal stream is often described as a “mouse tail”—thin, steady, and with a reddish-brown color topped with darker stripes, known as “tiger striping.”
- Blonding: Towards the end of the 25-30 second pull, the color of the stream will lighten, becoming pale and blond. This is the signal that the desirable flavor compounds have been extracted, and continuing the pull will only add bitterness. Stop the shot as soon as significant blonding occurs.
The bathroom scale method: A quantitative check
While developing your sense of feel is the ultimate goal, it can be helpful to calibrate your arm with a more objective measurement. The “bathroom scale” method is a well-known technique in the La Pavoni community that allows you to translate the force you apply into a pressure reading.
The concept is simple physics: Pressure = Force / Area. You provide the force with your arm, and the area is the fixed surface of the piston inside the group head. By measuring the force, we can calculate the pressure.
Here’s how to do it:
- Place your La Pavoni on a sturdy bathroom scale. Make sure it’s stable.
- Turn on the scale and “tare” or “zero” it out with the machine on top.
- Prepare your portafilter and lock it into the group head as usual.
- Lift the lever to start pre-infusion.
- As you begin to pull the lever down, watch the reading on the scale. The weight displayed is the downward force you are applying.
To get to 9 bars, you need to apply a specific amount of force. This amount depends on the diameter of your machine’s piston, as pre-millennium (pre-2000) and post-millennium (post-2000) models have different sizes.
- Pre-Millennium Models: Piston diameter is 49mm (Area ≈ 18.86 cm²).
- Post-Millennium Models: Piston diameter is 51mm (Area ≈ 20.43 cm²).
You can use the table below as a cheat sheet. Aim for the force that corresponds to 8-9 bars for a classic espresso extraction.
| Desired Pressure | Force for Pre-Mil (49mm) | Force for Post-Mil (51mm) |
|---|---|---|
| 6 bar | ~11.5 kg / ~25 lbs | ~12.5 kg / ~27 lbs |
| 8 bar | ~15 kg / ~33 lbs | ~16.5 kg / ~36 lbs |
| 9 bar (Ideal) | ~17 kg / ~37.5 lbs | ~18.5 kg / ~41 lbs |
| 10 bar | ~19 kg / ~42 lbs | ~20.5 kg / ~45 lbs |
Note: These are approximate values. Use them as a starting point to calibrate the “feel” of a 9-bar pull. After a few sessions, you won’t need the scale anymore.
Putting it all together to dial in your shot
Mastery comes from combining the qualitative and quantitative methods into a repeatable workflow. The goal is to use the sensory feedback for every shot and the scale method as an occasional check-up to ensure your feeling for pressure is still accurate.
Your process for “dialing in” a new bag of coffee beans should look like this:
- Start with a baseline recipe (e.g., 14g dose of coffee, ground at a setting you know is close).
- Pull the shot, focusing entirely on the feel of the lever and the look of the extraction. How long did it take? Was it too fast or too slow? Did it blonde early?
- Taste the result. This is the most important step. If it’s sour, you under-extracted. If it’s bitter, you over-extracted.
- Based on the taste and sensory feedback, make one single adjustment.
- If it was sour and the pull felt too easy, grind your coffee finer.
- If it was bitter and the lever was too hard to pull, grind your coffee coarser.
- Repeat the process until the taste is balanced and the feel and look of the shot align with the descriptions of a great extraction. Once you’re there, you can use the scale method just to confirm that your “perfect feel” corresponds to roughly 9 bars of pressure.
By following this iterative process, you are no longer guessing. You are using a feedback loop of sight, feel, and taste to systematically zero in on the perfect shot. This is the true art of the La Pavoni.
In conclusion, the absence of a pressure gauge on a La Pavoni is not a limitation but an invitation to a more intimate brewing experience. While it presents an initial challenge, it forces you to become a more attentive and skilled barista. By learning to interpret the tactile feedback from the lever and the visual cues of the extraction, you can develop an intuitive sense for the correct pressure. This is the art of the craft. For those who seek a more concrete starting point, the bathroom scale method provides an excellent way to quantify the force needed and calibrate your arm. Ultimately, mastering a non-gauged La Pavoni is a rewarding journey that connects you deeply to the process of creating espresso, transforming a daily routine into a moment of mindful craft.
 No products in the cart.