How to lubricate the brew group for smoother operation
The heart of any automatic espresso machine is its brew group. This intricate component does the hard work of tamping the coffee grounds and forcing hot water through them to create your perfect shot. Over time, the constant movement can lead to friction, resulting in unpleasant squeaking, grinding, or a stiff mechanism. This not only makes for a noisy morning ritual but also puts unnecessary strain on your machine’s motor, potentially shortening its lifespan. Proper and regular lubrication is the key to preventing these issues. This simple maintenance task ensures the moving parts glide effortlessly, leading to quieter, smoother operation and more consistent coffee. In this guide, we will walk you through everything you need to know about lubricating your brew group effectively.
Why lubrication is essential for your coffee machine
Think of the brew group as the engine of your coffee machine. It’s a complex assembly of gears, rails, and pistons that moves precisely to dose, tamp, and eject coffee pucks. Every one of these movements involves parts sliding against each other. Without a lubricating barrier, this friction generates wear and tear on the plastic and metal components. Initially, this manifests as noise—a clear sign that the parts are struggling. If ignored, this strain can lead to more severe problems, such as incomplete brew cycles, the brew group getting stuck, or even a burnt-out motor.
Proper lubrication does more than just quiet a noisy machine. It creates a smooth, low-friction surface for all moving parts, which protects them from premature wear and extends the overall life of your appliance. It also ensures the brew group can complete its full range of motion without restriction, leading to a more consistent tamping pressure and better-formed coffee pucks. Ultimately, this simple act of maintenance contributes directly to the quality of your espresso and the longevity of your investment.
Choosing the right lubricant and gathering your tools
Before you begin, it’s crucial to understand that not just any grease will do. The lubricant you use will be in close proximity to the parts that handle your coffee, so using the correct type is a matter of both machine health and personal safety. You must use a 100% food-grade silicone grease. This type of lubricant is specifically designed to be tasteless, odorless, and non-toxic. It is also resistant to being washed away by water and will not degrade the rubber O-rings or plastic components of your brew group.
Never use common household lubricants like petroleum jelly (Vaseline), WD-40, or cooking oils. Petroleum-based products will break down the rubber seals and gaskets over time, causing them to swell and fail. Cooking oils, like olive or vegetable oil, will become rancid, imparting terrible flavors and aromas into your coffee and gumming up the mechanism. To do the job correctly, you will only need a few simple items:
- A tube of food-grade silicone grease
- A clean, lint-free cloth or paper towels
- Access to warm water for cleaning
- An optional small brush for applying grease to tight spots
A step-by-step guide to lubricating the brew group
With the right tools in hand, the process is straightforward. While the exact design of brew groups varies between brands like Saeco, Gaggia, or De’Longhi, the lubrication points are generally very similar. Always consult your machine’s manual for specific instructions on removing and reinserting the brew group.
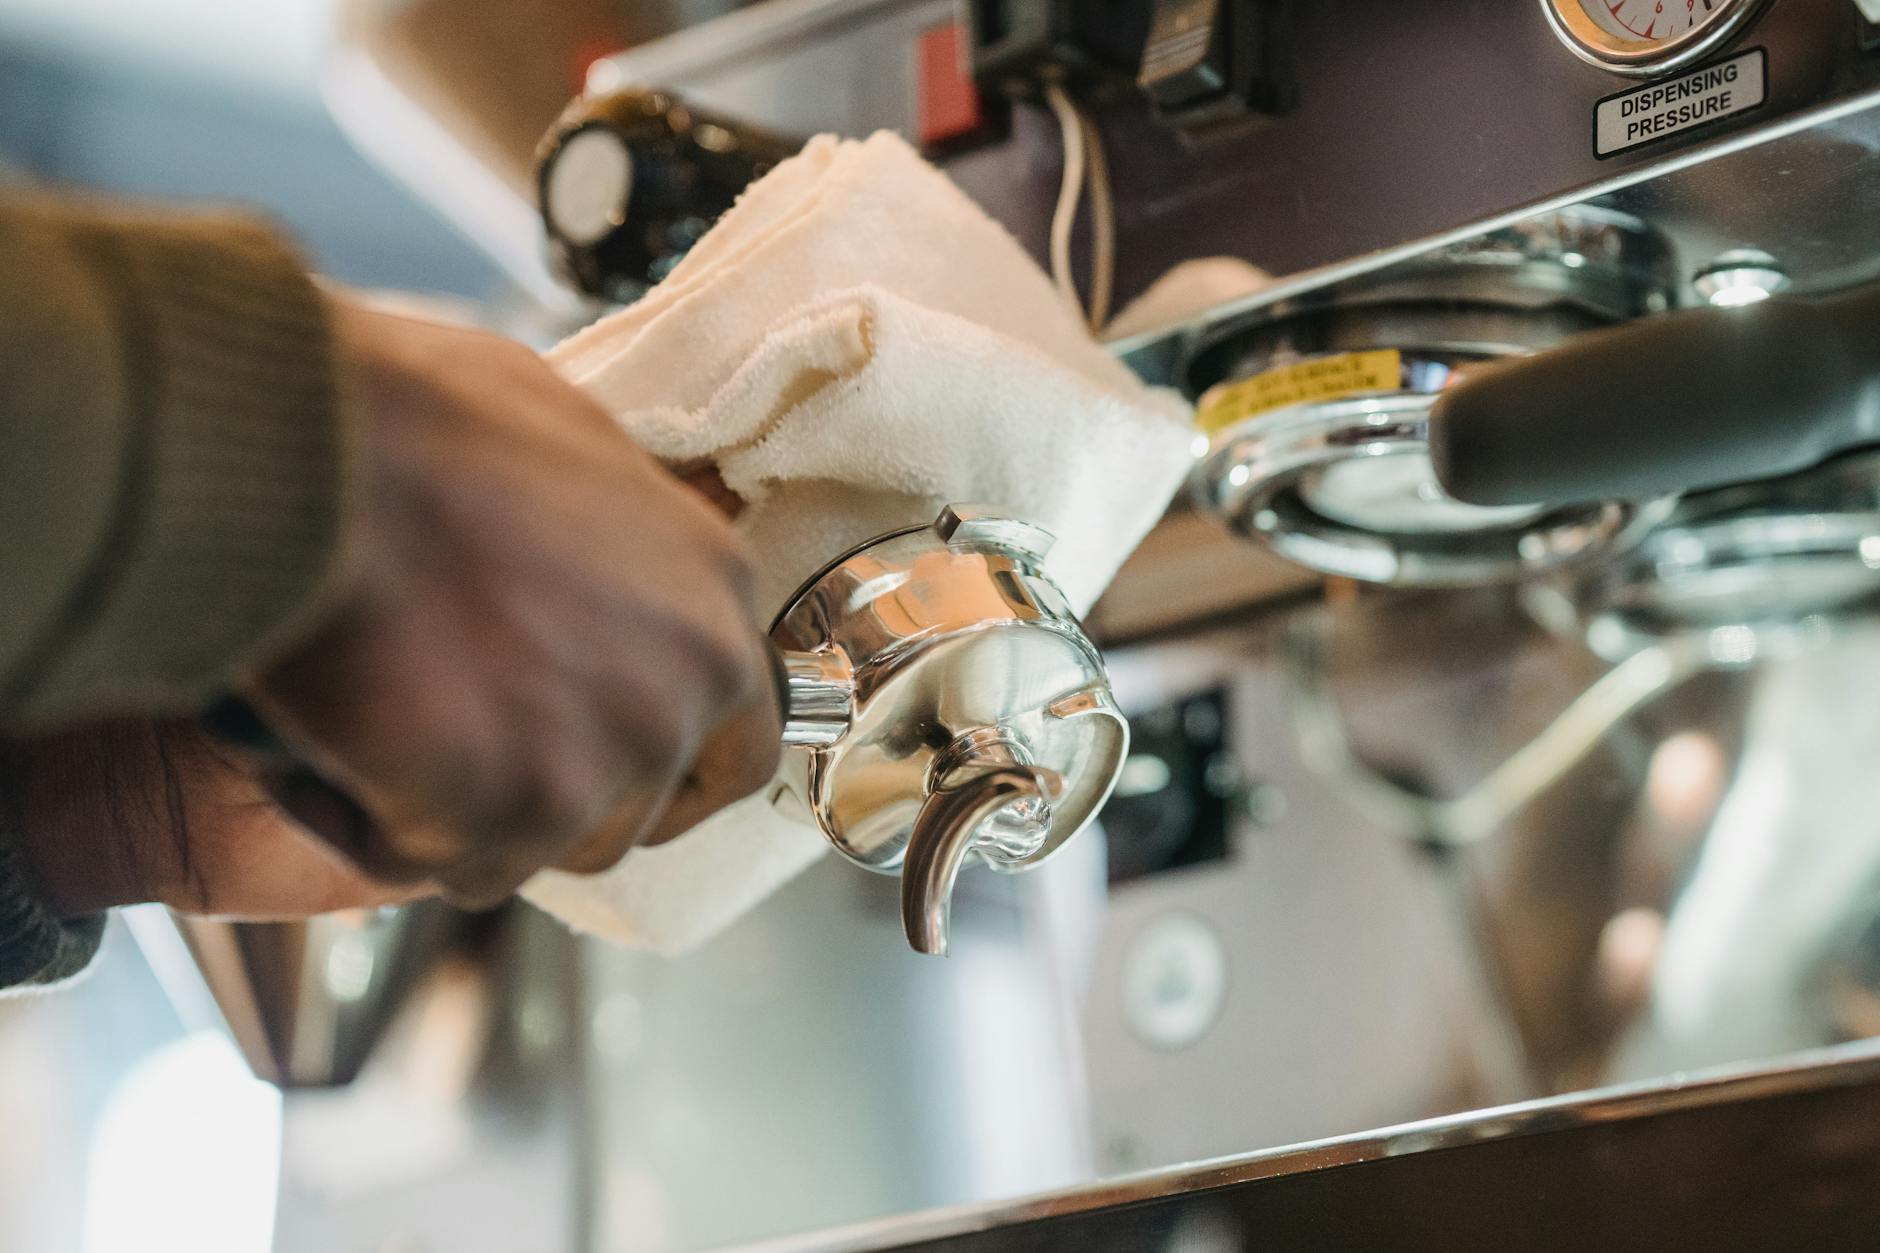
- Prepare the unit: First, turn off and unplug your coffee machine. Remove the brew group as per the manufacturer’s instructions.
- Clean thoroughly: It is vital to lubricate a clean unit. Rinse the brew group under lukewarm running water to remove all old lubricant, coffee grounds, and oils. Do not use any soap or detergent, as this can strip away necessary grease and leave a residue. Allow the brew group to air dry completely before proceeding.
- Identify lubrication points: Carefully examine the brew group. The key areas that require lubrication are the parts that experience the most movement and friction. These typically include:
- The main central shaft or piston that moves up and down.
- The side rails or channels that the unit slides along.
- The main O-ring on the piston.
- Gear tracks, if visible and accessible.
Important: Avoid applying lubricant to the coffee filter screen or any area that comes into direct contact with coffee grounds.
- Apply the lubricant: The golden rule is that less is more. Squeeze a small amount of the silicone grease onto your finger or a brush. Apply a very thin, even film to all the points identified in the previous step. You don’t need a thick coating; a translucent sheen is perfect. After applying, manually move the parts back and forth a few times to help distribute the grease evenly.
- Reassemble and test: Carefully slide the brew group back into the machine until it clicks securely into place. Plug the machine back in, turn it on, and run a rinse cycle or two. This will ensure the lubricant is fully distributed and the machine is ready for use. You should notice a significantly quieter and smoother operation.
Creating a regular maintenance schedule
Lubrication is not a one-time fix; it’s a recurring part of a healthy maintenance routine. How often you need to lubricate your brew group depends almost entirely on how much you use your machine. A machine in a busy office will require more frequent attention than one used for a single cup each morning. Listening to your machine is the best indicator—if you start to hear squeaking or straining sounds, it’s time for a cleaning and lubrication session. For a more structured approach, you can follow a schedule based on your daily usage.
Here is a general guideline to help you create a schedule that works for you:
| Usage Level | Recommended Frequency | Approximate Brew Cycles |
|---|---|---|
| Light Use (1-2 cups per day) | Every 3-4 months | ~150-200 cups |
| Moderate Use (3-5 cups per day) | Every 1-2 months | ~300-500 cups |
| Heavy Use (6+ cups per day) | Every month | ~500+ cups |
By integrating this simple task into your regular cleaning routine, you ensure that your coffee machine is always operating at its peak, ready to deliver a perfect cup whenever you want one.
Conclusion
Maintaining your automatic espresso machine’s brew group is one of the most effective ways to protect your investment and ensure consistently high-quality coffee. As we’ve discussed, the process is simple and requires only a few minutes of your time every month or so. By choosing the correct food-grade silicone grease and applying a thin layer to the key moving parts—the shaft, rails, and O-rings—you eliminate the friction that causes noise and wear. This proactive maintenance prevents strain on the motor, extends the life of the components, and guarantees a smooth, quiet brewing process. Making brew group lubrication a regular habit, guided by your usage, is a small effort that pays significant dividends in both machine longevity and the daily pleasure of a perfectly brewed espresso.


 No products in the cart.