How to fix bitter espresso by refining your distribution method
There’s nothing more frustrating than pulling a visually perfect espresso shot—rich crema, beautiful color—only to take a sip and be hit with a wave of harsh, lingering bitterness. Many home baristas immediately blame the coffee beans, the grind size, or even their machine. While these are all crucial variables, a frequently overlooked culprit is hiding in plain sight: your distribution method. How you arrange the coffee grounds in the portafilter before tamping is one of the most critical steps in espresso preparation. An uneven coffee bed forces water to create channels, leading to a disastrously unbalanced extraction. This article will guide you through why poor distribution causes bitterness and how to perfect your technique for consistently sweet, delicious espresso.
The hidden cause: Channeling and uneven extraction
To understand why distribution is so important, we first need to talk about extraction. When you brew espresso, pressurized hot water is forced through a tightly packed puck of coffee grounds. The goal is to extract the perfect amount of soluble compounds—sugars, oils, and acids—to create a balanced shot. The problem arises when the coffee puck isn’t uniform. If there are dense clumps in one area and loose, empty pockets in another, the water will behave like any liquid: it will follow the path of least resistance.
This phenomenon is called channeling. Instead of flowing evenly through the entire puck, water rushes through the weaker, less dense spots. This has two disastrous effects:
- Over-extraction: The grounds along these channels are blasted with too much water, pulling out an excessive amount of soluble compounds. The last compounds to be extracted are the bitter, astringent ones, which will dominate the final taste.
- Under-extraction: Meanwhile, the denser, more compressed areas of the puck are largely ignored by the water. The sweet sugars and pleasant acids in these grounds are left behind, un-extracted.
The result is a shot that is simultaneously sour (from under-extraction) and bitter (from over-extraction), with the harsh bitterness being the most prominent and unpleasant flavor. No matter how perfect your grind or expensive your beans, poor distribution will always lead to channeling and a bitter cup.
Building a better foundation before you distribute
Excellent distribution doesn’t start with a fancy tool; it starts with how the grounds get into your portafilter. Simply grinding directly into the basket often creates a pyramid-shaped mound with a dense center and sparse edges. Trying to level this out by tapping or shaking can make things worse, further compacting the center. This is where a couple of simple accessories can make a world of difference.
First, consider a dosing funnel. This simple ring sits on top of your portafilter basket, preventing messy spills and allowing you to work with the grounds more freely. It contains the coffee, making subsequent steps cleaner and more effective. Second, grinding into a separate dosing cup and then dumping the grounds into the portafilter (with the funnel attached) can help break up the initial clumps from the grinder. Shaking the dosing cup before dumping can further improve the initial fluffiness and evenness of the grounds, giving you a much better starting point than a compacted mound.
Choosing your tools: From WDT to surface levelers
With your grounds neatly contained in the portafilter, it’s time for the most critical step: active distribution. This involves using a tool to break up any remaining clumps and spread the grounds evenly from wall to wall and from top to bottom. The goal is to create a coffee bed of uniform density.
The most effective method by far is the Weiss Distribution Technique (WDT). This involves using a tool with several very fine needles (ideally 0.4mm or thinner) to rake through the coffee grounds. Start from the bottom of the basket and work your way up in circular or crisscross motions. This action pulverizes any clumps and homogenizes the bed, eliminating density differences that lead to channeling. You don’t need an expensive tool; many people start with a DIY version made from a cork and acupuncture needles.
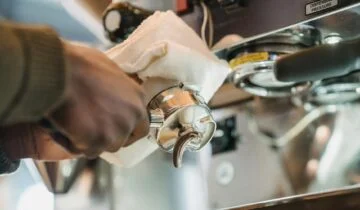
After WDT, you may see baristas using a surface distribution/leveling tool (like an OCD-style tool). It’s important to understand its purpose. This tool is not for deep distribution; it only grooms the surface of the puck. Using one without doing WDT first can be counterproductive, as it can hide underlying density issues by simply compacting the top layer. Think of it as a final polishing step to create a perfectly flat surface for tamping, not as a primary distribution solution.
| Distribution method | Tools required | Pros | Cons |
|---|---|---|---|
| Tapping | Your hands, a countertop | Quick, requires no extra tools. | Can easily worsen density issues; side-tapping often creates cracks at the edges of the puck. |
| Weiss Distribution Technique (WDT) | A WDT tool (fine needles) | Extremely effective at breaking up clumps and homogenizing the puck. The best method for preventing channeling. | Adds an extra step to your workflow; a quality tool can be an investment. |
| Surface leveler | Spinning distribution tool | Creates a perfectly level and polished surface for tamping. | Does not fix underlying density issues; can mask problems and make channeling worse if used alone. |
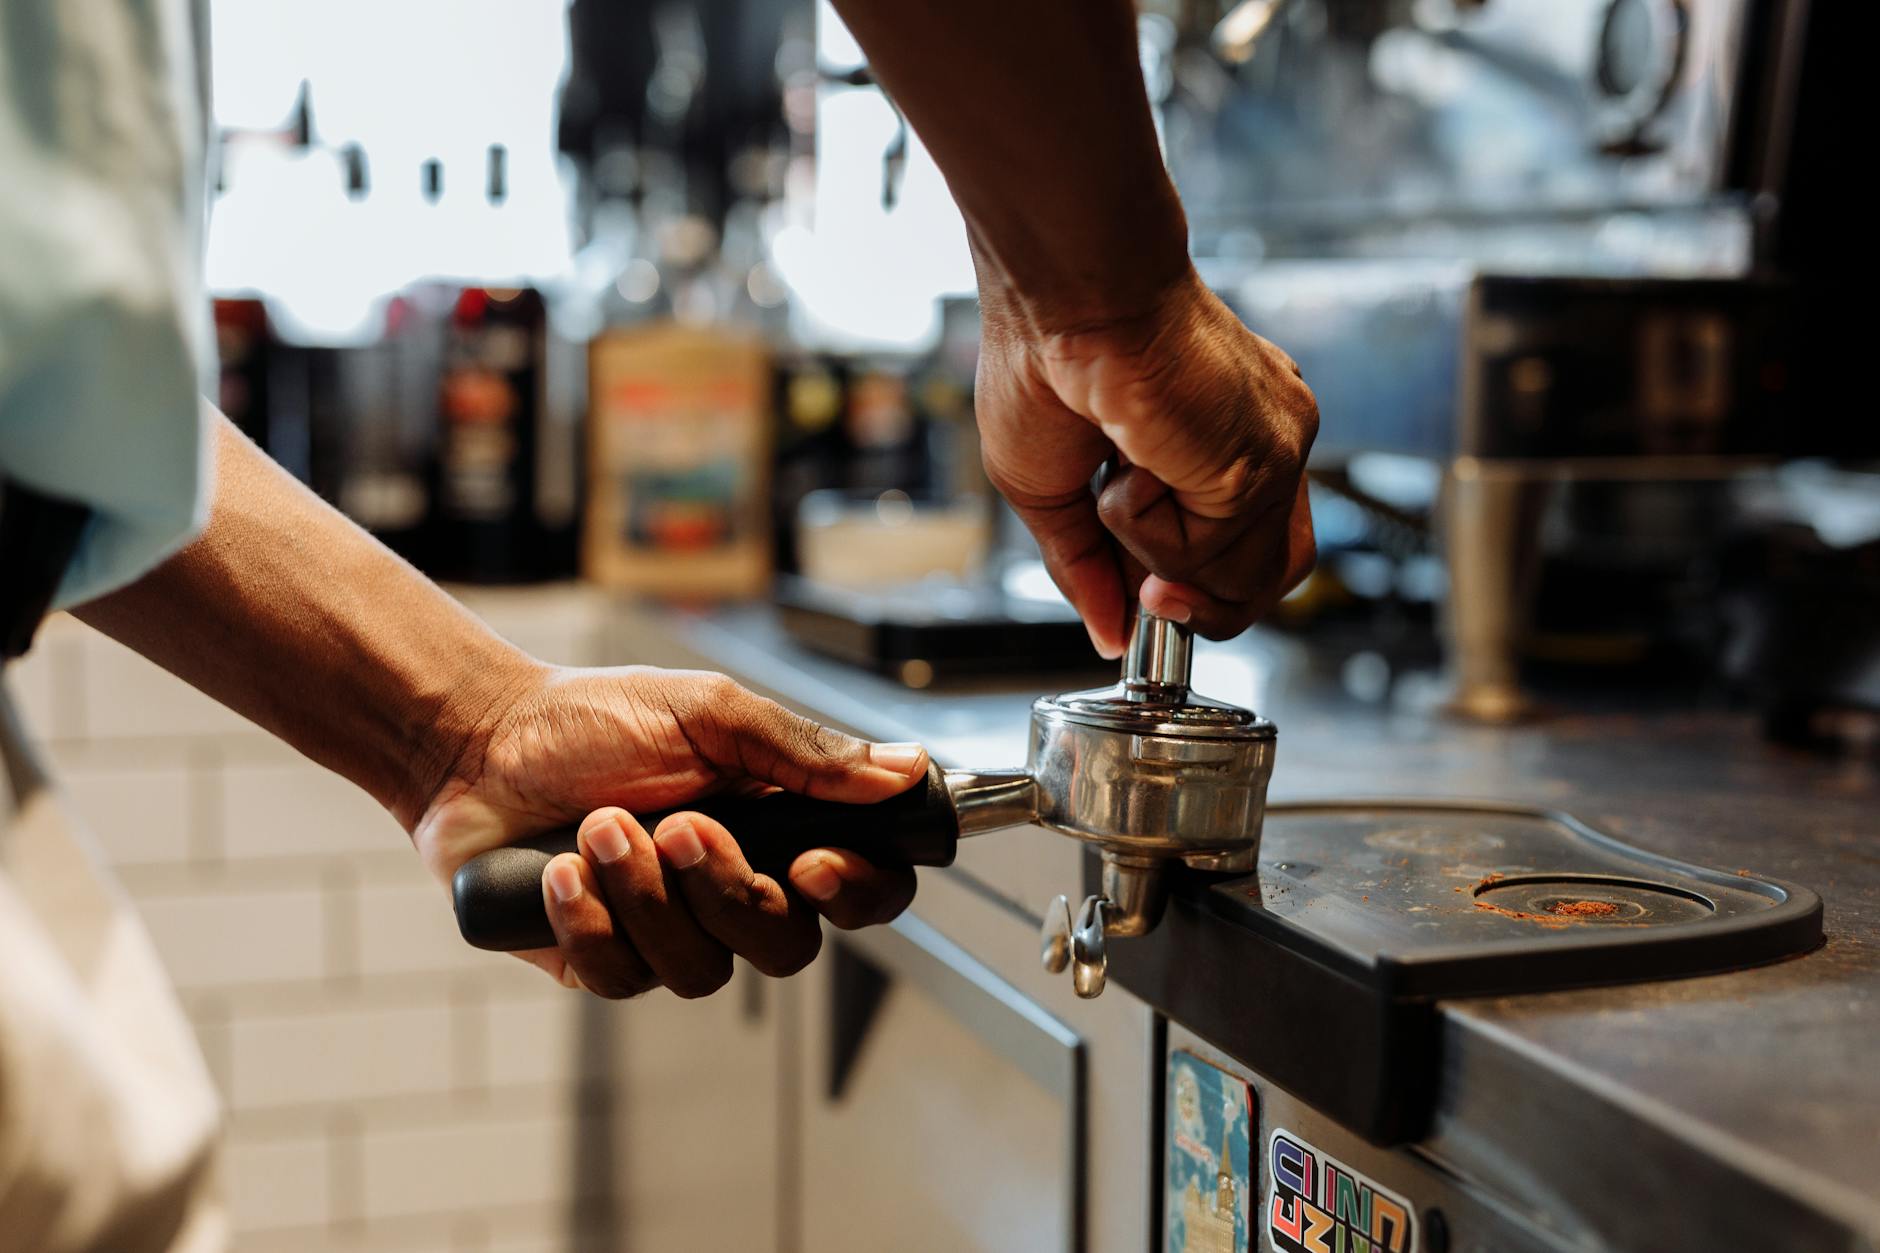
The final touch: A level and consistent tamp
You’ve done all the hard work: you’ve ground your coffee, used a funnel, and performed a thorough WDT to create a fluffy, homogenous bed of grounds. The final step is not to be overlooked. All your effort will be wasted if you finish with an uneven tamp.
A crooked tamp compresses one side of the puck more than the other, creating the very density differences you just worked so hard to eliminate. Water will inevitably flow faster through the less-compressed side, causing channeling and, you guessed it, bitterness. Focus on applying pressure straight down. It’s not about how hard you press—consistency is far more important than brute force—but about ensuring the tamper is perfectly level. Use your fingertips to feel the rim of the tamper against the rim of the basket to ensure it’s parallel before you apply pressure. A calibrated or self-leveling tamper can be a great investment to remove this variable entirely, ensuring a perfect, level tamp every single time.
Fixing bitter espresso is often a journey of refining your process, and distribution is the most impactful area to focus on. Bitterness is rarely a fault of the coffee itself but rather a sign of uneven extraction caused by channeling. By improving your workflow—starting with a dosing funnel, implementing a thorough Weiss Distribution Technique to create a uniform coffee bed, and finishing with a perfectly level tamp—you take control over water flow. You guide it to extract flavor evenly from every single coffee particle. This meticulous preparation is the true secret behind moving from harsh, bitter shots to the sweet, balanced, and complex espresso you’ve been chasing. It takes practice, but mastering your distribution is a skill that will reward you with delicious results for years to come.
 No products in the cart.