Pressure profiling has transformed the art of espresso making, giving baristas unprecedented control over the extraction process. By manipulating the pressure throughout the shot, you can highlight specific flavors, enhance sweetness, and reduce bitterness. However, this advanced technique is entirely dependent on one foundational element: your coffee grinder. Without a properly tuned grinder, even the most sophisticated pressure profile will fail to deliver its promise. This article will explore the critical relationship between your grinder and pressure profiling. We will delve into how to fine-tune your grind size and technique to match different pressure stages, ensuring you can unlock the full potential of your espresso machine and your favorite coffee beans.
Understanding the grind and pressure relationship
At its core, an espresso shot is a battle between water pressure and the resistance created by the coffee puck. Your grinder is your primary tool for controlling that resistance. A finer grind creates a more compact puck with less space between the coffee particles. This increases resistance, forcing the water to work harder and slowing down the flow rate. Conversely, a coarser grind creates more space, less resistance, and a faster flow. In a standard espresso shot at a constant 9 bars of pressure, you simply “dial in” the grind to achieve a desired extraction time and yield.
Pressure profiling complicates this simple relationship. You are no longer working with a static pressure. Instead, you might start with a low-pressure pre-infusion, ramp up to a peak, and then gradually decline the pressure. Each stage of this profile interacts differently with the coffee puck. A grind setting that works perfectly for a 9-bar peak might be too coarse for a gentle pre-infusion, leading to uneven saturation. Or it might be too fine for a declining pressure phase, choking the machine and causing over-extraction. Therefore, fine-tuning your grinder for pressure profiling is not about finding one perfect setting, but about finding the best compromise that complements the entire pressure curve.
Matching your grind to the pressure profile stages
To successfully use pressure profiling, you must think of your grind setting as a partner to your pressure curve. The goal is to create a puck that responds predictably to changes in pressure. Let’s break down how the grind impacts each stage of a typical profile:
- Pre-infusion: This initial, low-pressure phase (typically 2-4 bars) is designed to gently saturate the entire coffee puck. If your grind is too coarse, water can rush through and create channels before the puck is fully wet, leading to an uneven extraction. A slightly finer grind can be beneficial here, as it provides enough resistance to slow the water down, allowing for a more uniform and controlled saturation. This sets the stage for a much more balanced extraction later on.
- Ramp-up and peak pressure: As the pressure increases towards its peak (e.g., 9 bars), the grind must provide enough resistance to allow this pressure to build smoothly. If it’s too coarse, you’ll never reach the target pressure, and the shot will gush out. The grind setting for this phase is the most similar to traditional espresso dialing-in, aiming for a steady flow that produces the desired yield in your target time.
- Ramp-down: Many profiles incorporate a declining pressure phase at the end of the shot. This is done to reduce the extraction of bitter compounds, which tend to be drawn out under high pressure. Here, your grind setting is crucial. A grind that was perfect for 9 bars might offer too much resistance as the pressure drops to 6 or 5 bars, slowing the flow to a trickle and still over-extracting. Often, a grind that is slightly coarser than what you’d use for a flat 9-bar shot is more forgiving during this tail end, maintaining flow and yielding a sweeter cup.
The importance of grind consistency and distribution
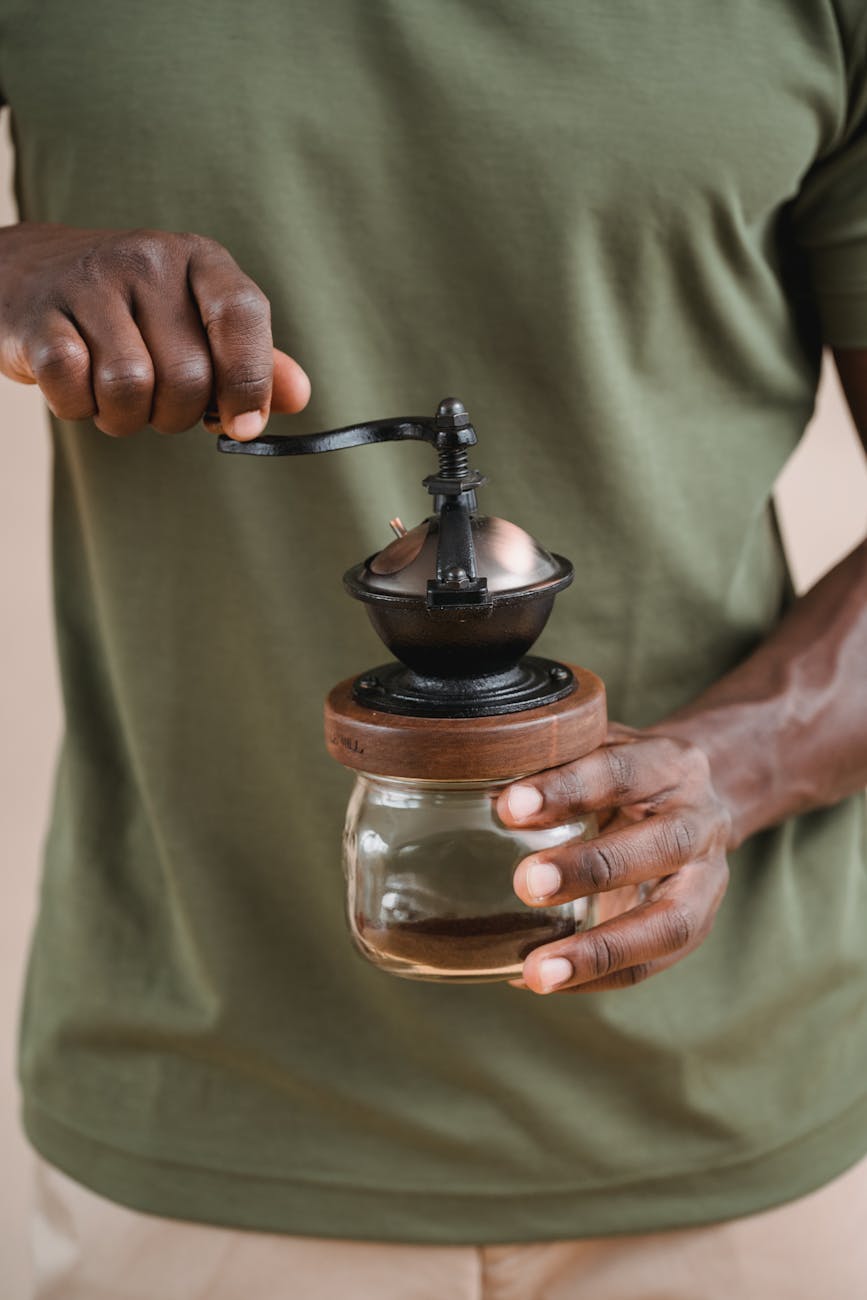
While grind size is the primary variable you adjust, grind quality is the non-negotiable foundation. Two factors are paramount for pressure profiling: particle uniformity and low retention. A grinder that produces particles of a consistent size (a narrow particle size distribution) will create a more homogenous puck. This uniformity is vital because it allows water to flow through at an even rate, preventing channeling where water exploits areas of lower density.
Inconsistent grinds, with a mix of boulders and fines, create a chaotic puck structure that is highly susceptible to channeling, especially under the fluctuating pressures of a profile. High-quality burrs, whether flat or conical, are essential for achieving this consistency. Furthermore, a low-retention grinder ensures that the coffee you grind is the coffee you use, without stale grounds from a previous shot contaminating the puck and affecting resistance.
Even with the best grinder, your puck preparation technique is the final piece of the puzzle. Tools like the Weiss Distribution Technique (WDT) are not just accessories; they are essential for pressure profiling. By using a WDT tool to break up clumps and evenly distribute the grounds, you create a perfectly uniform bed for the water to interact with. This maximizes the effectiveness of your chosen grind setting and allows your pressure profile to perform its magic on the entire puck, not just the path of least resistance.
Practical adjustments for common profiles
Theory is great, but how does this translate to your daily routine? The key is to start with a baseline and adjust methodically. Choose a coffee and a standard 9-bar recipe as your control. Once you have that dialed in, you can begin experimenting with profiles, making small, single adjustments to your grinder to compensate. Remember to only change one variable at a time: either the grind or the profile, not both.
Here is a simple guide for approaching different profile styles:
| Profile Type | Objective | Suggested Grinder Adjustment | Why it works |
|---|---|---|---|
| Long, low-pressure pre-infusion | Enhance sweetness and complexity. | Grind finer than your standard 9-bar shot. | The finer grind provides the necessary resistance to allow the puck to saturate fully at low pressure without gushing. This leads to a more even and deeper extraction. |
| Blooming profile (0 bar hold) | Allow CO2 to escape, improve clarity. | Grind slightly finer to compensate for the bloom phase. | The pause in pressure can disrupt the puck. A finer grind helps maintain puck integrity and provides the resistance needed when pressure is reapplied. |
| Gentle ramp-down | Reduce bitterness, increase body. | Grind slightly coarser than your standard 9-bar shot. | A coarser grind is more forgiving as pressure declines. It prevents the shot from choking and allows for a steady flow, avoiding the harsh flavors of a stalled extraction. |
In conclusion, mastering pressure profiling begins and ends with your grinder. It’s not merely a tool for setting the baseline resistance but an active participant in shaping the extraction at every stage. By understanding the intricate dance between grind size, puck resistance, and fluctuating water pressure, you can move beyond a one-size-fits-all approach. Achieving a consistent, uniform grind and pairing it with meticulous puck preparation are the prerequisites for success. The journey requires patience and experimentation, tasting each shot to understand how your adjustments affect the final cup. By fine-tuning your grinder with the same attention you give your pressure curve, you will unlock a new dimension of flavor and texture in your espresso.
 No products in the cart.