Dialing in your grinder for the Gaggia Classic: The definitive guide
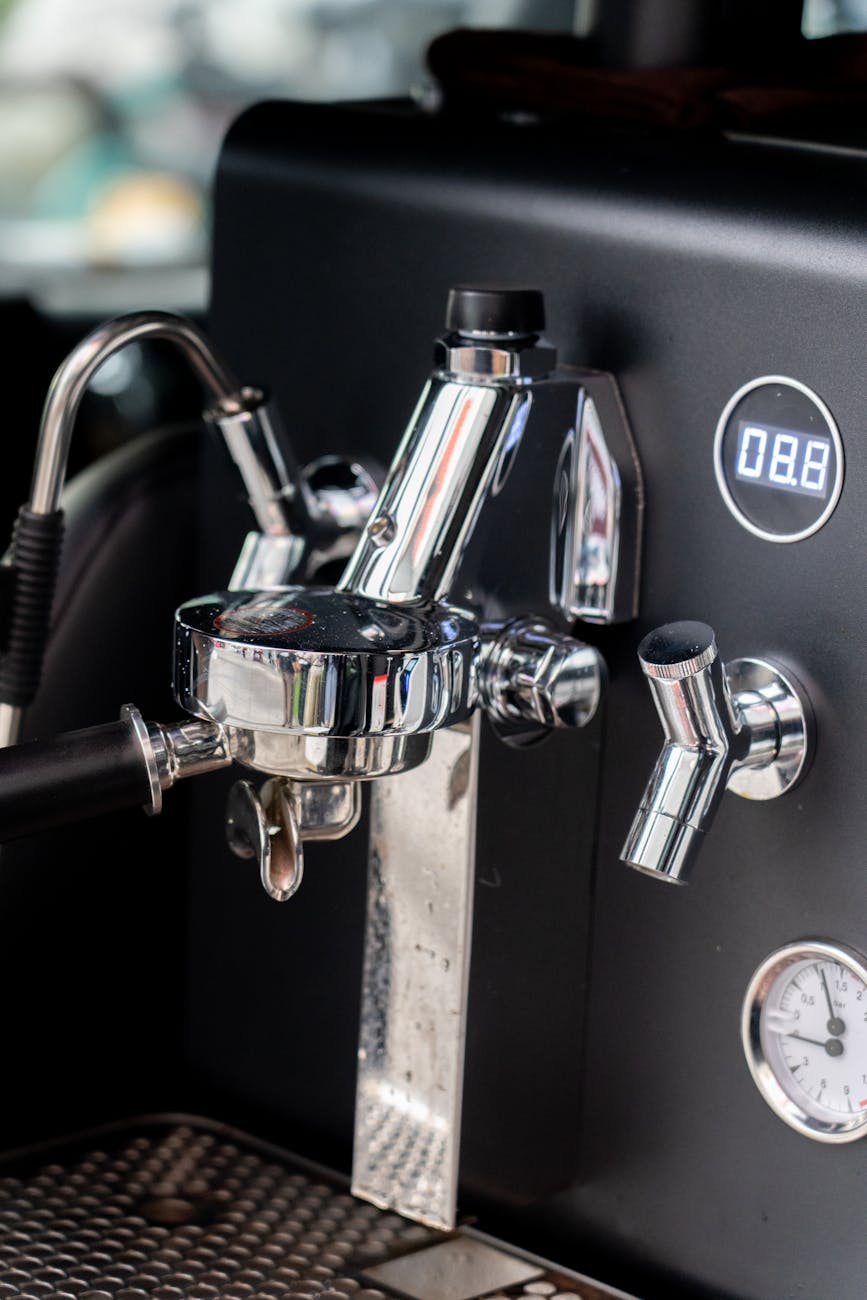
So, you’ve brought home a Gaggia Classic. Congratulations! You now own a legendary piece of equipment capable of producing true, café-quality espresso. However, many new owners quickly discover a frustrating truth: the machine is only half the equation. The other, arguably more important half, is your grinder. Without a properly dialed-in grinder, your Gaggia Classic will produce shots that are sour, bitter, or gush out in seconds. This guide is designed to demystify the process of “dialing in.” We will walk you through the fundamentals, the necessary tools, and the step-by-step process of adjusting your grind size to pull a balanced, delicious shot of espresso every single time. It’s time to unlock your machine’s true potential.
Understanding the fundamentals: Why grind size is king
Before we touch the grinder, it’s crucial to understand why we’re doing this. Espresso is made by forcing hot water through a tightly packed puck of finely ground coffee at high pressure. The size of those coffee grounds dictates the resistance the water meets. This resistance is what builds pressure and controls the extraction time—how long the water is in contact with the coffee.
Think of it like this:
- Grind too coarse: The grounds are like large pebbles. Water flows through them with ease, resulting in a fast shot. This is called under-extraction, and it tastes sour and weak because the water didn’t have enough time to pull out the sweet flavors.
- Grind too fine: The grounds are like fine powder. They pack together so tightly that water struggles to get through. This leads to a slow, dripping shot, known as over-extraction. The resulting taste is bitter and harsh, as the water pulled out unwanted compounds.
The goal is to find the sweet spot. A consistent grind is paramount, which is why a burr grinder is non-negotiable for the Gaggia Classic. Blade grinders chop beans unevenly, creating both dust and boulders, making a balanced extraction impossible. A quality burr grinder provides the precise, incremental control needed to hit that perfect balance.
The tools and your starting recipe
Consistency is the key to success in espresso. To achieve it, you need to control your variables. This means moving away from guesswork and using the right tools to follow a recipe. Here is what you’ll need:
- A capable burr grinder: This is your most important tool next to the machine itself.
- A digital scale (accurate to 0.1g): You will use this to measure your coffee beans (your dose) and the liquid espresso in your cup (your yield). This is non-negotiable for repeatable results.
- A timer: Most phone timers work perfectly.
- Freshly roasted coffee beans: Beans that are 7-21 days past their roast date are ideal.
- Your Gaggia Classic and its portafilter.
With these tools, we can establish a starting recipe. A fantastic starting point for espresso is a 1:2 brew ratio. This means for every 1 gram of ground coffee you put in, you want 2 grams of liquid espresso out. The standard Gaggia Classic double basket holds around 17-18g of coffee comfortably.
Our starting recipe:
- Dose: 18g of whole bean coffee
- Yield: 36g of liquid espresso
- Target Time: 25-30 seconds
This recipe gives us a clear target. Our primary goal is to adjust the grind size until 18g of coffee produces 36g of espresso in roughly 25-30 seconds.
The step-by-step dialing-in process
Now it’s time to get hands-on. The key is to only change one variable at a time. Since our dose (18g) and yield (36g) are fixed by our recipe, the only thing we will change is the grinder setting.
Step 1: Set your grinder
If you’re starting with a new grinder, you’ll need to find a starting point. Set it to a setting that produces grounds that feel slightly finer than table salt. Don’t worry about getting it perfect on the first try; this is just a benchmark.
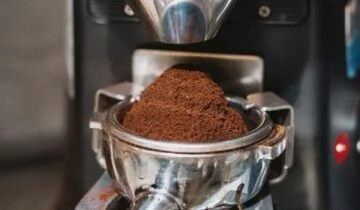
Step 2: Dose and grind your beans
Using your scale, weigh out exactly 18g of whole coffee beans. Pour them into your grinder’s hopper and grind them into your portafilter.
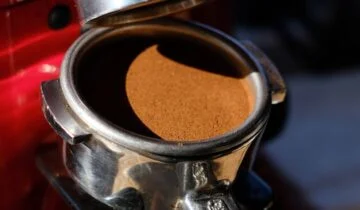
Step 3: Prepare your puck
Gently settle the grounds in your portafilter so they are level. Use your tamper to apply firm, even pressure until the coffee bed is compact and level. A level tamp is more important than a hard tamp.
Step 4: Pull the shot
Place your cup on the scale and zero it out. Lock the portafilter into the Gaggia Classic. Start your timer and press the brew button at the same moment. Watch the scale closely.
Step 5: Stop the shot and record the time
As soon as the scale reads 36g, press the brew button again to stop the flow. Immediately stop your timer. Now, look at the time it took. This number will tell you what to do next.
Interpreting your results and making adjustments
Your first shot is pure data. It is very unlikely to be perfect, and that’s okay. How you interpret the shot time is what matters most. Did you hit your 25-30 second target?
Here’s how to diagnose your shot and decide what to do next. Remember, we are always aiming for a 36g yield from our 18g dose.
| Shot Time | Diagnosis | Likely Taste | Action |
|---|---|---|---|
| Under 25 seconds | Too coarse / Under-extracted | Sour, acidic, weak, watery | Make your grind finer. Adjust your grinder by one or two small increments and pull another shot. |
| Over 30 seconds | Too fine / Over-extracted | Bitter, harsh, burnt, dry | Make your grind coarser. Adjust your grinder by one or two small increments and pull another shot. |
| 25-30 seconds | In the ballpark! | Should be balanced. | You are now dialed in! You can make tiny adjustments based purely on taste. If it’s a little sour, grind a tiny bit finer. A little bitter? Go a tiny bit coarser. |
A quick tip: Only make one small adjustment to your grinder at a time. Drastic changes will cause you to overshoot the target. Repeat the process of dosing, prepping, and pulling a shot until you consistently land in that 25-30 second window. Once you are there, taste is your final guide.
Conclusion: The journey to great espresso
Dialing in a grinder for your Gaggia Classic may seem daunting, but it’s a methodical process built on a simple principle: controlling variables to achieve a desired outcome. By using a scale, following a recipe, and understanding how grind size affects your shot time, you take the guesswork out of the equation. Remember the core workflow: set a recipe (like 18g in, 36g out), pull a shot, and check the time. If it’s too fast, grind finer; if it’s too slow, grind coarser. This skill is the foundation of great home espresso. Be patient, be precise, and don’t be afraid to waste a few shots. Every attempt provides valuable data that gets you closer to that perfect, syrupy, and delicious espresso you’ve been chasing.

 No products in the cart.