How to dial in a new espresso grinder using the Salami Shot technique
Unboxing a new espresso grinder is a moment of pure joy for any coffee enthusiast. The promise of consistent, fluffy grounds and the potential for a perfect shot of espresso is intoxicating. However, this excitement can quickly turn to frustration. The process of “dialing in” a new grinder—finding that perfect grind setting for a specific coffee bean—can feel like a wasteful and confusing guessing game. How fine is too fine? How coarse is too coarse? You can easily burn through half a bag of expensive coffee before you pull a single decent shot. This is where the Salami Shot, a diagnostic technique used by professional baristas, becomes an invaluable tool for the home user. It demystifies the extraction process, allowing you to taste your way to the perfect grind setting with precision and minimal waste.
Why a perfect grind is the heart of espresso
Before diving into the technique, it’s crucial to understand why the grind is so important. An espresso shot is created by forcing hot, pressurized water through a compressed puck of finely ground coffee. The size of these coffee particles dictates how much resistance the water encounters. This resistance, in turn, controls the contact time between water and coffee, which is the essence of extraction.
Think of it like a dam. If you use coarse grounds (large particles, like gravel), there are big gaps for the water to rush through. The water flows too quickly, not having enough time to dissolve the desirable flavor compounds. This results in an under-extracted shot, which tastes sour, acidic, and thin. Conversely, if your grounds are too fine (tiny particles, like powder), they pack together too tightly, creating too much resistance. The water struggles to get through, flowing very slowly or even choking the machine. This long contact time pulls out unwanted, bitter compounds, resulting in an over-extracted shot that is harsh, astringent, and unpleasantly bitter. The perfect grind creates just the right amount of resistance to achieve a balanced extraction, highlighting sweetness, a pleasant acidity, and a rich, full body.
Gathering your tools and setting a baseline
The Salami Shot is a controlled experiment, and every good experiment starts with proper preparation. The goal is to isolate the grind size as your main variable, so keeping everything else consistent is key. Before you begin, gather your equipment:
- Your new espresso grinder and espresso machine
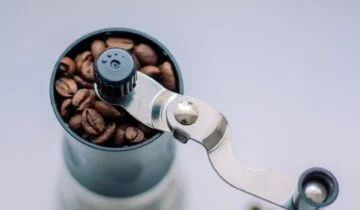
- A bag of fresh coffee beans (use a coffee you are familiar with, if possible)
- A digital coffee scale with 0.1g accuracy and a timer
- Your portafilter and tamper
- At least 5-6 small, identical cups or glasses (shot glasses are perfect)
Next, you need to establish your baseline recipe. This gives you a fixed target to aim for. A great starting point for most coffees is a 1:2 brew ratio.
1. Choose your dose: This is the weight of dry coffee grounds. Let’s start with 18 grams.
2. Choose your yield: This is the weight of the liquid espresso in the cup. For a 1:2 ratio, this would be 36 grams.
3. Choose your target time: Aim for your target yield in about 25-30 seconds.
With these parameters set, make an educated guess for your initial grind setting. Consult your grinder’s manual; many have a recommended “espresso range.” Start somewhere in the middle of that range. This first shot is just for data collection, so don’t worry if it’s terrible.
Executing the Salami Shot: A step-by-step guide
Now for the fun part. The name “Salami Shot” comes from the idea of slicing the extraction into different segments, just like a salami. This allows you to taste how the flavor profile evolves over the duration of the shot.
Here is how to perform the technique:
- Prepare your station. Line up your 5-6 small cups in a row next to your espresso machine, making them easy to grab and swap.
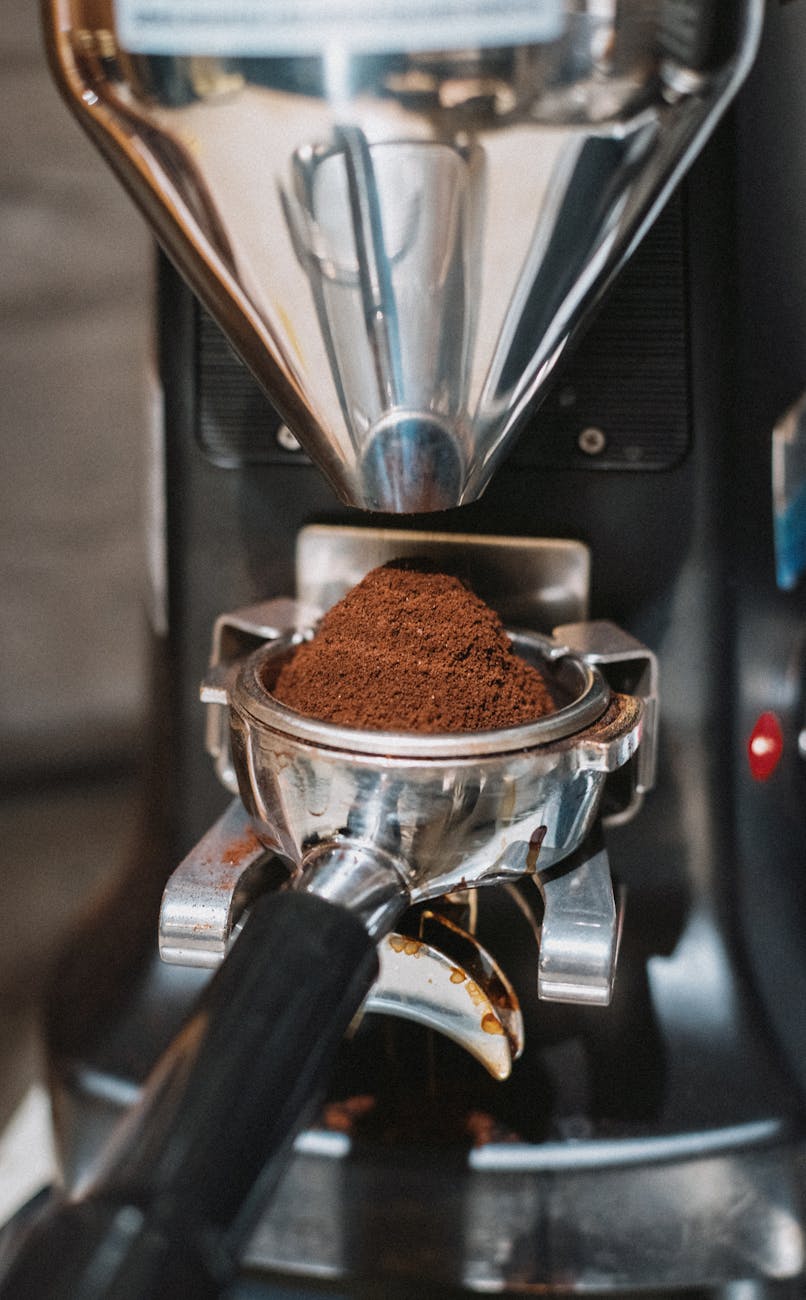
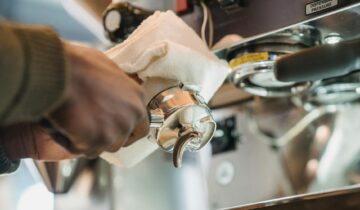
- Grind and prep your puck. Weigh out your chosen dose (e.g., 18g) of coffee and prepare your portafilter as consistently as you always do. Good distribution and a level tamp are critical for an even extraction.
- Begin the extraction. Lock the portafilter into the machine, place your first cup on the scale underneath it, and start your shot and timer at the same time.
- Catch the first slice. Let the first few seconds of espresso (from 0-5 seconds on your timer) flow into the first cup.
- Swap the cups. As your timer approaches 5 seconds, quickly and carefully swap the first cup for the second one. Catch the next segment of the shot (from 5-10 seconds) in the second cup.
- Continue swapping. Repeat this process every 5 seconds, moving down your line of cups until you have run the shot for about 25-30 seconds. You will now have 5 or 6 cups, each containing a different “slice” of the total extraction.
Tasting the slices: How to analyze your shot
This is where the magic happens. By tasting each cup, you can pinpoint exactly what is happening during extraction and diagnose any issues. Let each cup cool slightly, then taste them in order. You’ll notice a dramatic progression of flavors.
Here’s what you can generally expect to find in each “slice” of the extraction:
| Cup (Time Interval) | Expected Flavors & Characteristics |
|---|---|
| 1 (0-5s) | Intensely acidic, often sour and sometimes salty. Very thick and syrupy. Contains most of the coffee’s acids. |
| 2 (5-10s) | Acidity begins to mellow. Sweetness starts to emerge, balancing the sour notes. The body is developing. |
| 3 (10-15s) | This is the sweet spot. Peak sweetness, balance, and complexity. The most desirable flavors are here. |
| 4 (15-20s) | Sweetness fades. More subtle, tea-like flavors might appear, but bitterness starts to creep in. |
| 5 (20-25s+) | Thin, watery, and predominantly bitter or astringent. Contains mostly dissolved solids with little positive flavor. |
Now, use this information to adjust your grinder. If your combined shot (imagine all the cups poured together) is overwhelmingly sour, it means you’re not extracting long enough to get to the sweet spot in Cup 3. The solution is to grind finer. This will slow the shot down, giving the water more time to extract those sugars. If your shot is predominantly bitter, it means you’re extracting too much of the unpleasant flavors from the later cups. The solution is to grind coarser. This will speed the shot up, finishing the extraction before bitterness takes over.
Conclusion
Dialing in a new grinder doesn’t have to be a frustrating process of trial and error. The Salami Shot technique transforms it into an insightful and educational experience. By deconstructing a single espresso shot into its component parts, you move beyond simply chasing numbers on a timer. You gain a deep, sensory understanding of how extraction works and how your grind setting directly impacts the final taste in the cup. Tasting each “slice” gives you a clear roadmap; it tells you whether to grind finer to access more sweetness or coarser to avoid bitterness. This powerful diagnostic tool not only saves you time and coffee but also empowers you to make precise, confident adjustments, unlocking the true potential of your new equipment and elevating your home espresso game.
 No products in the cart.