Restore your brew: A complete guide on how to descale a Gaggia espresso machine
Is your beloved Gaggia espresso machine sputtering? Is the coffee stream weak and slow, turning your morning ritual into a frustrating wait? Before you panic and start looking for a repair shop, the culprit is likely something you can fix at home: limescale buildup. Mineral deposits from your water slowly choke the internal components of your machine, restricting water flow and impacting both temperature and pressure. The result is a poorly extracted, bitter, or sour shot of espresso. This guide will walk you through everything you need to know about descaling your Gaggia. We’ll explain why it’s so critical for maintaining water flow, what tools you’ll need, and provide a clear, step-by-step process to restore your machine to peak performance.
Understanding limescale and why it’s your Gaggia’s enemy
Every time you use your Gaggia, you’re running water through its intricate system of boilers, pipes, and valves. The water you use, even if filtered, contains dissolved minerals like calcium and magnesium. When this water is heated, these minerals precipitate and form a hard, chalky deposit known as limescale. Think of it as the coffee machine equivalent of plaque in an artery. Initially, the buildup is microscopic, but over time it accumulates, creating a significant blockage.
This buildup has several devastating effects on your machine’s performance. The most immediate issue is restricted water flow. The scale narrows the internal pathways, forcing the pump to work harder to push water through. This leads to a weak, trickling stream from the group head instead of a steady, even flow. Secondly, limescale is an insulator. A layer of scale on the boiler’s heating element prevents it from efficiently heating the water to the correct brewing temperature. Inconsistent and low temperatures are a death sentence for good espresso, resulting in a sour and underdeveloped taste. Ultimately, this strain can lead to premature pump failure and other costly repairs.
Gathering your tools and choosing the right descaling solution
Before you begin the descaling process, it’s best to have everything ready. The process is straightforward, but being prepared makes it even smoother. You will need:
- A Gaggia-approved descaling solution
- A large bowl or container (at least 1.5 liters) to catch the water
- Access to a sink for rinsing
- A full tank of fresh water for the final flush
The most important choice you’ll make is the descaling solution itself. While you might see DIY suggestions online using vinegar or pure citric acid, we strongly advise against them. Vinegar’s acetic acid can be too aggressive for the metal components and can damage the soft rubber gaskets and seals inside your Gaggia, leading to leaks over time. A purpose-made descaler is scientifically formulated to be effective against limescale while remaining gentle on your machine’s internal parts. Gaggia’s own descaler is the safest bet, as it’s designed specifically for the materials used in their machines.
| Solution type | Pros | Cons |
|---|---|---|
| Gaggia descaler | Perfectly formulated for the machine; won’t void the warranty. Contains additives to protect internal components. | Can be more expensive than other options. |
| Other espresso machine descalers | Generally safe for most machines; often a good alternative if the Gaggia brand isn’t available. | May not be specifically optimized for Gaggia’s aluminum boilers. |
| Vinegar or citric acid | Cheap and widely available. | Not recommended. Can damage seals and metal parts; may leave a persistent aftertaste if not rinsed extensively. Voids warranty. |
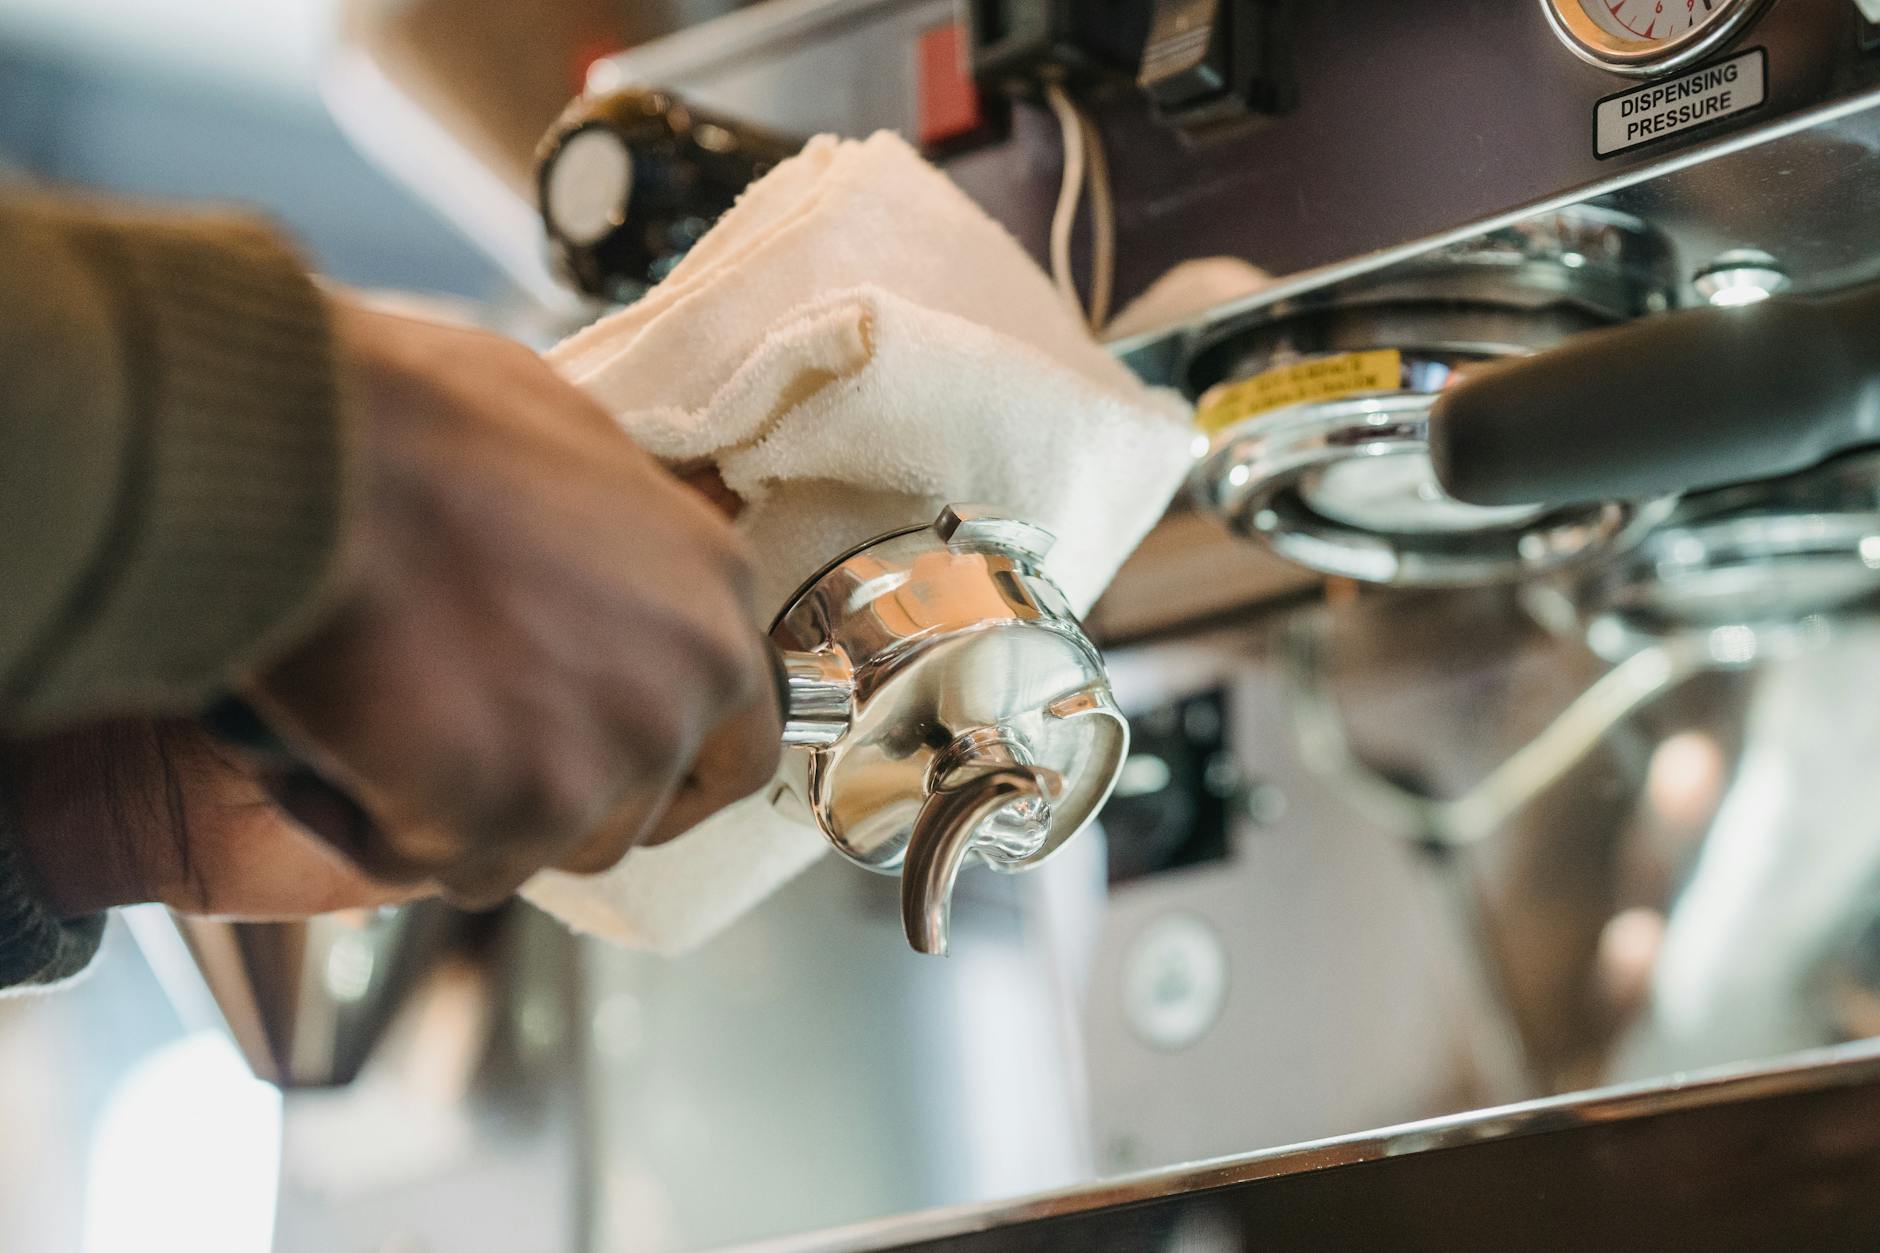
The step-by-step Gaggia descaling process
This process is generally applicable to popular models like the Gaggia Classic Pro, but always consult your user manual for any model-specific instructions. Ensure your machine is turned off and cool before you begin.
- Prepare the solution: Remove the water tank from your machine. If there’s any water inside, empty it out. Pour the entire bottle of Gaggia descaling solution into the tank and then fill the rest of the tank with fresh water. Place the tank back into the machine.
- Start the cycle: Place your large container under the group head (where you normally put your coffee cup). Turn the machine on and wait for it to heat up, just as you would for brewing.
- Dispense through the group head: Once the machine is ready, turn on the brew switch and dispense about two cups of the descaling solution into your container. This pushes the solution into the boiler and through the main water path.
- Dispense through the steam wand: Now, place the container under the steam wand. Open the steam knob to dispense hot water (not steam) and run another two cups of the solution through it. This ensures the solution cleans the steam and hot water circuits.
- Let it work: Turn the machine off completely. Let the descaling solution sit inside the machine’s internal components for about 20-30 minutes. This resting period is crucial as it gives the acidic solution time to dissolve the stubborn mineral deposits.
- Flush the remaining solution: Turn the machine back on. Repeat steps 3 and 4, alternating between the group head and the steam wand, until the water tank is completely empty.
- Rinse thoroughly: This is the most important step to ensure your coffee doesn’t taste like descaler. Remove the water tank, wash it with soap and water, and rinse it thoroughly. Fill it with fresh, clean water.
- Flush with fresh water: Run the entire tank of fresh water through the machine, alternating between the group head and steam wand, just as you did with the solution. For best results, we recommend rinsing with a second full tank of fresh water to guarantee no residual solution is left behind.
How often should you descale? Creating a maintenance schedule
Descaling isn’t a one-time fix; it’s essential routine maintenance. The ideal frequency depends almost entirely on two factors: your water hardness and how often you use your machine. Hard water, which is rich in minerals, will cause limescale to build up much faster. If you don’t know your water hardness, you can easily find out using inexpensive water test strips available online or at hardware stores.
Here is a general guideline to follow:
- Hard water: Descale every 1 to 2 months.
- Moderately hard water: Descale every 2 to 3 months.
- Soft water or using a water softener filter: Descale every 4 to 6 months.
Some newer Gaggia models have an automatic descaling alert light. While this is a helpful reminder, it’s wise to stick to a proactive schedule based on your water hardness. For manual machines like the Gaggia Classic Pro, it’s entirely up to you to keep track. Set a recurring reminder on your phone or mark it on your calendar. Being consistent with your descaling schedule is the single best thing you can do to prevent poor water flow and ensure your Gaggia continues to produce delicious, high-quality espresso for years to come.
Ultimately, descaling your Gaggia espresso machine is a simple but non-negotiable task for any owner. The slow, creeping problem of limescale buildup is the primary cause of poor water flow, inconsistent temperatures, and ultimately, machine failure. By understanding what limescale is and how it harms your machine, you can appreciate the importance of this maintenance. Following a clear, step-by-step process with a machine-safe descaling solution removes the guesswork and makes the job easy. Don’t wait until your morning espresso shot becomes a frustrating trickle. By establishing a regular descaling schedule based on your water hardness, you are investing in the health and longevity of your machine, ensuring it operates at its best and consistently delivers the rich, flavorful coffee you love.


 No products in the cart.