How to clean and clear a clogged Gaggia Velasca steam wand: A complete guide
There is nothing quite like starting your day with a perfectly crafted latte or cappuccino from your Gaggia Velasca. This super-automatic espresso machine is a fantastic workhorse, but even the best equipment needs regular care. One of the most common and frustrating issues owners face is a clogged steam wand. A blockage can turn your dream of silky, frothy milk into a sputtering, weak-steamed nightmare. Not only does it ruin your coffee experience, but it can also harbor bacteria if left unaddressed. This comprehensive guide will walk you through why your steam wand clogs, how to prevent it with simple daily habits, and a step-by-step process to deep clean and clear even the most stubborn blockages, ensuring your Velasca performs beautifully every time.
Understanding why your steam wand clogs
Before diving into the cleaning process, it is crucial to understand the root cause of the problem. In almost every case, a clogged Gaggia Velasca steam wand is caused by one thing: dried milk residue. The process is simple yet destructive. When you steam milk, the tip of the wand is submerged. As you turn the steam off, the rapid cooling creates a slight vacuum effect, pulling a tiny amount of milk up into the wand’s tip. If you do not immediately clean and purge the wand, this milk residue quickly dries and hardens. The proteins and fats essentially cook onto the inside of the wand, creating a stubborn blockage in the tiny steam holes. Over time, this buildup accumulates, restricting and eventually stopping steam flow entirely. A secondary, less common cause can be mineral buildup (limescale), especially if you live in an area with hard water and do not descale your machine regularly.
Daily cleaning and preventative maintenance
The absolute best way to deal with a clogged steam wand is to prevent it from ever happening. This requires building a simple, two-step habit into your coffee-making routine that takes no more than ten seconds. By performing this quick maintenance immediately after every single use, you will drastically reduce the need for deep cleaning. This ounce of prevention is truly worth a pound of cure, keeping your machine hygienic and in perfect working order.
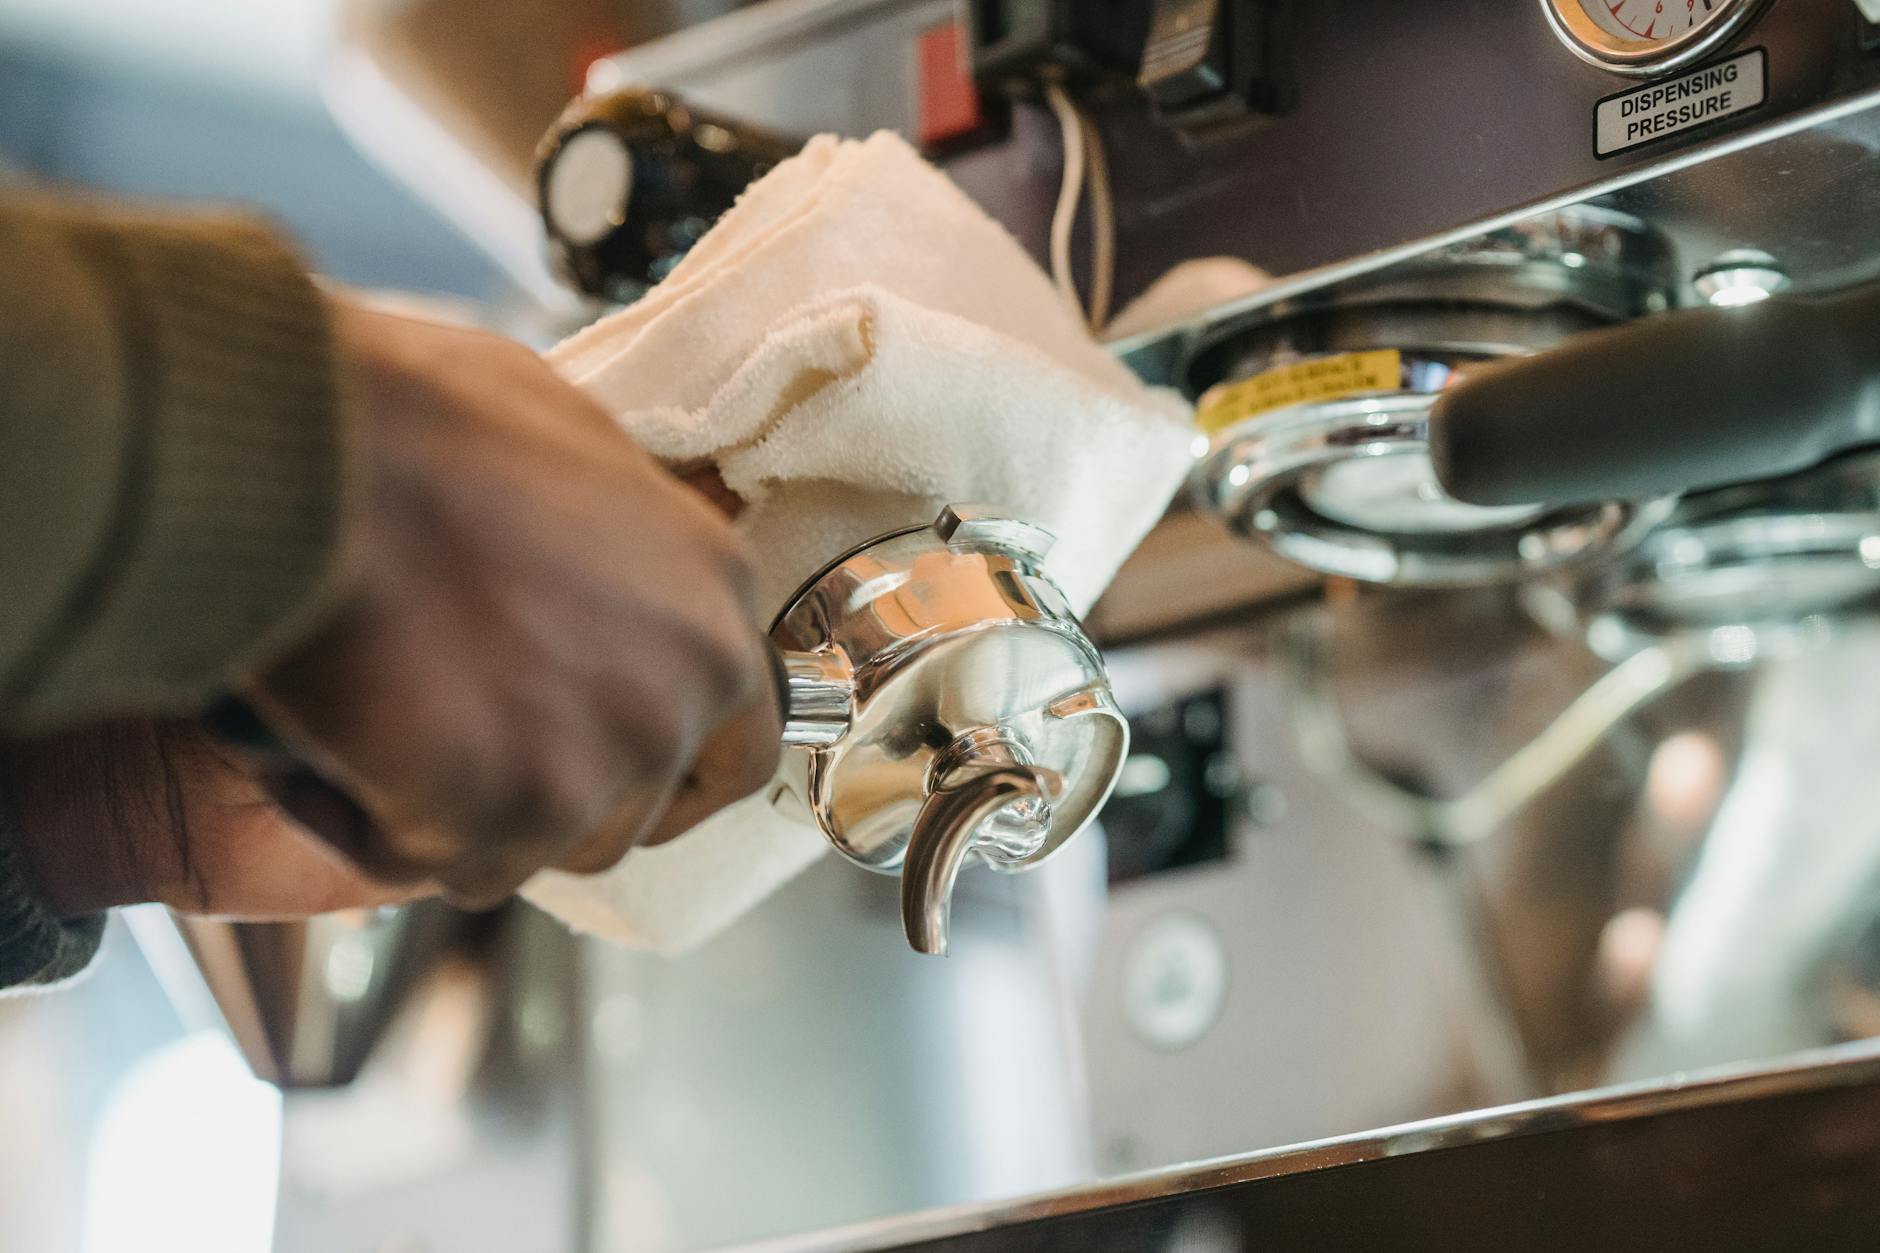
- Step 1: Wipe immediately. As soon as you finish frothing your milk, place your pitcher down and wipe the exterior of the steam wand with a clean, dedicated, damp cloth. Do not wait. This removes all the external milk residue before it has a chance to dry on.
- Step 2: Purge immediately. After wiping, point the steam wand over the drip tray and open the steam valve for 2 to 3 seconds. This powerful blast of steam forces out any milk that was sucked into the tip, keeping the internal pathway clear.
Making this wipe-and-purge process an automatic reflex after frothing is the single most effective thing you can do to maintain your Gaggia Velasca’s steam performance.
Step-by-step guide to deep cleaning a clogged wand
If prevention is too late and you are already dealing with a weak or nonexistent steam flow, it is time for a deep clean. This process is designed to dissolve the hardened milk proteins and manually clear the steam holes. First, gather your tools: a clean cloth, a pitcher or large cup, a pin or paperclip, and a dedicated milk circuit cleaner. While home remedies exist, a proper cleaner is formulated to break down milk protein effectively and is safe for your machine.
- Soak the wand: Fill your pitcher with hot water and the recommended amount of milk circuit cleaning solution. Submerge the steam wand completely in the solution and let it soak for at least 20-30 minutes. This will soften and dissolve the internal blockage.
- Clear the steam holes: For safety, turn off and unplug your machine. After soaking, use a small pin, a straightened paperclip, or a dedicated steam wand cleaning tool to gently poke into the steam holes at the tip. Wiggle the pin around carefully to dislodge any remaining stubborn particles. Do not use excessive force, as you do not want to scratch or damage the wand.
- Purge and rinse: Plug the machine back in and turn it on. Once it’s up to temperature, aim the wand over the drip tray and purge with steam for a solid 15-20 seconds. You should see a strong, even spray. If it is still weak, repeat the soaking and poking steps. To finish, steam into a cup of fresh water for a few seconds to thoroughly rinse any residual cleaning solution from the wand.
Troubleshooting summary table
Use this table as a quick reference for identifying and solving your steam wand issues.
| Problem | Likely Cause | Solution | Frequency |
|---|---|---|---|
| Preventing future clogs | Milk drying after use | Wipe and purge immediately | After every use |
| Weak or sputtering steam | Partial milk blockage | Soak in milk cleaner, poke holes, purge | As needed |
| No steam flow | Complete milk blockage | Repeat soaking/poking process multiple times | As needed |
| Clog persists after cleaning | Limescale or mineral buildup | Run a full descaling cycle through the wand | Per machine instructions |
Conclusion
Maintaining a clean and clear Gaggia Velasca steam wand is essential for both the quality of your coffee and the longevity of your machine. We have learned that the primary culprit is almost always dried milk residue, which can be easily avoided by adopting a quick wipe-and-purge habit after every single use. When a clog does occur, a methodical approach of soaking the wand in a proper cleaning solution, carefully clearing the holes with a pin, and purging thoroughly will resolve the issue. For the most stubborn blockages, a full descaling cycle may be necessary to address mineral buildup. By following these straightforward steps, you can say goodbye to frustrating steam wand issues and ensure your Velasca is always ready to produce rich, velvety microfoam for countless delicious coffee creations.

 No products in the cart.