The quest for the perfect espresso shot is a journey filled with variables, from grind size to water temperature. Among the most impactful yet often overlooked techniques is the Weiss Distribution Technique, or WDT. This simple method of stirring coffee grounds with fine needles can dramatically reduce channeling and improve extraction consistency. However, the effectiveness of your WDT tool hinges on a critical detail: the depth of its needles. Simply stirring the top layer of coffee isn’t enough. To truly de-clump and homogenize the entire coffee bed, your needles must reach the correct depth. This article will guide you through the process of how to choose and set the right needle depth for your specific setup, ensuring your puck prep is as effective as possible.
Understanding the role of WDT in espresso preparation
Before we dive into needle depth, it’s essential to understand why we perform WDT in the first place. When you grind coffee, especially for espresso, the grounds can form clumps and distribute unevenly in the portafilter basket. This creates areas of varying density. When water under high pressure is forced through the coffee, it will always follow the path of least resistance. This means it will rush through the less dense areas and avoid the denser clumps, a phenomenon known as channeling.
Channeling is the enemy of good espresso. It leads to a shot that is simultaneously under-extracted (from the dense, untouched parts) and over-extracted (from the channels), resulting in a taste that is both sour and bitter. The goal of WDT is to create a homogenous, fluffy, and evenly distributed bed of coffee. By using fine needles to break up clumps and arrange the grounds uniformly, you create a puck where water will flow through evenly, extracting flavor consistently from all the coffee particles. A proper WDT routine is the foundation for a balanced, sweet, and repeatable espresso shot.
Why needle depth is a critical factor
Now that we’ve established the goal of WDT is to homogenize the entire coffee bed, the importance of needle depth becomes clear. The problems of clumping and uneven density don’t just exist on the surface; they are present throughout the entire puck, right down to the bottom of the basket. If your WDT tool’s needles are too short, your efforts will be merely superficial.
- Needles that are too shallow: This is the most common mistake. If the needles only penetrate the top half of the coffee grounds, you are effectively creating a well-prepared top layer on top of a clumpy, unprepared bottom layer. When the water hits the puck, it will flow evenly through the top but will then find channels and low-density pockets at the bottom, leading to the very extraction issues you were trying to solve.
- Needles that are too deep: While less detrimental than being too shallow, needles that are too long can scrape against the metal filter screen at the bottom of your basket. This can potentially dull the needles over time or even scratch your basket. More importantly, it can cause unnecessary agitation right at the point of extraction, potentially disturbing the fine layer of coffee that helps regulate flow.
The ideal depth is one where the tips of the needles reach just above the bottom of the basket, allowing you to agitate and distribute the entire volume of coffee grounds without making contact with the metal. This ensures a uniform density from top to bottom, setting the stage for a perfect extraction.
How to determine the ideal needle depth
Finding the perfect needle depth isn’t about guesswork; it’s a simple process of matching your tool to your specific equipment and dose. Different portafilter baskets have different depths, and the amount of coffee you use will determine the height of the coffee bed.
Here’s a step-by-step approach:
- Know your basket and dose: First, identify the size of your basket (e.g., 18g, 20g, 22g) and decide on your consistent coffee dose. A higher dose will naturally create a deeper bed of coffee.
- Measure your basket’s interior: Use a small ruler or a digital caliper to measure the internal depth of your portafilter basket, from the rim to the metal screen at the bottom.
- Set your needle length: The goal is for the needles to extend to a length that is just slightly less than the basket’s internal depth. Ideally, you want the tips to be about 1-2 mm from the bottom of the basket when the tool is resting on the rim. If you have an adjustable WDT tool, you can set this precisely. If you are buying a new tool, look for one whose needle length corresponds to your basket’s measurements.
To give you a general idea, here is a table with common basket sizes and recommended needle lengths. Remember that the actual depth of your coffee puck will also depend on the coffee bean’s density and grind size.
| Basket Size | Typical Dose Range | Approximate Basket Depth | Recommended Needle Length |
|---|---|---|---|
| 15-18g Basket | 14g – 18g | 22-24 mm | 20-22 mm |
| 18-20g Basket | 18g – 20g | 24-26 mm | 22-24 mm |
| 20-22g Basket | 20g – 22g | 26-28 mm | 24-26 mm |
Note: These are estimates. Always measure your specific basket for the most accurate results.
Fine-tuning and observing the results
Once you’ve set your theoretical ideal depth, the real test begins with pulling a shot. Puck preparation is a sensory process, and you should use your eyes and taste buds to confirm your setup is working. After performing WDT with your newly adjusted tool, give the portafilter a gentle tap on the counter to settle the grounds. The surface should look perfectly level and uniform.
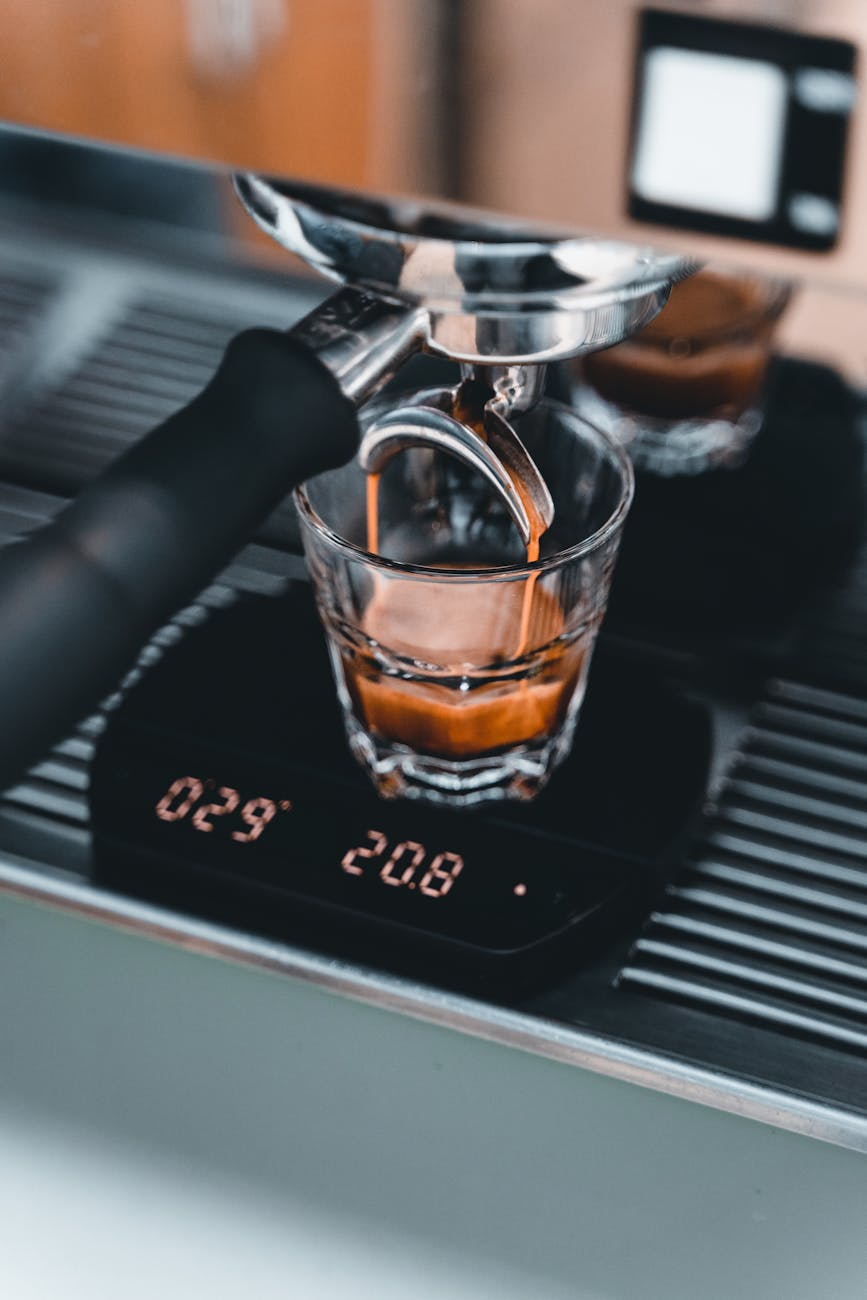
The most telling feedback comes from using a bottomless portafilter. Watch the extraction closely. Are you seeing a single, centered cone of espresso form? Does the flow look even and syrupy, without any “bald spots” or frantic spurts of liquid (spritzers)? An even, beautiful extraction is a strong indicator that your puck was prepared well and that water is flowing through it uniformly. If you still see signs of channeling, you may need to revisit your WDT technique or depth, ensuring you are systematically covering the entire area of the basket.
Ultimately, the final verdict is in the cup. A well-distributed puck will produce an espresso that has more clarity, sweetness, and a more balanced flavor profile. By paying attention to the small but crucial detail of needle depth, you are removing a significant variable and taking one giant leap closer to consistently delicious espresso.
In conclusion, mastering your WDT tool goes beyond just the motion of stirring; it requires a thoughtful approach to the tool’s configuration, with needle depth being paramount. As we’ve discussed, the goal is to create a uniformly dense coffee bed from top to bottom, which is impossible if your needles are too short. By measuring your basket, considering your dose, and setting your needles to reach just above the basket floor, you ensure your WDT efforts are fully effective. The proof will be visible in your extractions when using a bottomless portafilter and, most importantly, tasted in the final cup. This small adjustment is a powerful step in transforming your espresso from inconsistent to consistently exceptional, making it a worthy focus for any home barista.


 No products in the cart.