How to calibrate your grinder specifically for the Gaggia Classic Pro 18g basket
Unlocking the true potential of your Gaggia Classic Pro isn’t just about the machine; it’s about the symphony of variables you control. At the heart of this is your grinder. Calibrating, or “dialing in,” your grinder specifically for your 18g basket is the single most important skill you can learn to transform mediocre espresso into a cafe-quality shot. This process ensures you extract the perfect balance of sweetness, acidity, and body from your coffee beans. This guide will walk you through the entire process, from understanding the core principles of espresso to making micro-adjustments based on taste. We will demystify the relationship between grind size, dose, and time to give you a repeatable method for achieving consistently delicious espresso every morning.
The golden trio: Dose, yield, and time
Before you touch your grinder, you need to understand the fundamental recipe of espresso. Think of it as a triangle with three interconnected points: dose, yield, and time. Changing one affects the others. For our Gaggia Classic Pro, we have already set one variable: the dose.
- Dose: This is the weight of dry coffee grounds you put into your portafilter basket. We are specifically working with an 18-gram dose. Consistency here is key, so always use a scale.
- Yield: This is the weight of the liquid espresso in your cup. It’s expressed as a ratio to your dose. A common starting point for modern espresso is a 1:2 ratio. For our 18g dose, this means we are aiming for a 36g espresso shot.
- Time: This is the total duration of the extraction, from the moment you press the brew button until you stop the shot. A great starting target is between 25 and 32 seconds.
So, our starting recipe is: 18g of coffee in, 36g of espresso out, in about 25-32 seconds. How do we control this? While dose and yield are fixed targets, the grind size is the primary variable you will adjust to control the time it takes to reach your target yield. A finer grind creates more resistance, slowing down the water flow and increasing extraction time. A coarser grind does the opposite.
Gathering your espresso toolkit
To dial in your grinder with precision and repeatability, you need a few essential tools. Having the right equipment turns a frustrating guessing game into a methodical process. This setup is crucial for getting the most out of your Gaggia Classic Pro.
Your essential list:
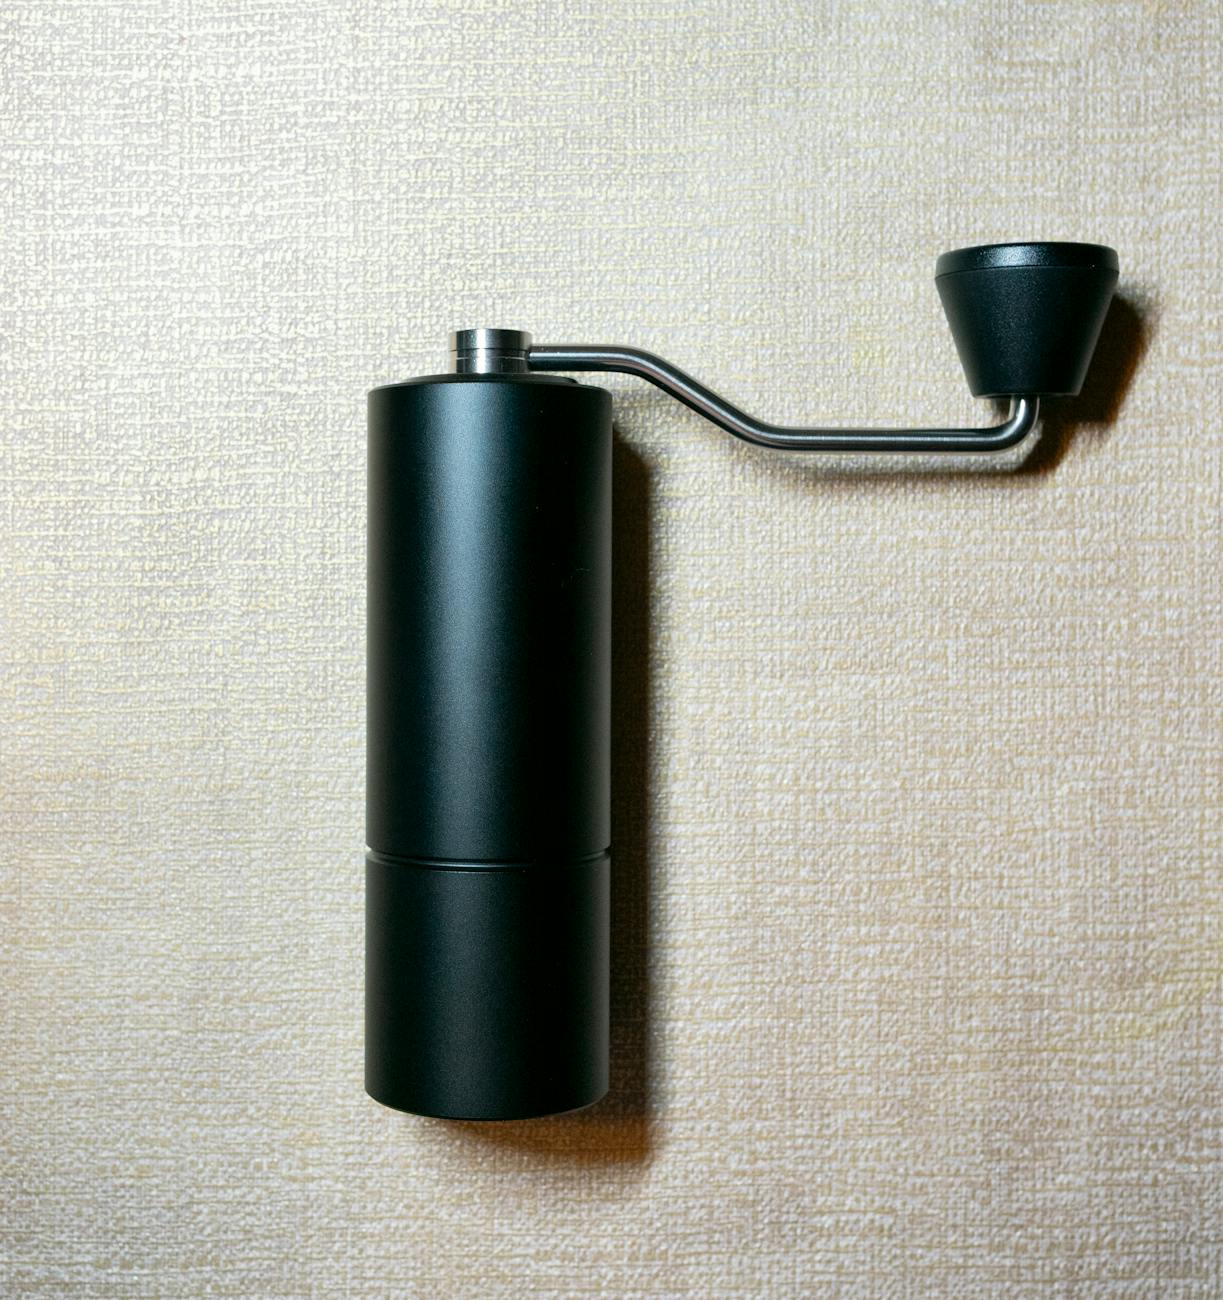
- A quality burr grinder: This is non-negotiable. Blade grinders produce inconsistent particle sizes, making true espresso impossible. An espresso-capable burr grinder allows for fine, step-less, or micro-stepped adjustments.
- A digital coffee scale: You need a scale with 0.1-gram accuracy. It’s used to measure your dose (dry grounds) and your yield (liquid espresso) to ensure you are hitting your recipe targets. Many even have a built-in timer.
- A timer: If your scale doesn’t have one, the stopwatch on your phone is perfect. You need to time your shots accurately.
- The 18g basket and portafilter: Whether it’s the stock basket or an aftermarket precision basket like those from IMS or VST, this is the vessel for your coffee puck.
- A properly fitting tamper: A tamper that fits your 18g basket snugly is important for creating a level and evenly compressed puck of coffee, which prevents uneven extraction (channeling).
Optional but highly recommended: A Weiss Distribution Technique (WDT) tool. This simple tool with fine needles helps break up clumps in your coffee grounds, ensuring a more uniform distribution and a more even extraction.
The dialing-in process: A step-by-step guide
With your recipe defined and your tools ready, it’s time for the practical part. The goal here is to pull a shot and analyze it against our target recipe. Don’t worry about the taste on the first go; focus purely on the numbers. We’ll refine for taste in the next step.
Follow these steps methodically:
- Find a starting grind size. If you’re unsure where to start, grind a small amount of beans. It should feel slightly finer than table salt but not quite a powder. If you choke the machine (nothing comes out), you’re too fine. If it gushes out, you’re way too coarse. Make a note of your grinder’s setting.
- Dose accurately. Weigh out exactly 18g of whole beans and grind them.
- Prepare your puck. Distribute the grounds evenly in your portafilter. Use a WDT tool if you have one to break up clumps. Settle the grounds with a gentle tap and then tamp firmly and levelly. Consistency in your puck prep is vital.
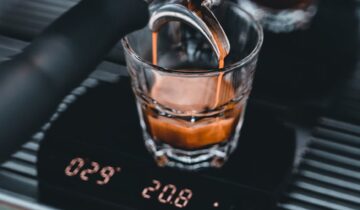
- Pull the shot. Place your cup on the scale under the portafilter and tare it to zero. Start your timer the instant you press the brew button on the Gaggia.
- Watch the yield. Keep your eye on the scale. As the espresso flows, the weight will increase.
- Stop at your target. When the scale reads 36g, immediately stop the shot. The machine may drip a little more, which is fine.
- Record the time. Stop the timer and note the final extraction time.
Now you have your first data point: 18g in, 36g out, in X seconds. This time tells you exactly what to do next.
Making adjustments based on time and taste
Your first shot is rarely perfect. This is where the real calibration begins. You will now use the time from your test shot to adjust your grinder. After you get the time in the right ballpark (25-32 seconds), you can start tasting and making finer adjustments.
Use this table as your guide for troubleshooting:
| Scenario | Problem | Solution |
|---|---|---|
| Shot time is under 25 seconds. | The grind is too coarse. Water is flowing through the puck too quickly, leading to an under-extracted, sour, and weak shot. | Adjust your grinder to a finer setting. Make a small adjustment and pull another shot, keeping dose and yield the same. |
| Shot time is over 35 seconds. | The grind is too fine. Water is struggling to get through, leading to an over-extracted, bitter, and harsh shot. | Adjust your grinder to a coarser setting. Again, make a small adjustment and repeat the process. |
| Shot time is within the 25-32 second range. | The time is good, but the taste is off (e.g., still a bit sour or a bit bitter). | Fine-tune with micro-adjustments. If it’s slightly sour, grind a tiny bit finer to extend extraction. If it’s slightly bitter, grind a tiny bit coarser to shorten it. This is where you perfect the flavor. |
Remember to only change one variable at a time. In this process, that variable is always the grind size. Keep your 18g dose and 36g yield constant. By methodically adjusting your grinder based on the shot time, you will gradually zero in on the perfect setting for that specific coffee bean.
Conclusion
Calibrating your grinder for the Gaggia Classic Pro’s 18g basket is a journey of precision, not a destination you arrive at in one step. By mastering the core concepts of dose, yield, and time, you equip yourself with a reliable recipe for success. The key is to be methodical: use a scale, time every shot, and only adjust the grind size to control your extraction time. This systematic approach removes guesswork and replaces it with control. While the initial process may consume a few shots, the skill you build is invaluable. It transforms your Gaggia from a simple appliance into a tool for crafting exceptional espresso, allowing you to taste coffee the way the roaster intended.
 No products in the cart.