How to calibrate your grinder for a precise 1:2 espresso ratio
Achieving that perfect, cafe-quality espresso at home can feel like a dark art. You have the machine, the fresh beans, but your shots are inconsistent—sometimes sour, sometimes bitter, rarely just right. The secret often lies not just in the machine, but in the unsung hero of your setup: the grinder. Calibrating your grinder is the single most important skill you can learn to gain control over your brew. This article will guide you through the essential process of “dialing in” your grinder to achieve the gold standard 1:2 espresso ratio. This fundamental technique will demystify extraction and empower you to pull consistently delicious, balanced shots of espresso every single time, turning guesswork into a repeatable science.
Understanding the fundamentals of espresso ratios
Before we touch the grinder, it’s crucial to understand what we’re aiming for. An espresso ratio is simply the relationship between the weight of the dry coffee grounds you start with and the weight of the liquid espresso you end up with in your cup. It’s the recipe that dictates the strength and flavor profile of your shot. The three key terms you need to know are:
- Dose: The weight of your dry coffee grounds in the portafilter basket, measured in grams.
- Yield: The weight of the final liquid espresso in your cup, also measured in grams.
- Time: The total duration of the extraction, from the moment you start the pump to the moment you stop it, measured in seconds.
The 1:2 ratio is the industry standard and the perfect starting point for most coffees. It means for every 1 gram of coffee grounds (dose), you want to extract 2 grams of liquid espresso (yield). For example, if you use an 18-gram dose, your target yield would be 36 grams. This ratio typically produces a shot with a rich, syrupy body and a balanced flavor profile, avoiding the extremes of a sour, under-extracted ristretto (a tighter ratio like 1:1) or a thin, over-extracted lungo (a longer ratio like 1:3). To control these variables, a scale is not optional—it’s essential.
Essential tools and initial setup
To calibrate your grinder with precision, you need the right tools for the job. Guesswork will only lead to frustration, so gathering this equipment first will set you up for success. You will need:
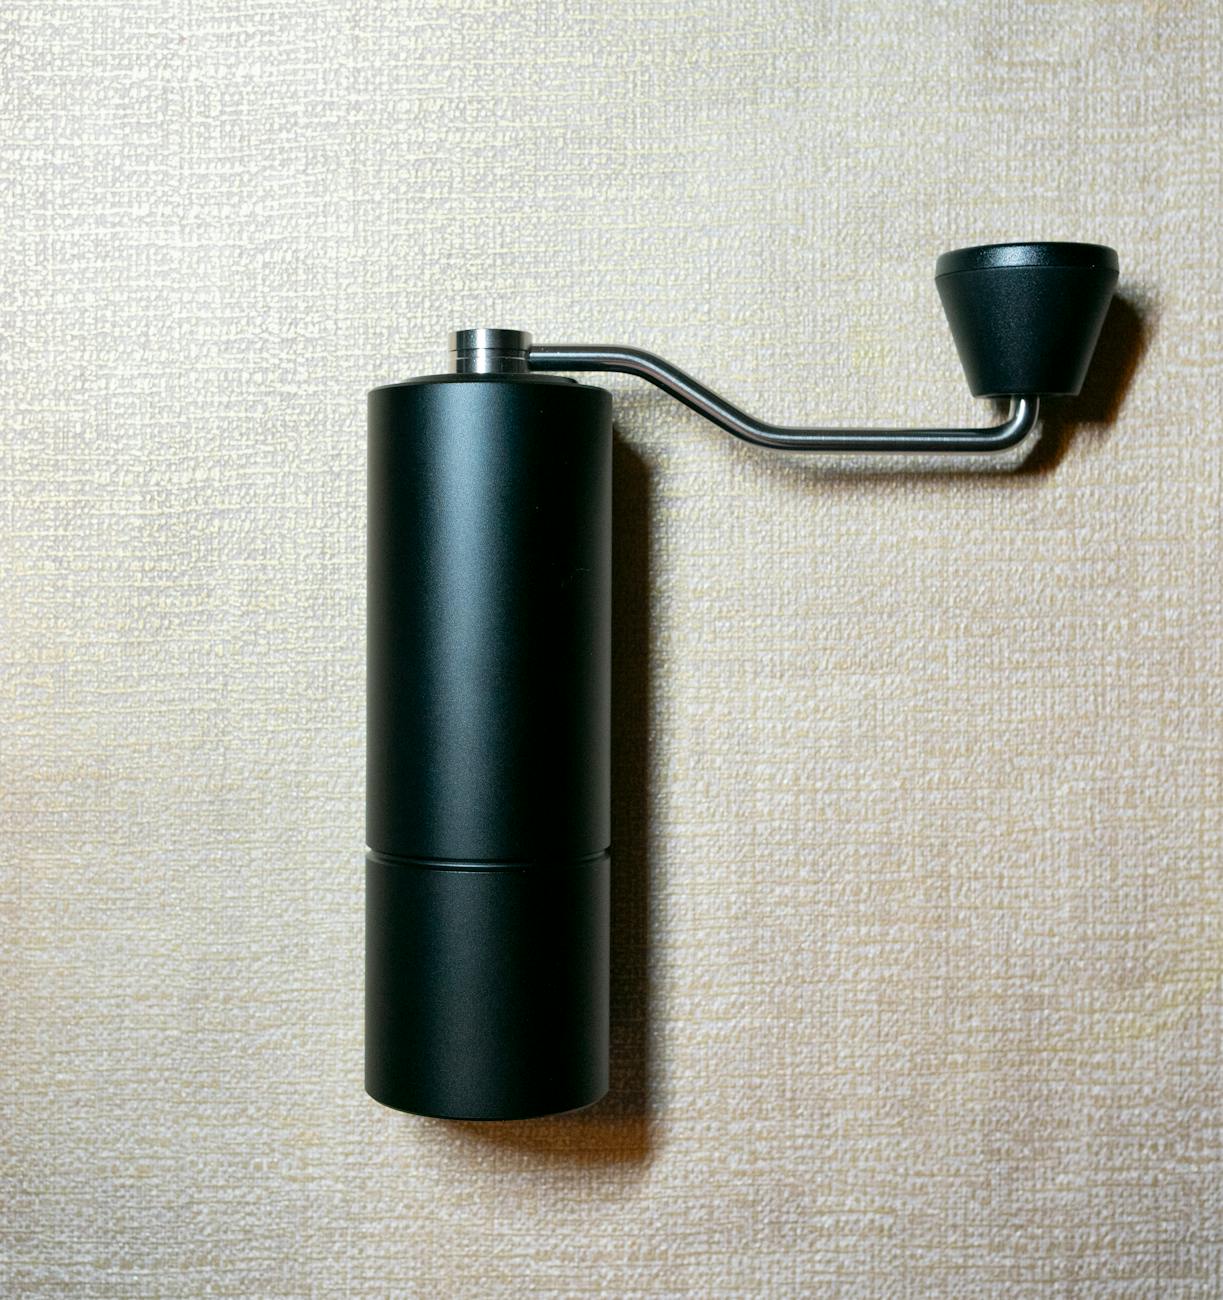
- A burr grinder: This is non-negotiable. Blade grinders chop beans inconsistently, while burr grinders provide the uniform particle size necessary for an even extraction.
- A digital scale: It must be accurate to at least 0.1 grams. This will be used to measure both your dose and your yield.
- An espresso machine and portafilter: The vessel for your coffee grounds.
- A tamper: For creating a level and compressed puck of coffee.
- A timer: Many scales have one built-in, but your phone or machine timer works too.
- Freshly roasted coffee beans: Ideally beans roasted within the last month.
With your tools ready, it’s time for the initial setup. First, decide on your dose. A standard double basket usually holds between 17 and 20 grams. Let’s use 18 grams as our starting dose. Based on our 1:2 ratio, our target yield is 36 grams. Finally, we need a target time. A great starting point for a balanced shot is between 25 and 30 seconds. Your goal is to adjust the grinder so that your 18g dose produces a 36g yield in roughly that time frame. Now you have a clear target.
The grinder calibration process step-by-step
This is where the theory becomes practice. Follow these steps methodically, and remember that your first shot will likely not be perfect. This is a process of refinement.
1. Weigh your dose: Place your portafilter on the scale, tare it to zero, and dose 18.0 grams of coffee into it. Be as precise as possible.
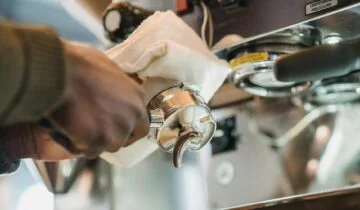
2. Prepare your puck: Distribute the grounds evenly to break up clumps and prevent channeling (where water finds a path of least resistance, leading to uneven extraction). A simple tap or a distribution tool works well. Then, tamp the grounds with firm, level pressure. Consistency here is key.
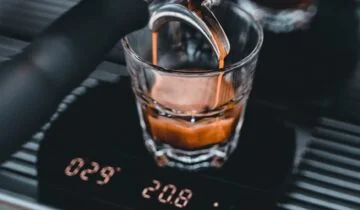
3. Pull the shot: Place your cup on the scale under the portafilter and tare it to zero. Start your shot and your timer simultaneously. Watch the scale closely. As the espresso streams into the cup, you will see the weight increase.
4. Stop at your target yield: The moment the scale reads your target yield (36 grams in our example), stop the shot. It’s important to stop the shot based on weight, not volume or time.
5. Analyze the time: Now, look at your timer. This is the crucial piece of data that tells you what to do next. Did it take 19 seconds? Or 40 seconds? The time it took to reach your target yield dictates your next move and tells you whether your grind is too coarse or too fine.
Dialing in for perfect flavor
Now that you have your first shot’s data—dose, yield, and time—you can make an informed adjustment. The golden rule is to only change one variable at a time. Since our dose (18g) and yield (36g) are fixed, the only variable we will adjust is the grind size. Your extraction time is the indicator of what adjustment to make.
If your shot was too fast (e.g., under 22 seconds), it means the water flowed through the coffee puck with little resistance. The coffee is likely under-extracted and will taste sour or thin. To fix this, you need to make the grind finer. A finer grind creates more surface area and a more compact puck, increasing resistance and slowing the water down.
If your shot was too slow (e.g., over 35 seconds), the water struggled to get through the puck. This coffee is likely over-extracted and will taste bitter, astringent, or burnt. To fix this, you need to make the grind coarser. A coarser grind creates less resistance, allowing the water to flow through more quickly.
Here is a simple table to guide your adjustments:
| Extraction Time | Likely Taste | Grinder Adjustment |
|---|---|---|
| Under 22 seconds | Sour, weak, acidic | Make the grind finer |
| 25 – 30 seconds | Balanced, sweet, complex | This is your target range! |
| Over 35 seconds | Bitter, harsh, burnt | Make the grind coarser |
After making a small adjustment to your grinder, remember to purge a few grams of coffee to ensure you are using the new setting. Then, repeat the entire process: weigh, prep, pull, and analyze. It may take a few attempts, but you will gradually zero in on the grind setting that gets you to that 36g yield in 25-30 seconds. Once you hit the numbers, taste it. The numbers are a guide, but your palate is the final judge.
Conclusion
Calibrating your grinder for a 1:2 espresso ratio is a methodical process that removes the guesswork from making great coffee. By focusing on three key variables—dose, yield, and time—you can systematically adjust your grind size to achieve a balanced extraction. The core steps involve weighing your dose accurately, pulling your shot to a specific target yield, and using the extraction time as a diagnostic tool to make your grind finer or coarser. This process transforms your coffee-making routine from one of random chance into a repeatable craft. Remember that dialing in is not a one-time setup; you’ll need to make small adjustments for new bags of coffee or even as your beans age. Embracing this process is the true key to unlocking consistently delicious espresso at home.

 No products in the cart.