How to calibrate your Gaggia Classic PID for accurate brew temperatures
Upgrading your Gaggia Classic with a PID (Proportional-Integral-Derivative) controller is arguably the single best modification for elevating your espresso. It transforms the machine from a temperature-swinging beast into a model of stability. However, simply installing the PID is only half the battle. The temperature you see on that bright new display is the boiler’s temperature, not the temperature of the water hitting your coffee puck. A significant temperature drop occurs between the boiler and the group head. This is where calibration comes in. This article will guide you step-by-step through the process of calibrating your Gaggia Classic’s PID, ensuring the temperature you set is the temperature you get, unlocking true precision and repeatability in every shot.
Understanding the temperature gap: PID vs. group head
Before we start adjusting settings, it’s crucial to understand why calibration is necessary. Your PID’s temperature probe is typically attached to the exterior of the boiler. It does an excellent job of reading and maintaining the boiler’s thermal mass at a steady temperature. However, the water’s journey doesn’t end there. To get to your coffee, it must travel from the boiler, through internal tubing, and finally through the heavy brass group head and portafilter.
Along this path, heat is inevitably lost to the surrounding components and the air. This results in a temperature at the group head that is consistently lower than the temperature in the boiler. This difference is known as the temperature offset. Without calibration, setting your PID to 93°C (200°F) might result in brew water that’s only 89°C (192°F), potentially leading to sour, under-extracted shots. Calibrating the PID involves measuring this offset and programming it into the controller, telling the boiler to run slightly hotter to compensate for the heat loss and deliver your desired temperature precisely where it matters most.
Essential tools for accurate measurement
To accurately calibrate your machine, you need a way to measure the water temperature as it exits the group head. The tools for this job range from professional-grade to simple DIY solutions. Having the right equipment is the first step toward reliable results.
- The gold standard: A Scace thermofilter. This is a commercial-grade device that replaces your portafilter and has a highly accurate thermometer placed exactly where the coffee puck would be. It provides the most precise readings but comes with a significant price tag, making it impractical for most home users.
- The accessible DIY method: A styrofoam cup and a digital thermometer. This is the most popular and cost-effective method for home baristas. A fast-read digital thermometer (like a Thermapen or a cheaper alternative) is pushed through the side of a styrofoam cup. You can then hold the cup under the group head, run the pump, and measure the temperature of the flowing water. While not as precise as a Scace, it’s more than accurate enough to dramatically improve your temperature control.
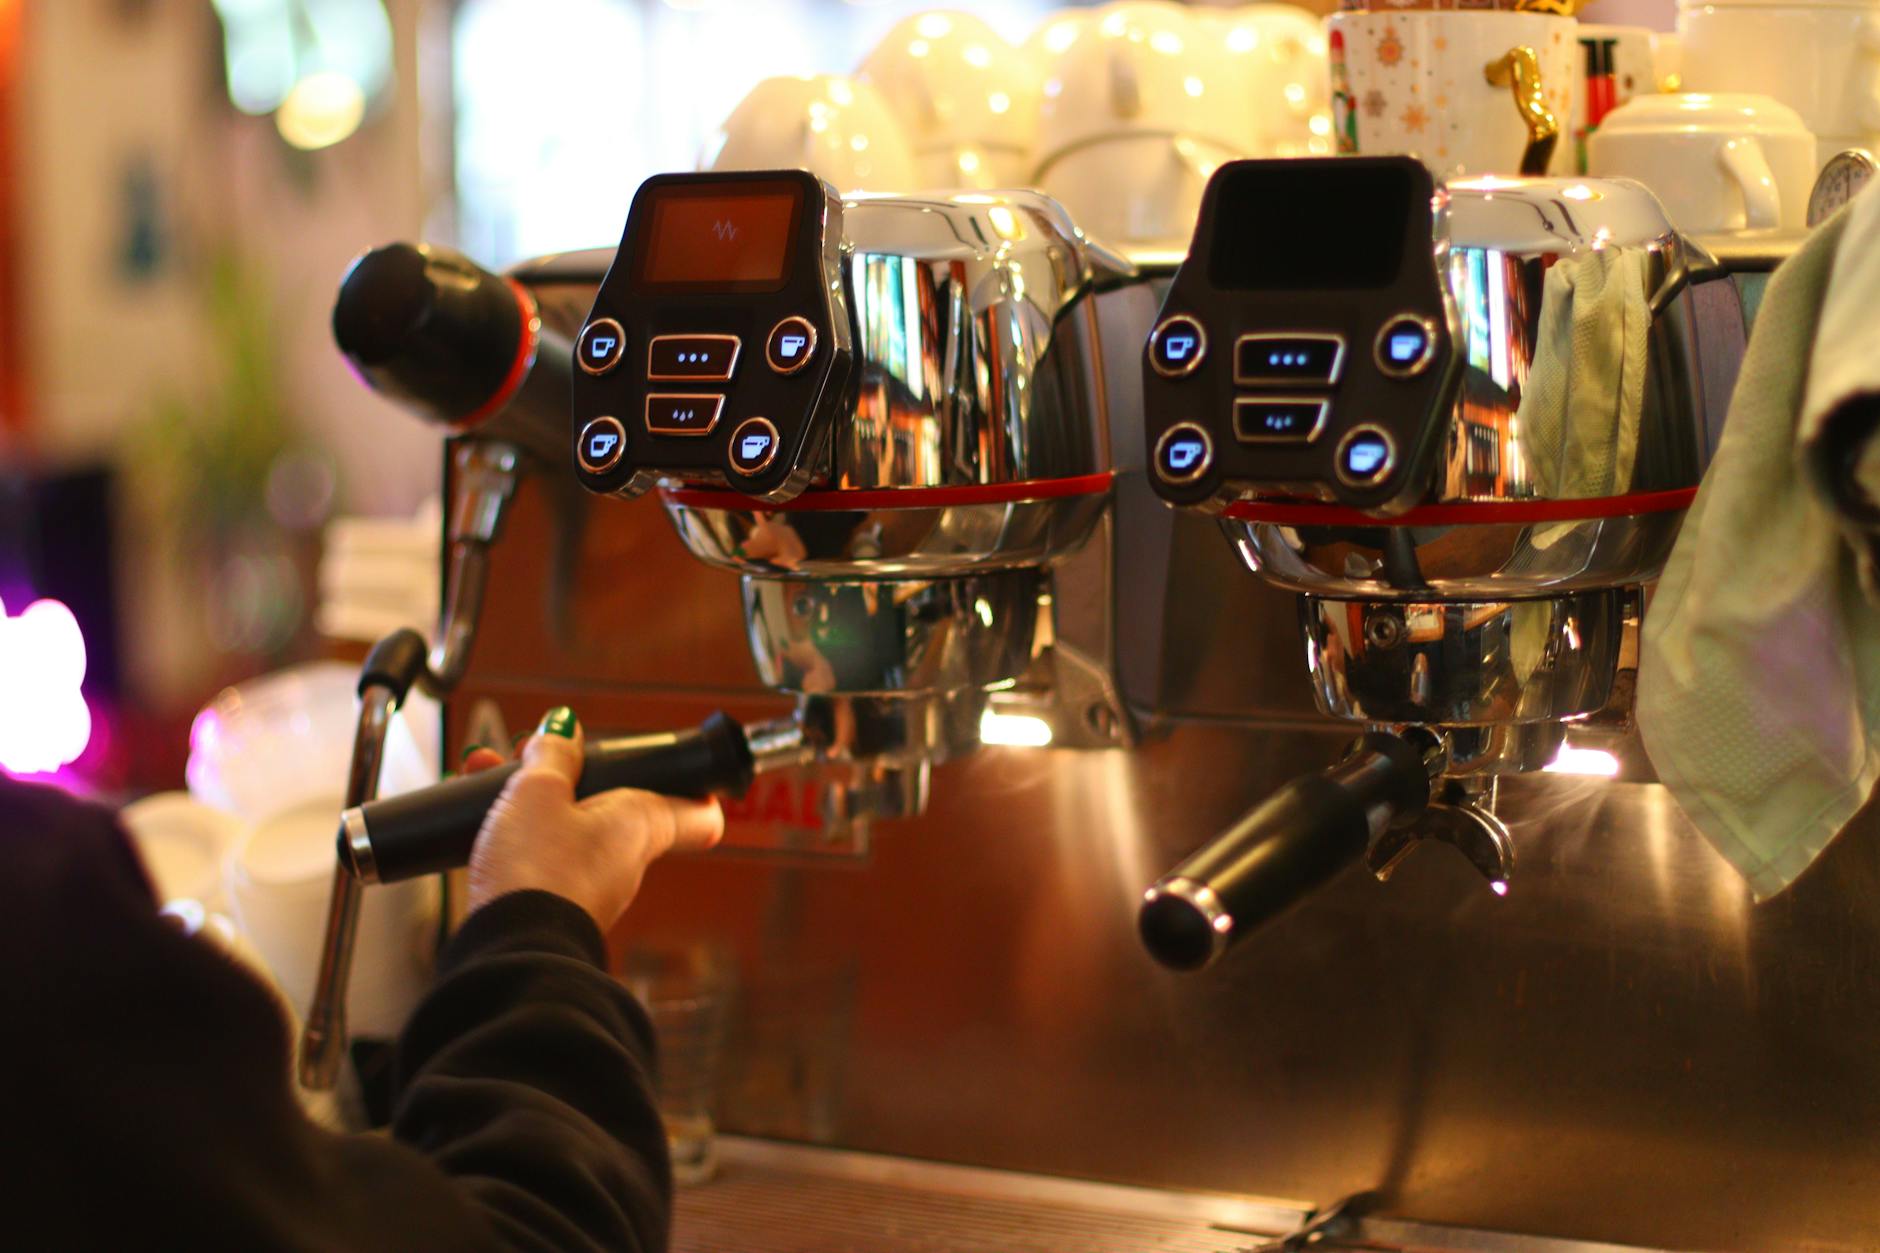
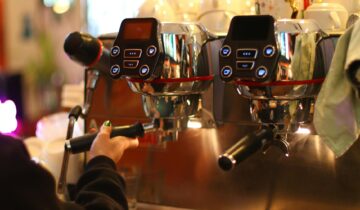
- PID controller manual. Every PID kit, whether from Auber Instruments, Shades of Coffee, or another vendor, has a slightly different menu system. You’ll need the manual to know how to access the advanced settings and find the specific parameter for the temperature offset.
The step-by-step calibration process
With your tools ready, it’s time to measure your machine’s unique temperature offset. This process requires patience. It’s best to perform these steps when you won’t be interrupted, allowing the machine to remain thermally stable.
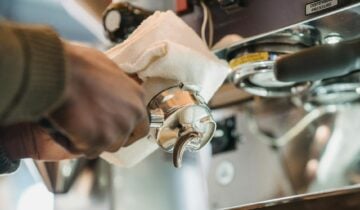
- Fully warm up the machine. This is a non-negotiable step. Turn your Gaggia Classic on with the portafilter locked into the group head. Let it sit for a minimum of 30 minutes, though 45 is even better. This ensures the boiler, group head, and portafilter are all at a stable operating temperature.
- Take a baseline measurement. Set your PID to a common brewing temperature, for example, 93°C (200°F). Wait for the display to show that the temperature is stable. Now, using your chosen measurement tool (like the styrofoam cup method), run the brew pump and measure the water temperature for about 10-15 seconds. Note the stable temperature reading. Let’s say you measure 90°C.
- Calculate your offset. The calculation is simple: PID Set Temperature – Measured Brew Temperature = Offset. In our example: 93°C – 90°C = 3°C. This means your machine has a temperature offset of 3°C.
- Adjust the offset parameter in the PID. Now, consult your PID manual to enter its programming menu. Find the parameter for temperature offset (it may be labeled ‘Offset,’ ‘SC,’ or something similar). You need to tell the PID to compensate for this 3°C drop. The logic can vary by manufacturer, but most often you would enter a value of +3.0. This tells the PID, “When I ask for 93°C, you should actually heat the boiler to 96°C to ensure the water is 93°C at the group.”
- Verify your new setting. Save the new offset and exit the programming menu. Let the machine’s temperature stabilize again at your target of 93°C. Perform the measurement test again. This time, your reading at the group head should be very close to 93°C. You can make minor adjustments if needed to dial it in perfectly.
Maintaining stability and advanced tips
Once your basic calibration is complete, you can further refine your process for ultimate consistency. Remember that espresso brewing is a system, and the PID is just one part of it. Your pre-shot routine is just as important. A short 2-3 second flush of water right before you lock in your dosed portafilter can help normalize the group head temperature, purging any slightly overheated water and giving you a more consistent starting point for every single shot.
For those chasing perfection, it’s worth noting that the offset may not be perfectly linear across all temperatures. An offset that is perfect for 93°C might be slightly different for a light roast brewed at 96°C. You can repeat the calibration process at a few different temperatures you commonly use and log the results. This allows you to make tiny on-the-fly adjustments for specific coffees.
Here is a sample table you can use to log your calibration data:
| Initial PID Set Temp | Measured Brew Temp | Calculated Offset | Final PID Set Temp | Verified Brew Temp |
|---|---|---|---|---|
| 93.0°C | 89.5°C | 3.5°C | 93.0°C (with +3.5 offset) | 92.8°C |
| 96.0°C | 92.2°C | 3.8°C | 96.0°C (with +3.8 offset) | 95.9°C |
By taking these extra steps, you move from simply having a stable machine to having a predictably accurate one.
In conclusion, installing a PID on your Gaggia Classic is a fantastic first step, but calibrating it is what truly unlocks its potential. This process closes the loop between the reading on the display and the reality at the group head. By understanding that a natural temperature drop occurs, gathering the right tools to measure it, and systematically adjusting your PID’s offset parameter, you take full command of your brew temperature. This crucial calibration transforms your espresso-making from a game of guesswork into a science of precision. The reward for your patience and effort will be the ability to consistently pull delicious, balanced, and repeatable shots of espresso, knowing that your temperature is exactly where you want it to be, every single time.
 No products in the cart.