In the pursuit of the perfect espresso shot, baristas control a myriad of variables, from grind size and tamping pressure to water temperature and extraction time. Yet, the very foundation of any great espresso recipe is the dose: the precise weight of coffee grounds used. This is where your espresso scale becomes your most critical tool. But what happens when that tool is no longer accurate? An uncalibrated scale can silently sabotage your efforts, leading to inconsistent and frustrating results. This article will guide you through the essential process of calibrating your espresso scale. We will explore why precision dosing is non-negotiable, what calibration truly means, and provide a clear, step-by-step guide to ensure your scale is performing with the accuracy you need for consistently delicious coffee.
Why precision matters in espresso
Espresso is a delicate balancing act. The difference between a rich, syrupy shot and a disappointingly sour or bitter one can come down to fractions of a gram. This is where the concept of a brew ratio comes into play. A typical espresso recipe might call for a 1:2 ratio, meaning for every 18 grams of dry coffee grounds (the dose), you aim for 36 grams of liquid espresso in the cup (the yield). Now, imagine your scale is off by just one gram. Your intended 18-gram dose is actually 19 grams.
This seemingly small error throws the entire recipe off. With that extra gram of coffee, the water will struggle to extract the flavors evenly in the same amount of time, likely resulting in an under-extracted, sour shot. Conversely, if your scale reads high and you dose only 17 grams, the shot may run too fast, leading to a weak, over-extracted, and bitter cup. Consistency is the hallmark of a skilled barista, and an accurate scale is the only way to achieve repeatable results day after day. It removes the guesswork and ensures that when you dial in the perfect recipe, you can replicate it every single time.
Understanding scale calibration
To maintain accuracy, it is important to understand the difference between taring and calibrating your scale. Most coffee enthusiasts are familiar with the “tare” or “zero” button. This function simply resets the scale’s display to zero, allowing you to measure ingredients in a container without including the container’s weight. It is a function you use daily.
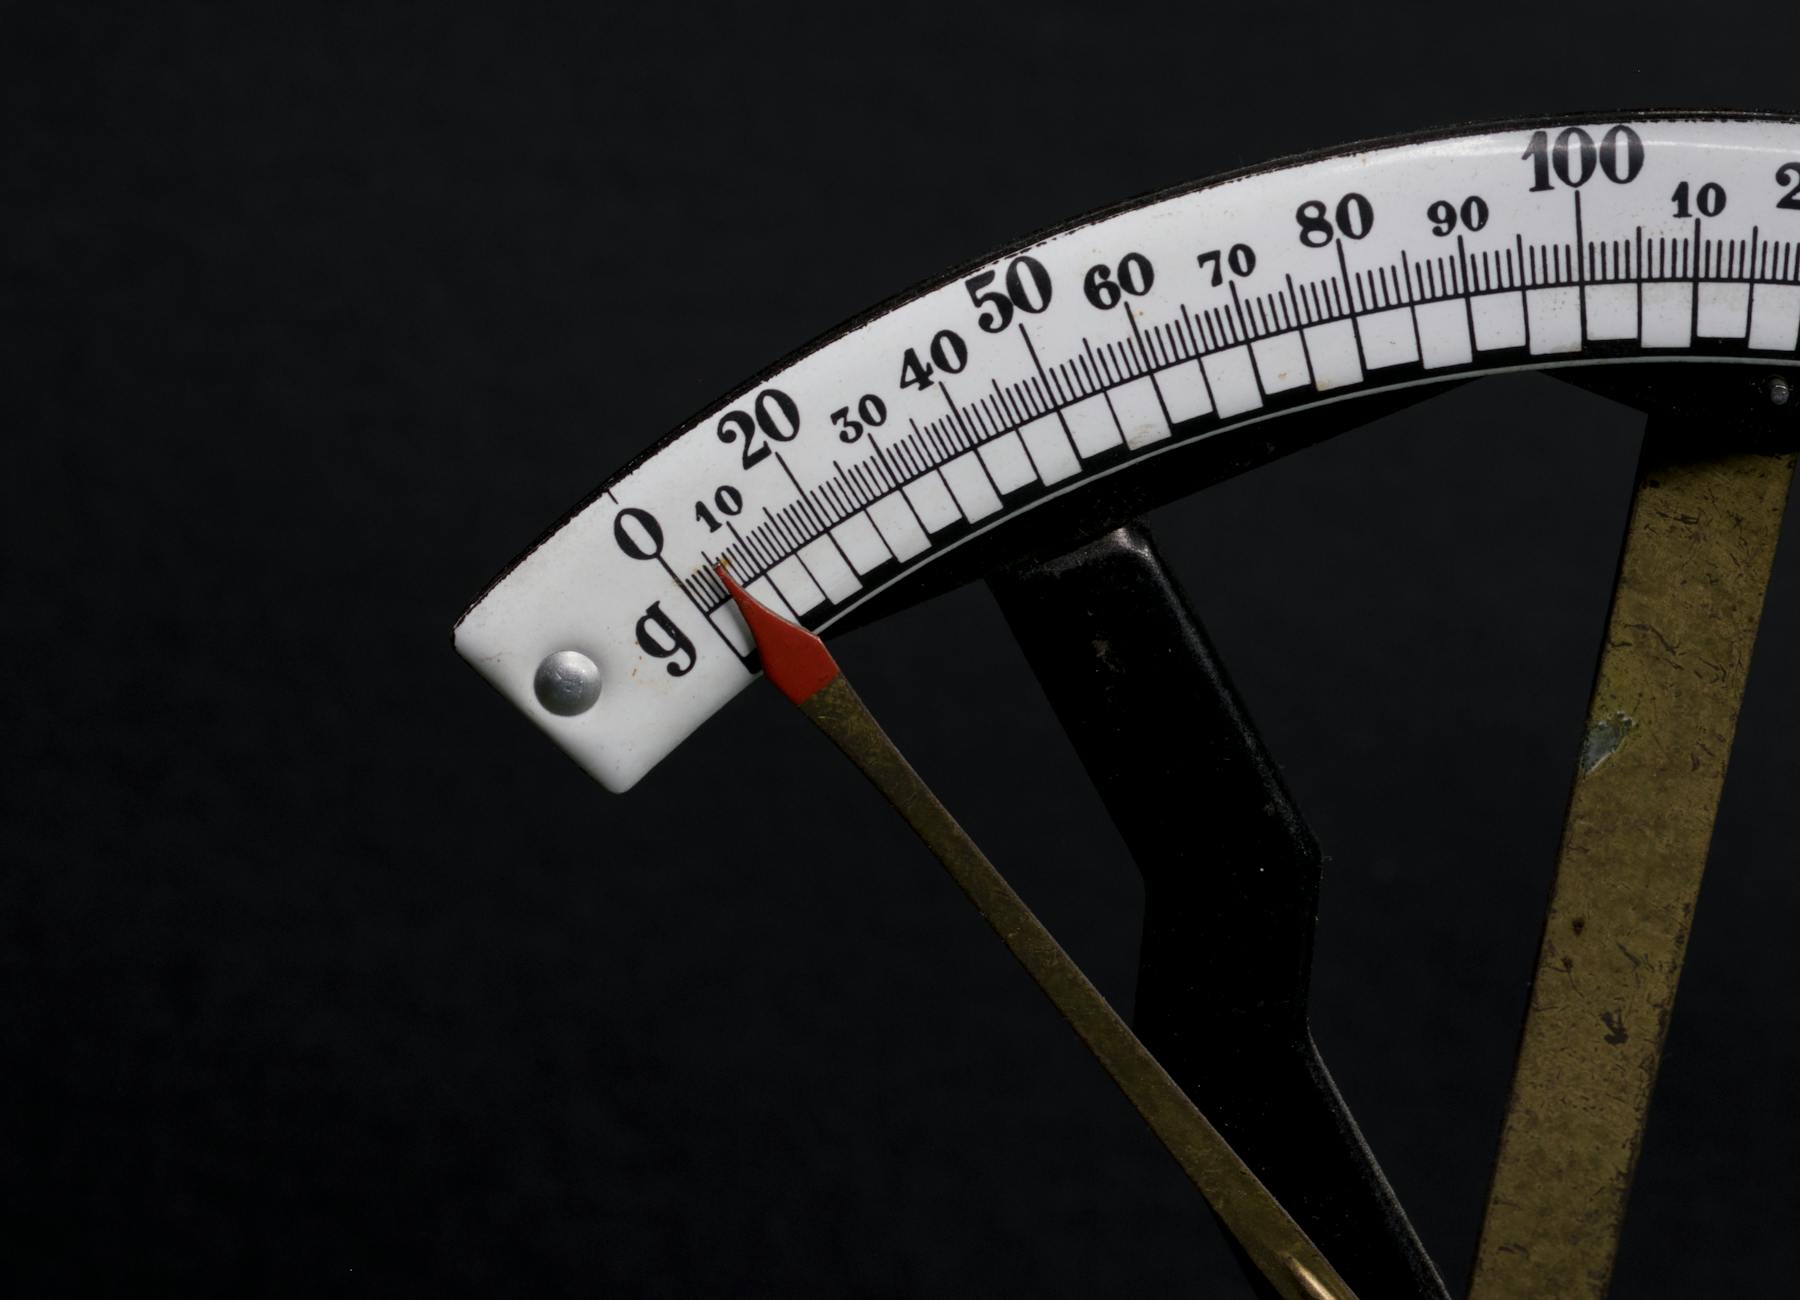
Calibration, however, is a deeper, more fundamental process. It involves checking and correcting the scale’s accuracy against a known, certified mass (a calibration weight). Over time, all digital scales can experience “drift” due to factors like temperature fluctuations, humidity, low battery power, or even being jostled or moved. Calibration realigns the scale’s internal mechanism, ensuring that when it reads “100g,” the object on the platform truly weighs 100 grams. It is not something you do for every shot, but a crucial maintenance task that restores your scale’s reliability and validates the trust you place in its readings.
The step-by-step guide to calibrating your scale
Calibrating your scale is a straightforward process, but it requires careful attention to your specific model’s instructions. While the general steps are similar, the exact buttons to press or the required weight can vary.
- Find a stable, level surface. This is a non-negotiable first step. Any vibrations or incline can interfere with the process. A sturdy kitchen counter away from drafts is ideal.
- Consult your manual and get the right weight. Your scale’s user manual is your best friend. It will tell you two critical things: how to enter calibration mode and the exact weight needed for the procedure (e.g., 100g, 200g, 500g). Do not guess. Using the wrong weight will make your scale less accurate. You can purchase certified calibration weights online for a reasonable price; do not use substitutes like a coin or a can of food, as their weight is not precise enough.
- Enter calibration mode. Turn on your scale and let it stabilize. Most scales enter calibration mode by holding down a specific button (often “Mode” or “CAL”) for a few seconds. The display will typically change to “CAL” or show the required weight.
- Place the calibration weight. Once prompted by the display, gently place the correct calibration weight in the center of the scale’s platform. Try not to touch the weight with your bare hands, as oils from your skin can slightly alter its mass. Use gloves or a pair of tweezers.
- Wait for confirmation. The scale will perform its internal adjustment. After a few moments, the display should indicate that the process is complete, often by flashing “PASS” or returning to the normal weighing mode.
- Verify the reading. Remove the weight, let the scale return to zero, and then place the weight back on. It should now read the exact mass of the calibration weight.
Maintaining accuracy: When and how often to calibrate
Calibration is not a one-time fix. To ensure your precision dosing remains precise, you should make it a part of your regular coffee-making routine. So, how often should you do it? A good rule of thumb is to calibrate your espresso scale once every one to three months. However, you should consider calibrating more frequently if:
- You move the scale to a new location, especially one with a different ambient temperature.
- You accidentally drop or knock the scale.
- You change the batteries.
- You notice inconsistent espresso shots despite your recipe being unchanged. If your shots suddenly start running too fast or too slow, a drifting scale could be the culprit.
Proper care also extends the life and accuracy of your scale. Keep it clean from coffee grounds and away from water. Never submerge it or overload it beyond its maximum capacity. If you encounter issues during calibration, this simple table can help you troubleshoot common problems.
| Problem | Possible Cause & Solution |
|---|---|
| Unstable or fluctuating reading | The scale is on an uneven surface, near a draft (like a fan or vent), or the battery is low. Move to a stable, level surface and check the battery. |
| “ERR” or “Out2” message during calibration | You are using the incorrect calibration weight, or the scale was not at a stable zero before starting. Double-check your manual for the required weight. |
| Calibration fails repeatedly | Ensure you are following the manual’s instructions precisely. A low battery is a common cause of failed calibrations. If problems persist, the load cell may be damaged. |
Think of calibration as a small investment of time that protects the quality of every single coffee you brew. It is a simple yet powerful habit that separates casual coffee makers from dedicated home baristas who leave nothing to chance. By keeping your most essential tool in peak condition, you empower yourself to pull consistently excellent espresso shots. This regular check-up ensures that your data is reliable, your recipes are repeatable, and your coffee is as delicious as it can possibly be. Ultimately, a calibrated scale provides peace of mind, allowing you to focus on the art of espresso, confident that the science is taken care of.


 No products in the cart.