The Gaggia Classic Pro is a legend in the world of home espresso, offering incredible value and the potential for true cafe-quality shots. However, out of the box, it lacks one key feature found on high-end machines: pre-infusion. This gentle pre-wetting of the coffee puck can be the difference between a good shot and a great one, significantly reducing issues like channeling. Fortunately, you don’t need an expensive modification to unlock this capability. There’s a simple, free technique known as the “steam knob hack.” This article will serve as your comprehensive guide to mastering this manual pre-infusion method, explaining not just how to do it, but why it works, helping you elevate your espresso game with the machine you already own.
What is pre-infusion and why does it matter?
Before we dive into the technique, it’s crucial to understand the concept. Pre-infusion is the process of gently saturating the puck of ground coffee with low-pressure water before applying the full nine bars of pressure needed for extraction. Think of it as gently waking up the coffee rather than hitting it with a sudden jolt. When you start a normal shot on a Gaggia Classic Pro, the pump immediately sends high-pressure water to the dry puck. This can create tiny cracks and fissures, a phenomenon known as channeling, where water finds the path of least resistance and bypasses other parts of the coffee bed.
The results of channeling are easy to spot: a thin, fast, and often sour-tasting shot. By implementing pre-infusion, you achieve several key benefits:
- Reduced channeling: The low-pressure water allows the coffee grounds to swell and settle, creating a more uniform and stable puck that can withstand the subsequent high pressure.
- More even extraction: With a stable puck, water flows more evenly through the entire bed of coffee, extracting flavors consistently. This leads to a more balanced, sweet, and complex cup.
- Greater forgiveness: Pre-infusion can help compensate for minor imperfections in your distribution and tamping, making your puck prep more forgiving and your results more consistent.
In short, pre-infusion helps you get the most out of your coffee beans by promoting a healthier, more uniform extraction.
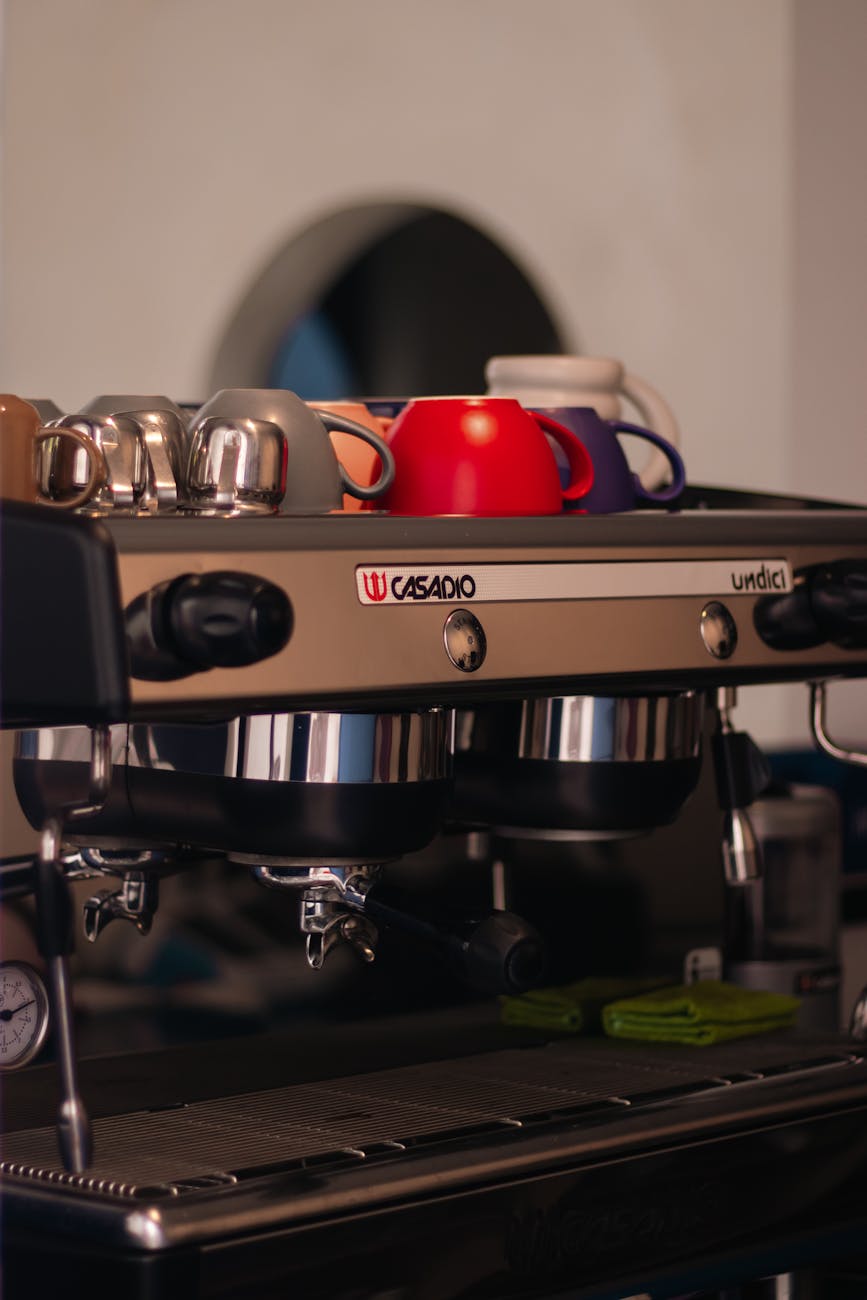
Understanding the Gaggia’s simple genius
To understand why the steam knob hack works, you need a basic grasp of how water moves through your Gaggia. The machine has a powerful vibratory pump that pushes water from the reservoir through a boiler. From the boiler, the water wants to go to the group head and onto your coffee. However, there’s another exit path: the steam wand. When you flip the brew switch, the pump engages and starts pushing water. The steam knob is essentially a valve that opens or closes the path to the steam wand.
Here’s the key: water, like electricity, follows the path of least resistance. The compressed, dry puck of coffee in your portafilter offers significant resistance. An open steam wand offers almost none. By turning on the brew switch while the steam knob is open, you force the pump’s output to split. The majority of the water and pressure will vent out of the easy escape route (the steam wand), while only a small, gentle flow of low-pressure water makes its way to the group head. This is your manual pre-infusion. When you close the steam knob, that escape route is cut off, and the pump directs its full power to the group head, beginning the main extraction.
The step-by-step guide to the steam knob hack
Mastering this technique takes a bit of practice, but the steps are straightforward. Have your cup and scale ready, and place a small pitcher or mug under the steam wand to catch the water.
- Prepare your shot: Go through your normal routine of grinding, distributing, and tamping your coffee in the portafilter. Lock it into the group head.
- Start the process: Place your cup on the scale, tare it to zero, and flip the brew switch on.
- Open the steam knob: Immediately after flipping the brew switch, open the steam knob. You don’t need to crank it all the way; about a half to a full turn is usually sufficient. You will hear the pump engage and see water flowing from the steam wand into your pitcher.
- Watch the portafilter: This is the most important part. Keep your eyes on the bottom of the portafilter basket. After a few seconds (typically 5-10), you will see the first few drops of espresso begin to form and drip into your cup. This is your signal that the puck is fully saturated. A bottomless portafilter makes this incredibly easy to see.
- Close the steam knob: As soon as you see those first drops, quickly and completely close the steam knob. You will hear the pump’s sound change as it comes under full load, and the flow of espresso will begin in earnest.
- Pull your shot: Let the extraction continue as you normally would, stopping the brew switch once you’ve reached your desired yield (e.g., a 1:2 ratio of coffee grounds to liquid espresso).
Here is a sample timeline for a shot using this method:
| Time (Seconds) | Action | State |
|---|---|---|
| 0s | Flip brew switch ON, immediately open steam knob. | Pre-infusion phase begins. |
| 8s | First drops of espresso appear. Close steam knob. | Full pressure extraction begins. |
| 32s | Target yield of 36g reached. Flip brew switch OFF. | Shot complete. |
Tips for perfecting your pre-infusion technique
Once you have the basic steps down, you can start refining your technique to truly dial in your shots. This manual control is what makes the hack so powerful.
- Use a bottomless portafilter: This is the single best tool for learning. It provides instant visual feedback, allowing you to see the puck saturate evenly and confirming that your pre-infusion is preventing channeling. If you see jets spraying out during the main extraction, you know you need to improve your puck prep.
- Experiment with grind size: Pre-infusion generally allows you to grind finer than you could without it. A finer grind increases the surface area of the coffee, allowing for a higher extraction. Don’t be afraid to adjust your grinder one or two steps finer and see how it impacts the taste.
- Vary your pre-infusion time: The 5-10 second range is a starting point. Lighter roasts are often denser and benefit from a longer pre-infusion (10-12 seconds) to ensure full saturation. Darker, more brittle roasts might only need a short pre-infusion (4-6 seconds) to avoid over-extraction. Taste is your ultimate guide here.
- Listen to your machine: Pay attention to the sound of the pump. The quiet hum during pre-infusion will change to a deeper, more strained sound when you close the steam knob and the pump engages at full pressure. This auditory cue helps you build a consistent rhythm.
The Gaggia Classic Pro is a capable and robust espresso machine, but its true potential is unlocked when you, the barista, take more control over the brewing process. The steam knob pre-infusion hack is the perfect example of this. It costs nothing, requires no permanent modification, and directly addresses one of the most common causes of inconsistent espresso: channeling. By gently saturating the coffee puck before extraction, you are setting your shot up for success, leading to a more balanced, sweet, and repeatable result. While it takes a few practice runs to get the timing right, the improvement in your cup is well worth the effort. Master this simple technique, and you’ll be pulling shots that rival those from machines costing three or four times as much.


 No products in the cart.