Unlock pro-level espresso: A guide to the Gaggia Classic dimmer mod for pressure profiling
The Gaggia Classic has long been celebrated as the gateway to true home espresso. Its robust build, simple mechanics, and affordable price point make it a favorite for beginners and seasoned enthusiasts alike. However, in its stock form, it operates like most entry-level machines: a simple on/off switch that sends full power to the pump. This lacks the nuance required for advanced espresso extraction. Enter the manual dimmer mod, a simple, cost-effective modification that transforms the Gaggia Classic from a capable appliance into a fully manual, pressure-profiling powerhouse. This article will explore why pressure profiling is a game-changer for your coffee, how the dimmer mod works, and how you can use it to pull shots that rival those from far more expensive machines.
What is pressure profiling and why does it matter?
In traditional espresso extraction, a pump forces hot water through a finely-ground coffee puck at a constant pressure, typically around 9 bars. This has been the standard for decades and can produce excellent results. Pressure profiling, however, is the art of intentionally varying that pressure throughout the shot’s duration. Instead of a flat 9-bar line, a profiled shot might start with a gentle, low-pressure pre-infusion, ramp up to a peak pressure, and then gradually taper off as the shot finishes.
But why go to the trouble? The benefits are significant:
- Reduced channeling: Hitting a dry puck of coffee with 9 bars of pressure instantly can create tiny cracks or “channels.” Water will follow this path of least resistance, leading to uneven extraction where some grounds are over-extracted (bitter) and others are under-extracted (sour). A gentle pre-infusion saturates the puck evenly, dramatically reducing this risk.
- Higher extraction yields: By minimizing channeling, you can grind your coffee finer than you normally would. This increases the surface area of the coffee, allowing you to extract more of the delicious soluble compounds, resulting in a richer, more complex, and sweeter shot.
- Flavor separation: Tapering the pressure down at the end of the shot can reduce the extraction of bitter compounds that tend to come through in the final stages. This allows the brighter, sweeter notes of the coffee to shine, a technique famously used by lever espresso machines.
Essentially, pressure profiling gives you, the barista, another powerful variable to control, allowing you to tailor the extraction to the specific characteristics of any coffee bean.
The dimmer mod: a simple solution for a classic machine
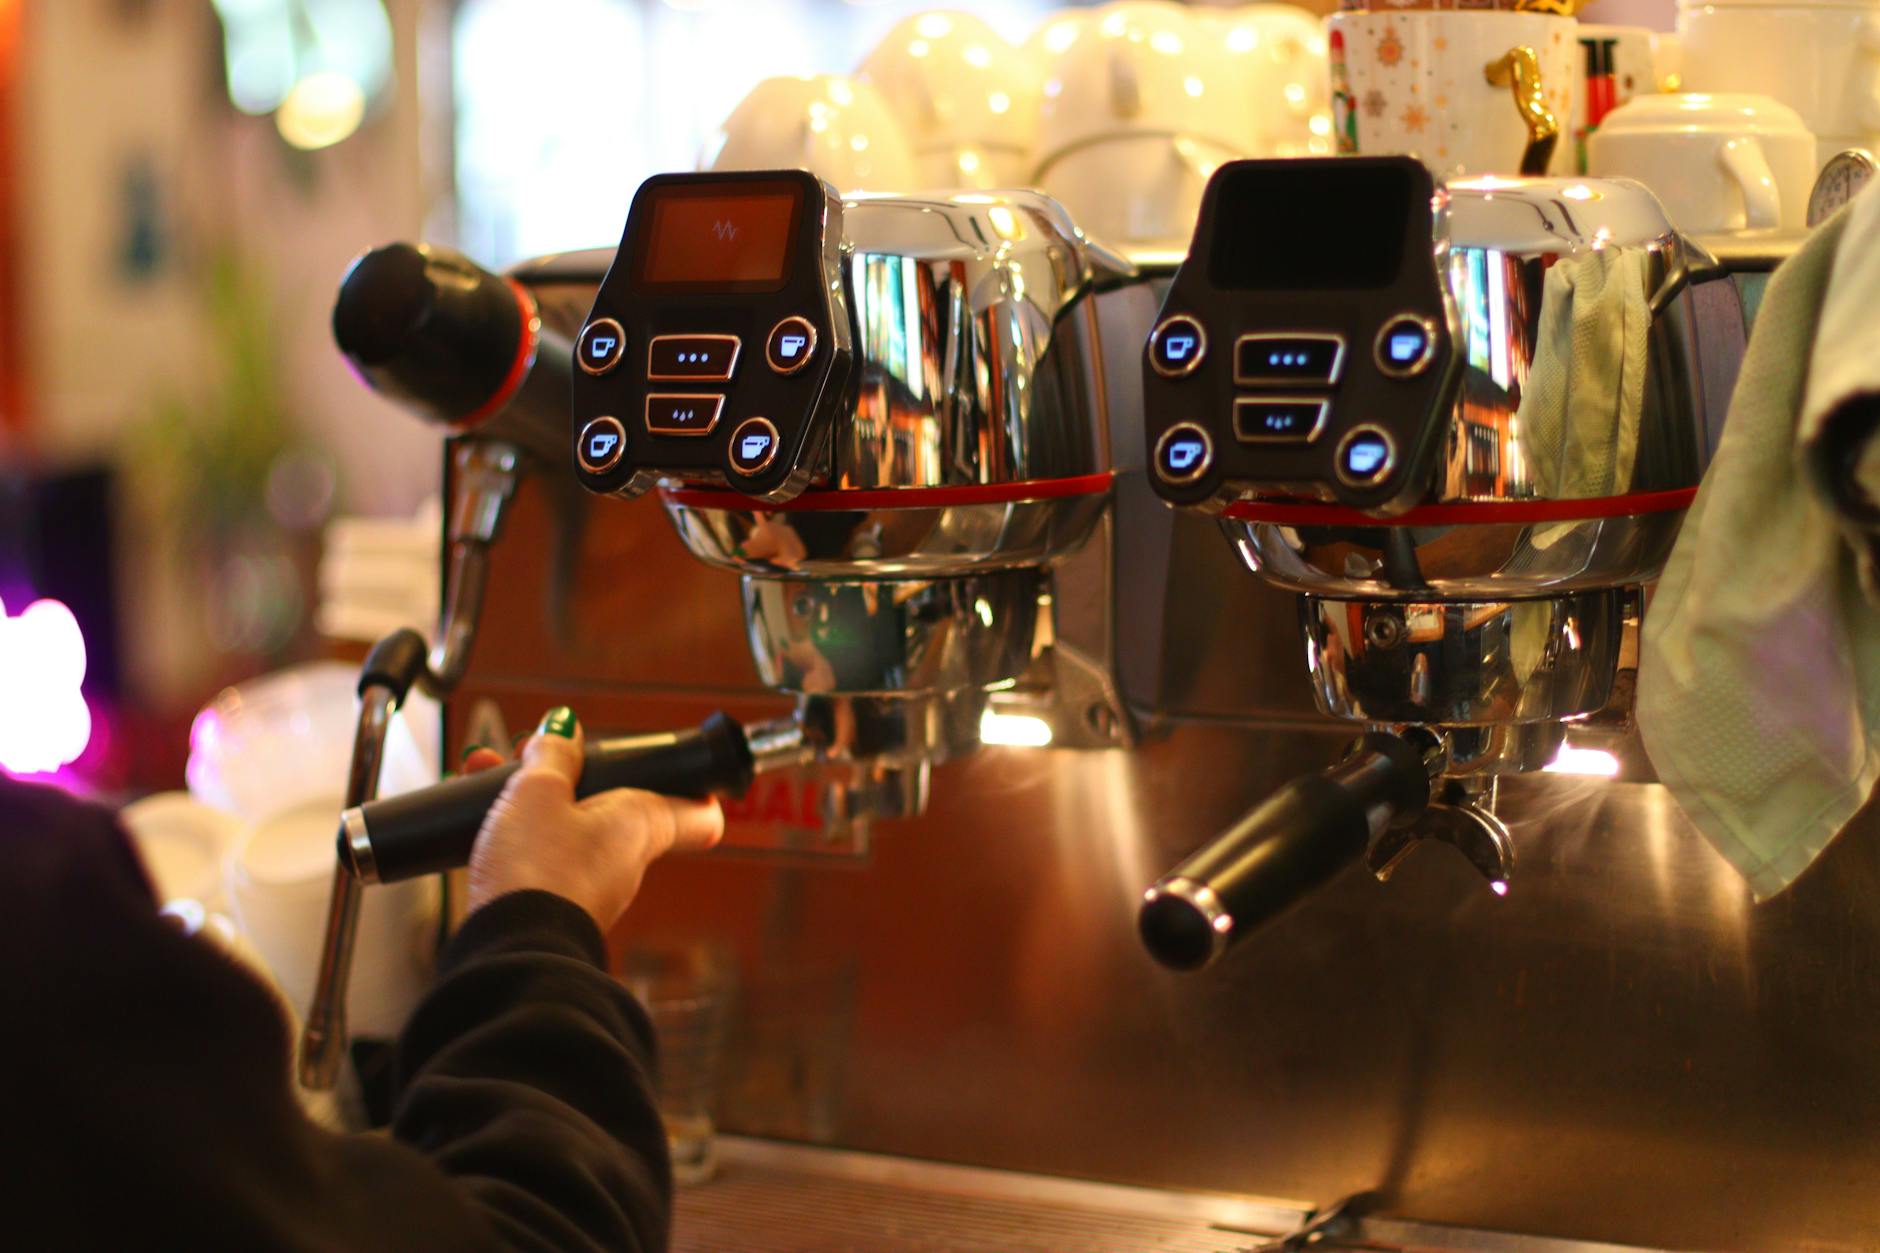
So, how does a simple light dimmer give you this incredible control? The answer lies in how the Gaggia Classic’s vibratory pump works. Unlike a rotary pump found in commercial machines, a “vib” pump’s output is directly related to the voltage it receives. In its stock configuration, flipping the brew switch sends 100% power to the pump, which quickly ramps up to the pressure set by the Over-Pressure Valve (OPV).
The dimmer mod is wired in-line between the brew switch and the pump. By turning the dimmer knob, you are effectively reducing the voltage sent to the pump motor. Lower voltage causes the pump to vibrate less aggressively, which in turn reduces the flow rate of the water. This direct control over flow rate is what gives you manual control over the pressure build-up in the group head. A pressure gauge installed on the group head is highly recommended to provide visual feedback, but you can also learn to profile by observing the flow of the espresso itself.
This modification is brilliant in its simplicity. It requires no complex electronics or programming, just a basic understanding of wiring. It leverages the inherent characteristics of the machine’s pump to unlock a feature typically reserved for machines costing five to ten times as much.
Getting started: parts and tools for the mod
Before you begin, it’s crucial to gather the right components. Using a standard household light dimmer designed for lightbulbs is a common mistake; you need one rated for an inductive load, like a motor, to ensure safety and longevity. Warning: Always unplug your machine from the wall and ensure it is completely de-energized before opening the casing and working on any electrical components.
Here is a table of the typical parts and tools you will need for this project:
| Component | Specification/Notes | Purpose |
|---|---|---|
| TRIAC Dimmer | 400W+ rating, specifically for inductive/motor loads. | To safely control the voltage supplied to the pump. |
| Insulated Wire | 18 AWG, rated for mains voltage (e.g., 300V). | To connect the dimmer into the pump’s power circuit. |
| Spade Connectors | Insulated, correctly sized for machine and dimmer terminals. | To create secure, removable connections without soldering. |
| Heat Shrink Tubing | Assorted sizes. | To insulate all new connections and prevent electrical shorts. |
| Project Box (Optional) | A small plastic or metal enclosure. | To house the dimmer externally for a clean, non-permanent mod. |
| Tools | Wire strippers/cutters, crimping tool, screwdrivers. | For preparing wires and assembling the circuit. |
Mastering the craft: brewing with pressure control
Once your Gaggia Classic is modded, the fun begins. The process of pulling a shot becomes a much more interactive and tactile experience. While every coffee will require a slightly different approach, a great starting profile to master the technique is the “lever style” profile.
- Pre-infusion: Start the shot with the dimmer at a very low setting (around 20-30%). Watch for the first few drips of coffee to appear from the portafilter spouts. This phase should last about 8-10 seconds, gently saturating the puck at around 2-3 bars of pressure.
- Ramp-up: Once the puck is saturated, smoothly and quickly turn the dimmer knob up to 100%. You will see the pressure gauge (if installed) climb to your target of 9 bars and the espresso will begin to flow in a steady stream.
- Peak extraction: Hold the pressure steady at 9 bars for the main body of the extraction. This is where you extract the core flavors and develop the shot’s body and crema. Monitor your yield and shot time as you normally would.
- Ramp-down: As you approach the end of your desired brew ratio (e.g., 2:1, or 36g of espresso from an 18g dose), begin to slowly turn the dimmer down. Tapering the pressure from 9 bars down to about 6 bars for the last 5-7 seconds of the shot can reduce bitterness and highlight delicate, sweet flavors.
Don’t be afraid to experiment. For a light roast, you might try a much longer, lower-pressure pre-infusion. For a dark roast, a faster ramp-up might prevent over-extraction. This mod puts the control firmly in your hands.
The Gaggia Classic dimmer mod is more than just a technical project; it’s a gateway to a deeper understanding of espresso. It elevates a humble, reliable machine into a sophisticated tool for coffee exploration. By introducing manual pressure profiling, you gain control over variables that were previously locked away, allowing you to minimize flaws like channeling and maximize the flavor potential of every bean. The process transforms the simple act of flipping a switch into a dynamic, hands-on craft. For any Gaggia owner with a desire to push their espresso to the next level, this affordable and highly effective modification is arguably the single most impactful upgrade you can perform, offering a taste of the high-end espresso world for a fraction of the cost.

 No products in the cart.