Essential puck prep techniques for the Gaggia Classic 58mm basket
The Gaggia Classic is a legendary machine, a true workhorse capable of pulling incredible espresso shots that rival those from much more expensive setups. However, many new owners find themselves frustrated, pulling sour, bitter, or watery shots. The secret to unlocking the Gaggia’s full potential isn’t a magic bean or an expensive upgrade; it lies in mastering the art of puck preparation. This crucial stage happens between grinding your coffee and locking the portafilter into the machine. By focusing on a few essential techniques for your 58mm basket, you can eliminate common issues like channeling, ensure an even extraction, and consistently produce rich, balanced, and delicious espresso. This guide will walk you through the key steps to transform your coffee routine.
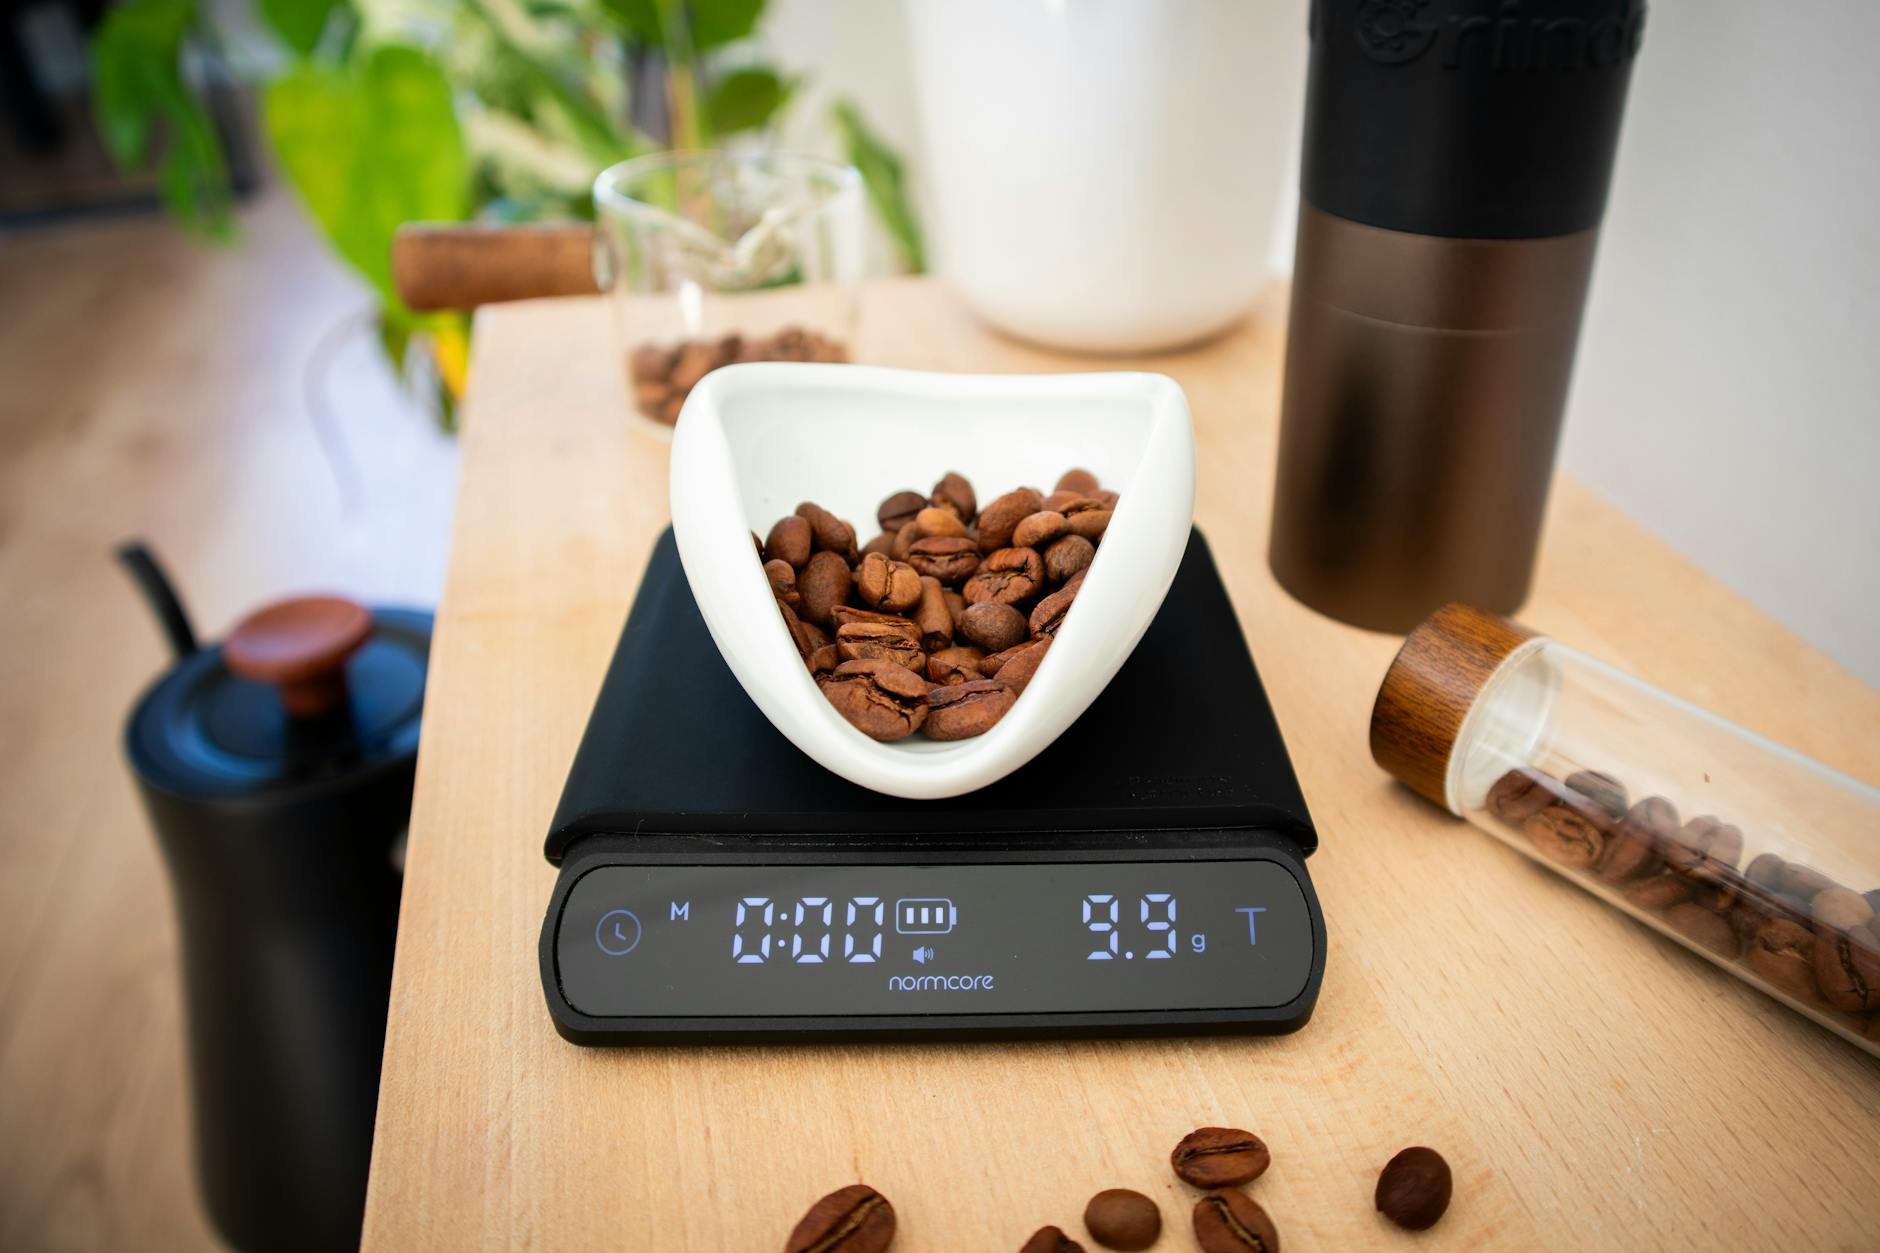
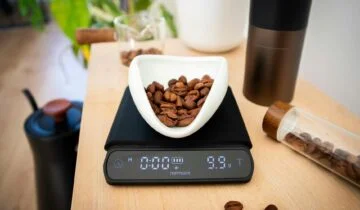
The foundation: Grinding and dosing correctly
Before any tool touches your coffee grounds, your success begins with the grind itself. The Gaggia Classic, especially with a non-pressurized basket, is very sensitive to grind quality. A high-quality burr grinder is non-negotiable, as it produces a much more uniform particle size compared to a blade grinder. This uniformity is critical for controlling the speed of your extraction.
Your workflow should always start with precision. Instead of grinding based on time, weigh your whole beans before you grind them. This practice, known as dosing, is the cornerstone of consistency. For a typical double shot in a Gaggia Classic 58mm basket, a dose between 16 and 18 grams is a great starting point. By using the exact same amount of coffee for every shot, you eliminate a major variable, making it easier to diagnose any issues. Remember, your grind size is your primary tool for controlling shot time. If your espresso runs too fast, grind finer; if it chokes the machine or runs too slow, grind coarser. Always make small adjustments to find that sweet spot.
WDT: The secret to eliminating channeling
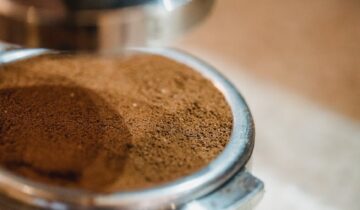
Once you have your perfectly dosed coffee in the portafilter, you’ll likely notice clumps and an uneven distribution, a natural byproduct of most grinders. If you tamp this clumpy mess, you create dense spots and empty pockets within the puck. Water is lazy; it will always follow the path of least resistance, rushing through these pockets and creating channels. This results in channeling, where some coffee is over-extracted (bitter) and some is under-extracted (sour). The solution is a simple but powerful technique called the Weiss Distribution Technique (WDT).
WDT involves using a tool with very fine needles to stir the grounds in the portafilter. The goal is to break up every single clump and evenly distribute the coffee particles, resulting in a fluffy, homogenous bed of coffee. You don’t need an expensive tool to start; a few acupuncture needles stuck into a cork will work wonders. The motion should be methodical: start from the bottom and work your way up in circular or back-and-forth motions, ensuring you cover the entire area of the basket. This single step will do more to improve your shot consistency than almost any other.
Leveling and distribution for an even bed
After WDT, your grounds will be fluffy but likely still mounded in the center. The next step is to create a perfectly flat and level surface before you tamp. Tamping an unlevel bed will simply create a puck with varying density, reintroducing the risk of channeling. A simple and effective method is to gently tap the side of the portafilter with the palm of your hand a few times. This will help the grounds settle into a more uniform and level bed. You can follow this with a firm vertical tap on the counter to further compact the bed slightly.
For those seeking ultimate consistency, a coffee distribution or leveling tool can be a great investment. These tools rest on the rim of the portafilter and have a small plough that you spin to perfectly level the grounds. While not strictly necessary, they remove any guesswork. The key takeaway is that the surface of your coffee should be as flat as a pool table before the tamper comes anywhere near it.
| Common problem | Corrective technique | Desired outcome |
|---|---|---|
| Inconsistent shot times | Weighing your dose | Repeatable shots with one less variable |
| Spurting or channeling | WDT (Weiss Distribution Technique) | A fluffy, clump-free bed of grounds |
| Uneven extraction | Leveling the coffee bed | A flat, uniformly dense surface for tamping |
| Cracked or slanted pucks | Level tamping | A perfectly compressed and sealed puck |
The final seal: Perfecting your tamp
Tamping is the final and perhaps most misunderstood step in puck prep. For years, the community obsessed over applying exactly 30 pounds of pressure. The reality is much simpler: the goal of tamping is to compress the grounds into a uniform, level puck to provide proper resistance to the water. The exact force is far less important than ensuring the tamp is perfectly level and consistent every single time.
To achieve a good tamp, hold your tamper like a doorknob and place your elbow directly above your wrist to ensure you are applying pressure straight down. Press until you feel the coffee bed has fully compressed and won’t go down any further. There’s no need to use excessive force. The most common error is an uneven tamp, which will negate all your careful WDT and leveling work. If you struggle with this, consider a self-leveling tamper. These tampers have a built-in collar that rests on the basket’s rim, guaranteeing a perfectly level tamp every time and bringing you one step closer to espresso perfection.
Conclusion
Achieving cafe-quality espresso with your Gaggia Classic is a rewarding journey, and it hinges on a methodical puck prep routine. It’s a process of controlling variables, moving from a precise dose of well-ground coffee to a fluffy, distributed bed via WDT. From there, you create a perfectly flat surface through leveling, and finally, you seal it all with a consistent, even tamp. Each step builds upon the last, systematically removing the causes of channeling and uneven extraction. Don’t be discouraged if your first few attempts aren’t perfect. By incorporating these techniques into your workflow, you will gain an incredible amount of control over your shot, leading to consistently delicious, balanced, and repeatable espresso that truly showcases the power of your Gaggia.

 No products in the cart.