Crafting the perfect dessert shot: A guide to pre-infusion for maximum sweetness
The pursuit of the perfect espresso often leads baristas down a rabbit hole of variables: grind size, dose, temperature, and yield. But one of the most powerful and often misunderstood tools for flavor manipulation is pre-infusion. Moving beyond a simple on/off extraction, mastering a pre-infusion profile can transform a balanced shot into a truly exceptional one. For those who crave an espresso that is syrupy, rich, and reminiscent of liquid dessert, a carefully designed pre-infusion is not just a technique; it is the key. This article will guide you through the theory and practical steps of designing a pre-infusion profile specifically aimed at minimizing bitterness and maximizing the natural sweetness of your coffee beans.
What is pre-infusion and why it matters for sweetness
At its core, pre-infusion is the process of gently soaking the puck of ground coffee with low-pressure water before applying the full nine bars (or more) of pressure required for extraction. Think of it as giving the coffee grounds a moment to acclimate and saturate evenly. Without this step, hitting a dry, compacted puck with high-pressure water can cause it to fracture. This creates tiny channels, or pathways of least resistance, for the water to flow through. Water will always choose the easy way out.
When channeling occurs, the coffee in the path of the channel becomes over-extracted, releasing bitter and astringent compounds. Meanwhile, the denser, untouched parts of the puck remain under-extracted, contributing sour, acidic flavors. The result is a shot that is simultaneously sour and bitter, with very little perceived sweetness. A well-executed pre-infusion prevents this by ensuring the entire puck is saturated. This promotes a uniform, homogenous extraction, allowing you to extract the desirable sugars and oils without also pulling out the harsh, unpleasant elements. It sets the stage for a clean, sweet, and balanced cup.
The building blocks of your pre-infusion profile
Designing a profile isn’t just about turning on a feature; it’s about controlling specific variables. The two primary levers you can pull during pre-infusion are pressure and time. Understanding how they interact is fundamental to achieving your desired flavor outcome.
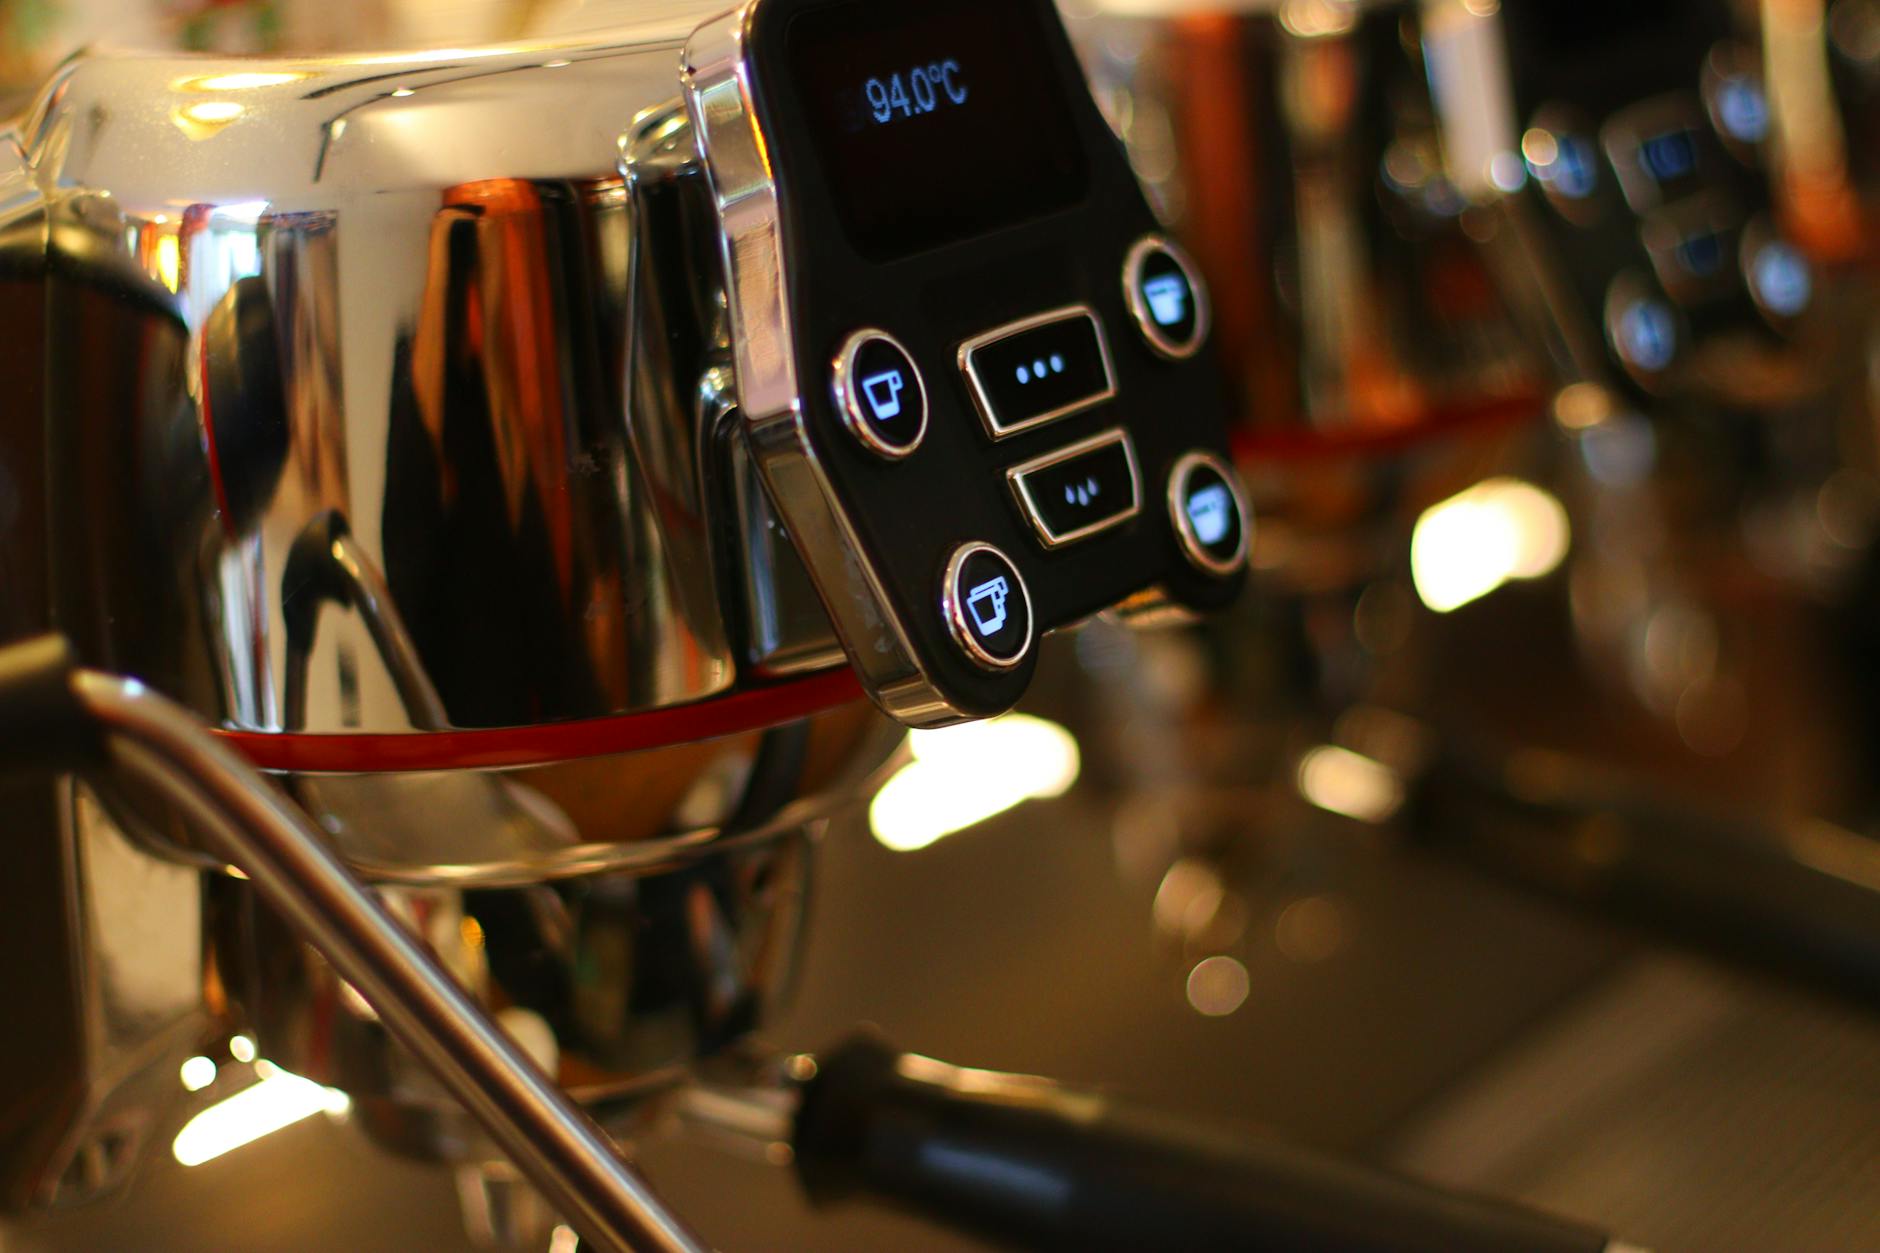
- Pressure: A sweetness-focused pre-infusion typically uses very low pressure, often between 2 and 4 bars. This is just enough force to gently permeate the puck without disturbing the coffee bed. The lower the pressure, the more delicate the saturation process is, giving you more control and reducing the risk of early channeling.
- Time: This is how long you hold the low-pressure stage. For a dessert-style shot, you will want a long pre-infusion, often ranging from 10 to 20 seconds, or even longer for very light roasts. The goal is to extend this phase until the coffee puck is completely saturated. A great visual indicator is when the bottom of your portafilter basket is covered in beads of espresso, just before the first drop is about to fall.
These two variables are inversely related. A longer pre-infusion at 2 bars might achieve the same level of saturation as a shorter one at 4 bars. Your machine’s capabilities will determine the exact parameters, but the principle remains the same: aim for a long, gentle soak to prepare the puck for a perfect extraction.
A practical approach to designing your profile
Now, let’s put theory into practice. The magic of a long pre-infusion is that it enables you to do something that would otherwise choke a standard espresso machine: grind finer. A finer grind increases the total surface area of the coffee particles, unlocking more of the soluble compounds responsible for sweetness. Without proper pre-infusion, this fine grind would create too much resistance, but with a fully saturated puck, the water can flow through evenly.
Here’s a step-by-step method:
- Establish a baseline: Pull a standard shot with your chosen coffee (e.g., 18g in, 36g out, 25-30 seconds total time at 9 bars). Taste it and note its level of sweetness, acidity, and bitterness.
- Introduce a long pre-infusion: Keep your dose and yield the same, but program a pre-infusion. A great starting point is 15 seconds at 3 bars of pressure.
- Grind finer: Your first shot with this new profile will likely run very fast, because the puck saturation improves flow. Now, start grinding finer, step by step, until your total shot time (including pre-infusion) is back in a reasonable range, perhaps 30-40 seconds. Aim for the first drops to fall around the 14-16 second mark, right at the end of your pre-infusion.
- Taste and adjust: This new shot should have a noticeably different texture and taste. It will likely be thicker, with more body and a more pronounced sweetness. From here, you can make small adjustments to your pre-infusion time or grind size to perfect the balance.
Dialing it in: A sample recipe and troubleshooting
Getting the perfect balance requires tasting and making iterative adjustments. A shot that is gushing out too quickly might still taste sour or “thin,” indicating you need to grind finer. If the shot is taking too long and tastes astringent or dry, you may have ground too fine and should coarsen the grind slightly. The goal is to find that sweet spot where the body is rich, the bitterness is muted, and the sweetness is reminiscent of caramel, chocolate, or ripe fruit.
Below is a sample starting recipe designed for a medium roast coffee aimed at producing a dessert-style shot. Use this as a foundation to build your own profiles.
| Parameter | Value | Goal |
|---|---|---|
| Coffee dose | 18 grams | Standard starting dose for a double basket. |
| Pre-infusion pressure | 3 bars | Gentle pressure to saturate without creating channels. |
| Pre-infusion time | 15 seconds | Long enough to fully saturate a fine grind. First drops should appear near the end. |
| Extraction pressure | 9 bars | Standard pressure for the main extraction phase. |
| Yield (output weight) | 32-36 grams | Slightly shorter ratio (1:1.8 or 1:2) enhances body and sweetness. |
| Total time (incl. pre-infusion) | 32-38 seconds | A target to aim for by adjusting grind size. |
By following this method of extending pre-infusion and grinding finer, you are fundamentally changing the extraction dynamics to favor sweetness over all else.
Conclusion
Mastering pre-infusion is a transformative step in your espresso journey. It elevates the process from a simple brew to a detailed craft, giving you precise control over the final taste in the cup. By implementing a long, low-pressure pre-infusion, you enable a finer grind and promote an exceptionally even extraction. This technique minimizes the risk of channeling, which in turn reduces the extraction of unwanted bitter and sour compounds. The result is a shot with a fuller, more syrupy body and a deep, decadent sweetness that can stand on its own as a true dessert. Stop chasing sweetness with standard parameters and start designing it intentionally. Experiment with these profiles, trust your palate, and unlock the sweet potential hidden within your coffee beans.

 No products in the cart.