Creative ways to integrate or hide a PID display on the Gaggia Classic
The Gaggia Classic is a legendary machine in the world of home espresso. Its robust build and timeless design have made it a favorite for beginners and enthusiasts alike. One of the most popular upgrades is adding a PID (Proportional-Integral-Derivative) controller, which transforms its temperature stability and shot consistency. However, this functional upgrade often comes with an aesthetic challenge: where do you put that little black box? A clunky display can clash with the Gaggia’s sleek, minimalist lines. This article dives into creative, elegant, and sometimes stealthy ways to integrate or hide a PID display, ensuring your machine performs like a modern wonder while retaining its classic charm. We’ll explore everything from refined external mounts to completely hidden solutions.
Why aesthetics matter for your coffee corner
For many of us, making coffee is more than just a morning routine; it’s a ritual. Your coffee station is a centerpiece of your kitchen, a space dedicated to a craft you enjoy. The look and feel of your equipment are part of that experience. The Gaggia Classic, with its brushed stainless steel housing, has a deliberate, industrial-chic design. Adding a generic plastic project box with a bright red LED display can feel like putting a bumper sticker on a vintage car. It just doesn’t sit right.
Preserving the machine’s intended design language is a valid goal. A well-integrated modification shows care and attention to detail, elevating the machine from a simple appliance to a personalized piece of art. The goal isn’t just to add a PID; it’s to make it look like it belongs there. A seamless integration enhances your interaction with the machine and your overall satisfaction with your coffee corner. The following chapters will explore how to achieve this harmony between function and form.
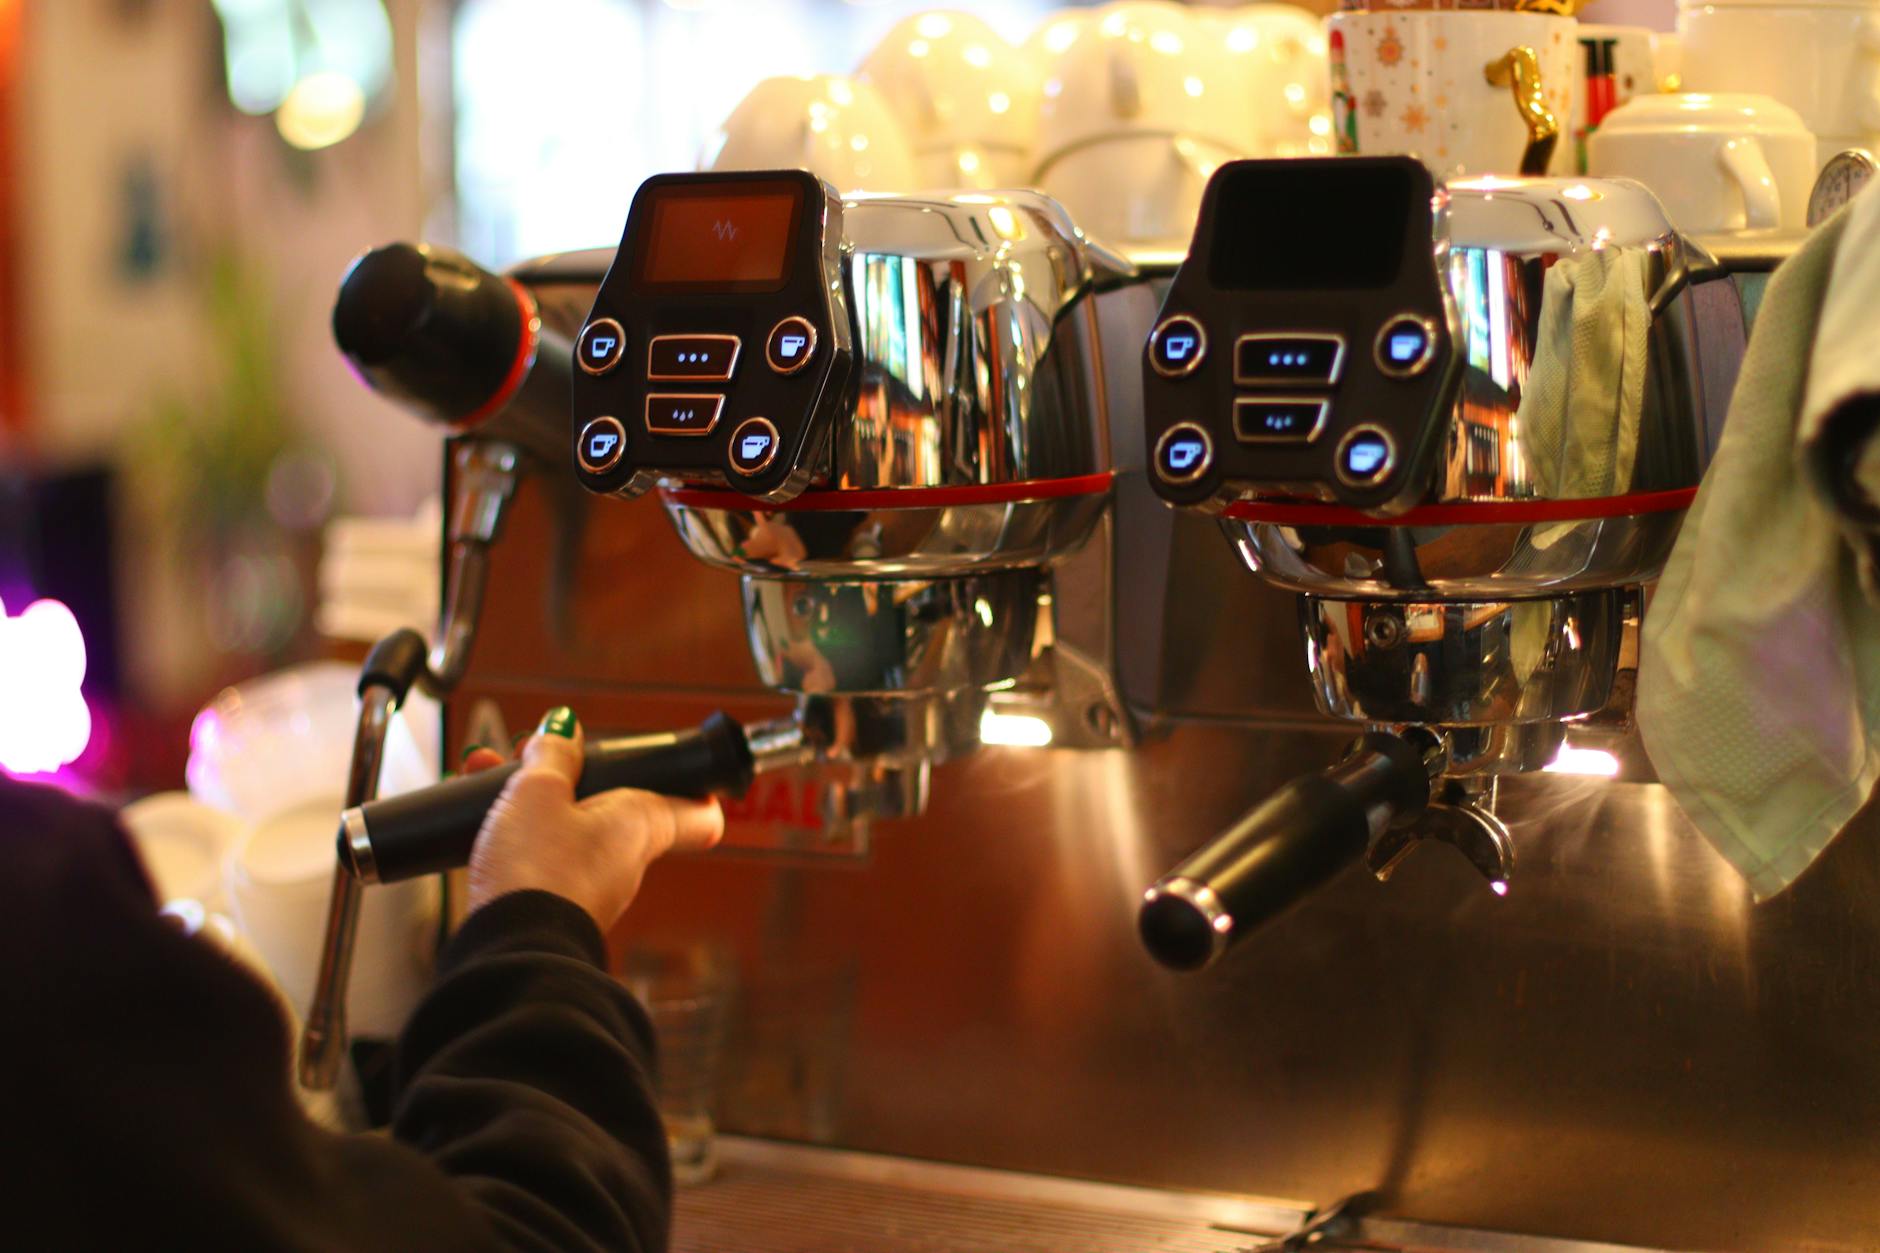
Classic placements with a modern twist
The most common approach is to mount the PID externally, but “common” doesn’t have to mean “boring.” With a bit of creativity, you can make an external enclosure look like a factory option rather than an afterthought. The key is to focus on materials, finish, and placement that complement the Gaggia’s design.
Top-mounted enclosures are a popular choice because they offer easy visibility. Instead of a standard black box, consider these refinements:
- 3D-printed custom housings: The 3D printing community offers a wealth of designs specifically for the Gaggia Classic. You can find enclosures that match the machine’s curves, low-profile options that sit discreetly, or even designs that incorporate a shot timer. Printing in a silver or gray filament can help it blend with the stainless steel.
- Metal enclosures: For a premium look, a brushed aluminum or stainless steel enclosure is the ultimate choice. While more expensive and harder to work with, the result is a perfect match for the Gaggia’s body. It looks and feels like an original part of the machine.
Side-mounted solutions can also be very clean, especially if you want to keep the top of your machine clear for cup warming. A slim enclosure attached to the side or front panel can be subtle. The trick is to align it perfectly with the edges of the machine’s frame, creating a sense of intentionality. Using black screws or hardware against the stainless steel can also create a nice visual accent that ties into the Gaggia’s other black components, like the drip tray and group head cover.
The art of stealth integration
For the true minimalist, the best PID is one you can’t see. Hiding the display maintains the Gaggia’s stock appearance while giving you all the benefits of precise temperature control. This path requires more technical skill and planning but offers the most rewarding results for those who value aesthetics above all.
One of the most inventive solutions is the drip tray display. By carefully cutting a small window in the front of the plastic drip tray and mounting a slim PID display behind it, you create a completely hidden-until-lit effect. When the machine is off, it looks perfectly normal. Power it on, and the temperature readout glows subtly from within the tray. This modification is clever, non-destructive to the main housing, and undeniably cool.
Another popular stealth method involves placing the PID under the machine. This can be achieved by creating a custom 3D-printed base or “riser” that the Gaggia sits on. This base houses the entire PID kit, with the display either facing forward or angled to the side. It elevates the machine slightly, which can also improve ergonomics, and keeps the modification entirely separate from the main chassis. You get full functionality without drilling a single hole in the original housing.
For the most ambitious modders, some have even replaced the original power or steam switches with a rotary encoder that has an integrated display. This is a highly advanced modification that requires significant electronics knowledge but results in the ultimate OEM+ look, as the new control feels like it could have come from the Gaggia factory itself.
Choosing the right method for you
Deciding on the best way to integrate your PID depends on your budget, DIY skills, and aesthetic priorities. Do you want easy access and visibility, or is a completely stock appearance your end goal? Each approach has its own set of trade-offs, from the level of difficulty to the final visual impact.
To help you decide, let’s compare the different integration styles we’ve discussed:
| Integration method | Difficulty | Cost | Visibility | Reversibility |
|---|---|---|---|---|
| Standard top-mount box | Low | Low | Excellent | High (often just adhesive) |
| Custom 3D-printed enclosure | Low-Medium | Low-Medium | Excellent | High |
| Hidden in drip tray | Medium | Medium | Good | Medium (requires new tray to reverse) |
| Under-machine base | Medium | Medium | Good | Excellent (fully reversible) |
| Internal/rotary encoder mod | High | High | Subtle | Low (requires permanent changes) |
If you’re new to modding, a custom 3D-printed enclosure offers a great balance of improved aesthetics and ease of installation. If your top priority is preserving the Gaggia’s original look without permanently altering the machine, the under-machine base is an ideal choice. The drip tray mod is perfect for those who want a “wow” factor and are comfortable with a bit of crafting. Ultimately, the best solution is the one that excites you and fits your vision for your perfect coffee setup.
Conclusion
Upgrading a Gaggia Classic with a PID controller is a game-changer for your espresso, but it doesn’t have to mean compromising on style. As we’ve seen, you can move far beyond the basic project box attached with double-sided tape. From elegant, custom-designed external enclosures that complement the machine’s stainless steel body to ingenious stealth installations inside the drip tray or a custom base, the options are plentiful. The choice depends on your personal taste, your comfort level with DIY projects, and how much you value a clean, uncluttered aesthetic. By thinking creatively, you can achieve a perfect marriage of form and function, enhancing your machine’s performance while honoring the timeless design that made you fall in love with it in the first place.
 No products in the cart.