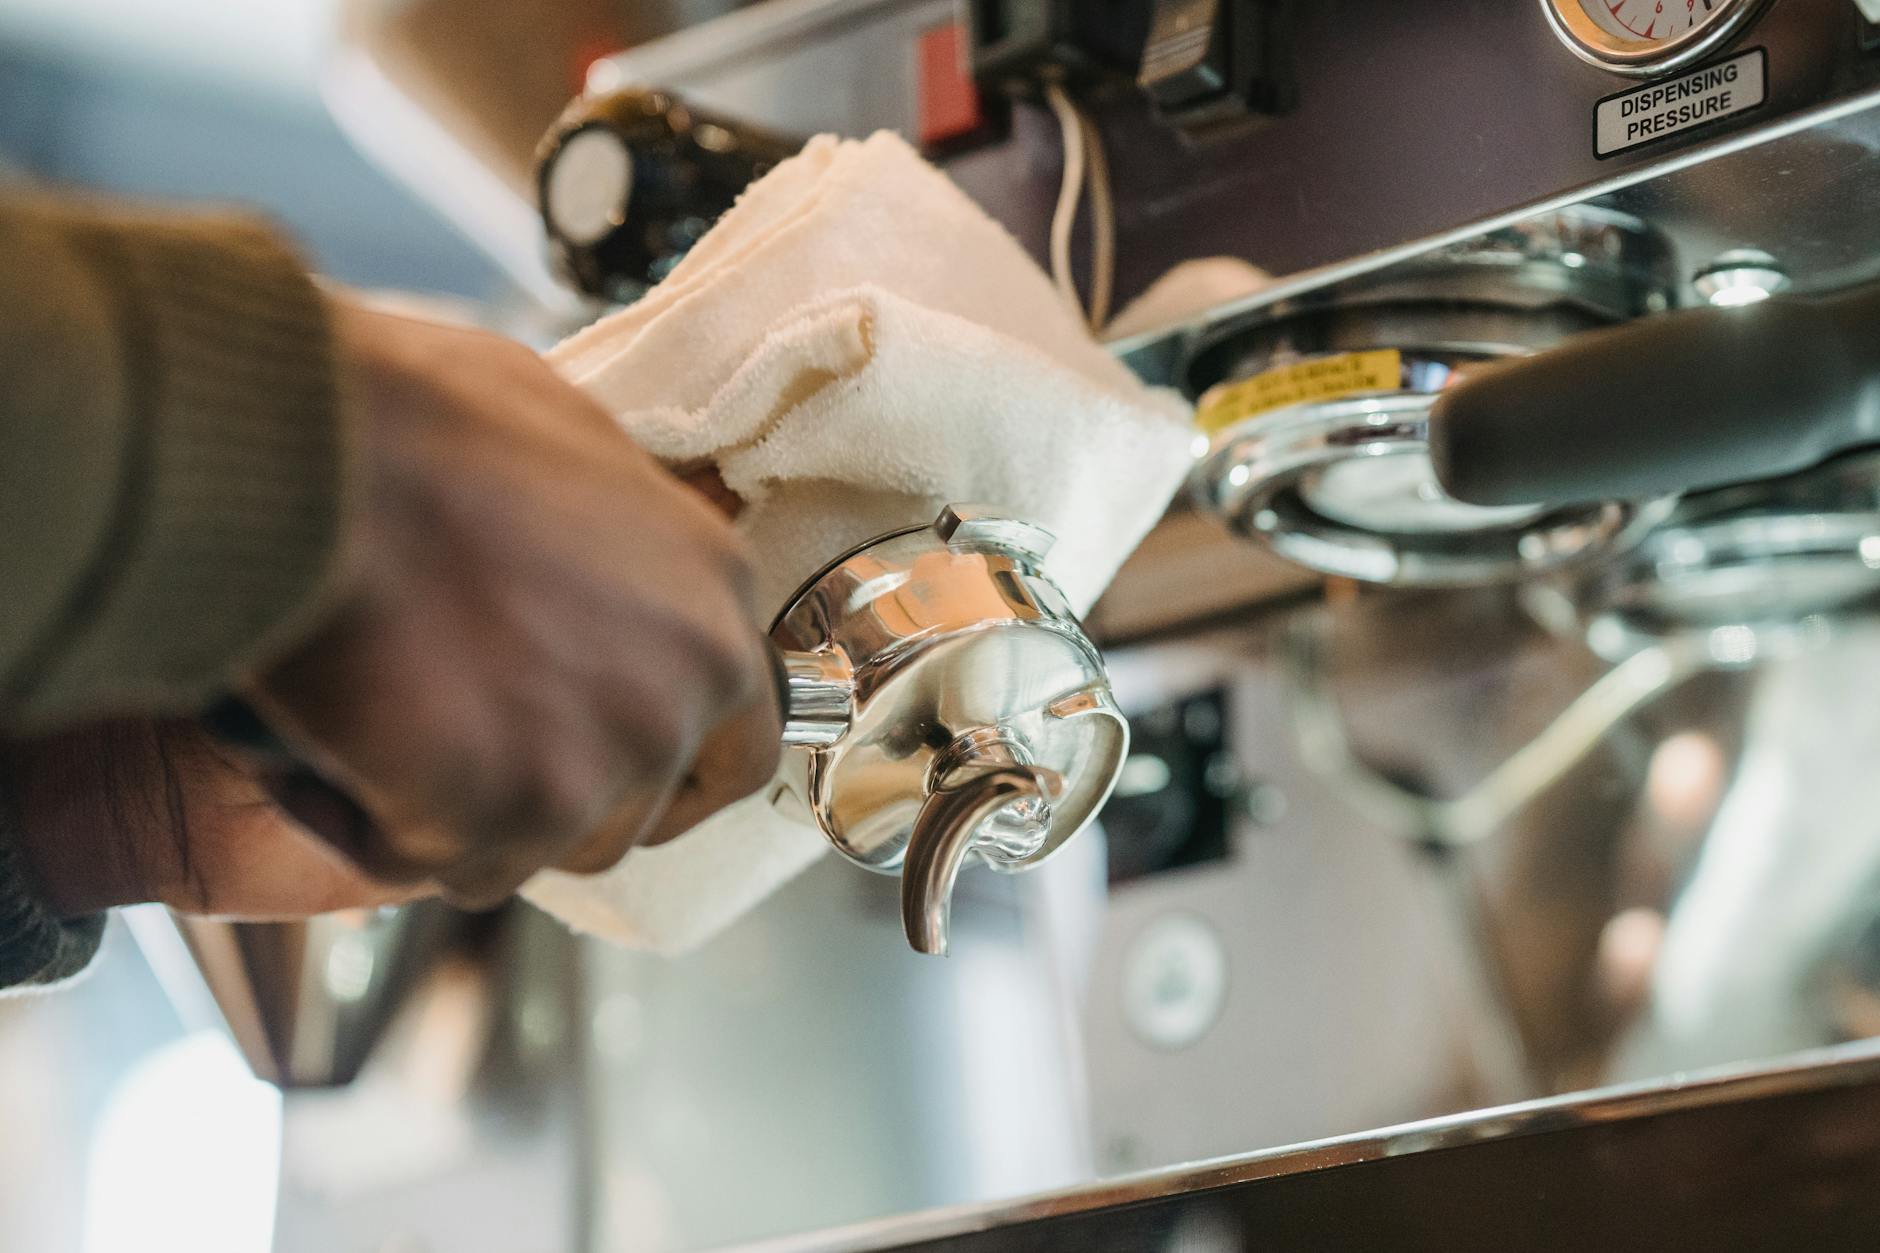
A guide to cleaning and lubricating your Olympia Cremina piston seals
The Olympia Cremina is more than just an espresso machine; it is a testament to timeless design and mechanical simplicity, rewarding its owner with exceptional coffee for decades. To ensure it continues to perform at its peak, regular maintenance is not just recommended, it is essential. One of the most critical and satisfying maintenance tasks is caring for the piston seals. Dry or dirty seals can lead to a squeaky lever, inconsistent pressure, and potential leaks. This article provides a comprehensive, step-by-step guide to safely removing the piston, thoroughly cleaning the seals and group head, and applying the correct lubrication, ensuring every pull of the lever is as smooth and effective as the day it left the Swiss factory.
Why this maintenance matters
Before diving into the process, it is important to understand why this task is so crucial. The piston seals are the heart of the Cremina’s brew group. As you pull the lever down, these two rubber gaskets create a perfect seal against the cylinder wall, allowing the piston to force hot water through the coffee puck at high pressure. Over time, coffee oils and microscopic mineral deposits can accumulate on the seals and the cylinder wall. Simultaneously, the food-safe lubricant applied at the factory or during the last service will inevitably wear away.
When this happens, you will start to notice symptoms. The first sign is often an audible squeak or a feeling of resistance as you operate the lever. If left unaddressed, this friction can cause premature wear on the seals, leading to a loss of pressure, water bypassing the piston, and a noticeable decline in shot quality. Regular cleaning and lubrication is a preventative measure that guarantees a smooth, silent lever action, perfect pressure generation, and ultimately, a longer life for your cherished machine.
Gathering the necessary tools and lubricant
Performing this job correctly requires a few specific tools and materials. Rushing this step or using incorrect substitutes can lead to frustration or even damage to your machine. Before you begin, ensure you have everything on hand. This preparation makes the entire process smoother and safer.
- Internal circlip pliers: This is the most crucial tool. The Cremina’s piston is held in place by an internal circlip, and these specific pliers are required to compress it for safe removal.
- Food-safe silicone lubricant: This is non-negotiable. Only use a lubricant that is certified as food-grade, such as a product specifically designed for espresso machine gaskets. Using petroleum-based or non-food-safe greases can contaminate your coffee and damage the seals.
- A soft, lint-free cloth: For cleaning the piston, seals, and the inside of the group head.
- A wooden dowel or plastic tool: Something soft to help guide the piston out without scratching the brass cylinder walls. The handle of a wooden spoon often works well.
- A small bowl: To hold small parts like the lever pin and circlip so they don’t get lost.
The disassembly and cleaning process
With your tools ready, you can begin the disassembly. Work slowly and methodically. The most important first step is to ensure the machine is completely cool and unplugged. Any residual heat or pressure can be a safety hazard.
First, remove the lever. This is typically held in place by a pin that is secured with two small C-clips or cotter pins. Carefully remove these clips and slide the pin out, freeing the lever from the piston rod. Next, position your circlip pliers inside the two small holes on the circlip at the top of the group head. Squeeze the pliers to compress the ring and carefully lift it out. Now, the piston is free. You can gently push it down and out from the bottom of the group. Use your wooden dowel from the top if it needs a little encouragement.
Once the piston is out, carefully inspect the two seals. Check for any nicks, tears, or signs of them becoming brittle or hard. If they are damaged, they must be replaced. Using your soft cloth and warm water, meticulously clean the old lubricant, coffee grounds, and any residue from the seals, the grooves they sit in, and the entire piston head. Then, use the cloth to thoroughly clean the inside walls of the group head cylinder, ensuring it is perfectly smooth and free of debris.
Proper lubrication and reassembly
This is where precision pays off. Applying the right amount of lubricant is key; too little will be ineffective, while too much can clog the shower screen or impart an off-taste to your espresso. Squeeze a small amount of the food-safe lubricant onto your finger. Apply a thin, even layer directly onto the surface of both piston seals, ensuring they are fully coated. Then, apply another very thin film of lubricant to the inside walls of the group head cylinder. This ensures the seals glide smoothly into place without catching or folding.
To reassemble, carefully guide the piston rod back up through the top of the group head. Gently push the piston head into the bottom of the cylinder, taking care to ensure it goes in straight so as not to damage the seals. Once it’s fully inserted, use your circlip pliers to reinstall the circlip, making sure it clicks securely into its groove. Finally, reattach the lever with its pin and clips. Your maintenance is now complete. It’s a good practice to pull a few “blank” shots of hot water to help distribute the new lubricant evenly and flush out any excess.
| Symptom | Possible Cause | Primary Solution |
|---|---|---|
| Squeaky or stiff lever | Dry or dirty piston seals | Clean and lubricate the seals as described. |
| Water leaks above the portafilter during a shot | Worn, hardened, or damaged seals | Inspect seals and replace them if they show any signs of wear. |
| Lever feels “spongy” or lacks resistance | Damaged seals failing to create pressure | Replace the piston seals. |
| Lever will not stay in the “up” position | Seals have lost their pliability and grip | This is a classic sign that the seals need immediate replacement. |
In conclusion, taking the time to regularly service your Olympia Cremina’s piston seals is a rewarding process that goes beyond simple maintenance. It is an intimate way to connect with your machine and understand its brilliant mechanics. By following the steps of careful disassembly, thorough cleaning, and precise lubrication, you are actively preserving the machine’s legacy of performance. This simple task, performed every six to twelve months depending on use, will prevent common issues like squeaking and pressure loss. Most importantly, it ensures your Cremina will continue to operate with the silent, buttery-smooth action it is famous for, allowing you to focus on the art of crafting the perfect espresso for years to come.
 No products in the cart.