The secret to a café-quality coffee at home often lies not just in the espresso shot, but in the texture of the steamed milk. A common mistake is treating all milk foam the same, yet the perfect latte and the classic cappuccino demand distinctly different foam densities. The airy, stiff cap of a cappuccino is worlds apart from the silky, integrated microfoam of a latte that allows for intricate art. Understanding how to manipulate milk foam is a fundamental barista skill that elevates your coffee experience. This guide will delve into the science and technique of adjusting milk foam density, empowering you to move beyond a generic froth and start crafting beverages with intention, precision, and a professional touch.
Understanding the building blocks of milk foam
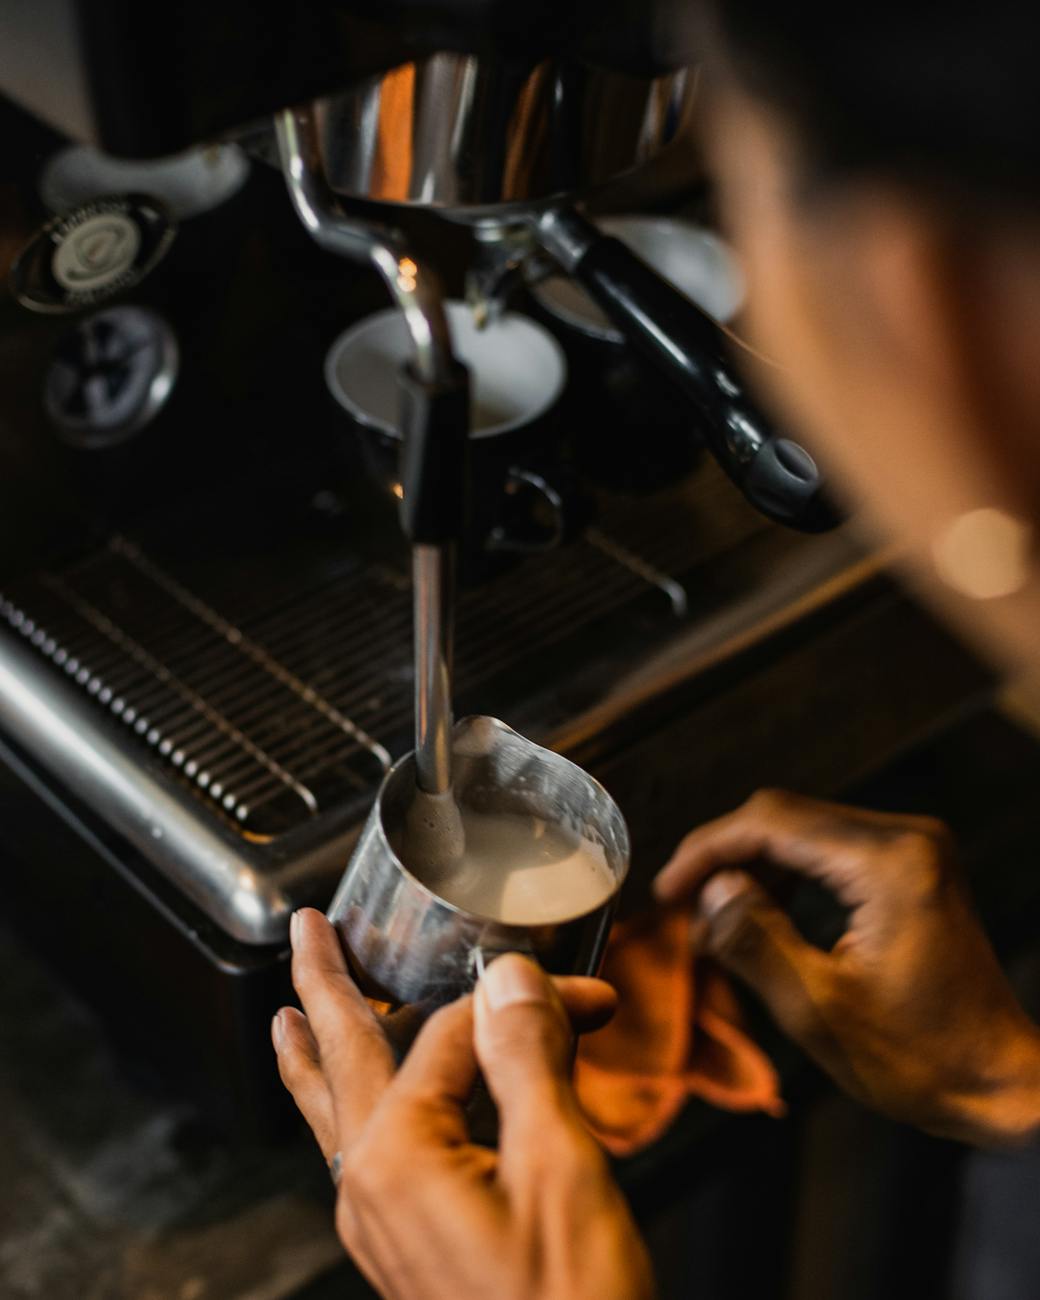
Before you even turn on the steam wand, it helps to understand what’s happening inside your milk pitcher. Milk foam is essentially a delicate structure of air bubbles stabilized by milk proteins. The two main proteins, casein and whey, are the star players. When you introduce air and heat, these proteins unfold and create a sort of cage around the air bubbles, preventing them from popping. This is what gives foam its structure.
Fat, on the other hand, acts as a destabilizer. It competes with the proteins and can weaken the bubble walls, which is why skim milk often produces a stiff, dry foam easily, but it lacks the creamy mouthfeel. Whole milk, with its higher fat content, requires more skill to froth but rewards you with a richer, more velvety texture. The key is to incorporate air while the milk is still very cold. Proteins are most effective at creating a stable foam between 40-100°F (4-37°C). Once the milk gets too hot (above 150°F or 65°C), the proteins begin to break down, and your foam will collapse.
The two crucial phases of milk steaming
Creating the perfect milk foam isn’t a single action, but a two-part process: aeration and texturing. Mastering the balance between these two phases is how you control the final density of your foam.
- Phase 1: Aeration (Stretching): This is the phase where you introduce air into the milk. To do this, place the tip of the steam wand just below the surface of the milk. You should hear a gentle, consistent hissing sound, like paper tearing. This is the sound of air being sucked into the milk and creating bubbles. The duration of this phase is the primary way you control foam density. A longer aeration period creates more foam, ideal for a cappuccino. A shorter period creates less foam, perfect for a latte.
- Phase 2: Texturing (The Vortex): Once you have incorporated enough air, you submerge the steam wand deeper into the pitcher, positioning it slightly off-center. This should create a whirlpool or vortex. The goal here is to stop adding air and focus on breaking down the large bubbles into a uniform, silky microfoam. The milk should spin quietly. This phase integrates the air you’ve added, creating a smooth, glossy texture without any visible bubbles.
Think of it as building and then refining. You first build the volume with aeration, then you refine the texture by creating the vortex.
Tailoring the foam for your specific drink
Now that you understand the two phases, you can apply them to create the distinct textures needed for different coffee drinks. The goal for a latte is a thin layer of wet, paint-like microfoam that mixes seamlessly with the espresso. For a cappuccino, you want a thick, luxurious cap of foam that sits distinctly on top of the liquid.
For a latte, your aeration phase will be very short, perhaps only 2-3 seconds. You just want to “kiss” the surface of the milk with the steam wand to introduce a small amount of air. The majority of your time should be spent in the texturing phase, creating that silky vortex to ensure the foam is fully integrated and pourable for latte art. The final volume of the milk should only increase by about 20-30%.
For a cappuccino, the aeration phase is much longer, lasting anywhere from 5-8 seconds. You are actively trying to incorporate more air to build a substantial foam. You will continue to aerate until the milk has increased in volume by 60-80%. The texturing phase is still important to break down any large bubbles, but your primary goal was building that thick, airy foam. The final result should be much lighter and stiffer.
| Drink Feature | Latte | Cappuccino |
|---|---|---|
| Desired Foam Texture | Thin, silky, wet paint-like | Thick, airy, stiff |
| Aeration Time | Short (2-3 seconds) | Long (5-8 seconds) |
| Focus of Steaming | Texturing (creating a vortex) | Aeration (incorporating air) |
| Final Volume Increase | Approx. 20-30% | Approx. 60-80% |
| Ideal for | Latte art, integrated flavor | A distinct foam cap |
Pouring techniques and troubleshooting tips
Your work isn’t done once the milk is steamed. The way you pour is critical to the final presentation and experience. For a latte, you want to tilt the cup and start pouring from a low height to allow the liquid milk to mix with the espresso. As the cup fills, you bring the pitcher closer to the surface to allow the microfoam to float and create your design. For a classic cappuccino, you can hold back the foam with a spoon, pour the hot milk into the espresso, and then spoon the thick, dry foam on top to create that iconic dome.
If you’re struggling, here are some common issues and their solutions:
- Big, soapy bubbles: You aerated for too long or the steam wand was too deep during aeration. Try a shorter aeration time and keep the wand tip right at the surface.
- Foam is too thin: You didn’t aerate for long enough. Extend the hissing phase before sinking the wand to create the vortex.
- Milk is screaming: The steam wand is too deep in the milk and isn’t introducing any air. Raise the wand until you hear a gentle hiss.
Mastering milk foam is a journey of practice and precision. By understanding the core principles of protein, fat, and temperature, you gain control over the outcome. The key takeaway is the conscious separation of steaming into two phases: aeration to build volume and texturing to refine it. The length of that initial aeration phase is your primary tool for dictating whether you end up with a silky latte or a fluffy cappuccino. Don’t be discouraged by initial failures; every pitcher of milk is a learning opportunity. With persistence, you will move beyond simply adding hot milk to your coffee and begin to craft beverages with the deliberate texture and taste of a professional barista, right in your own kitchen.

 No products in the cart.