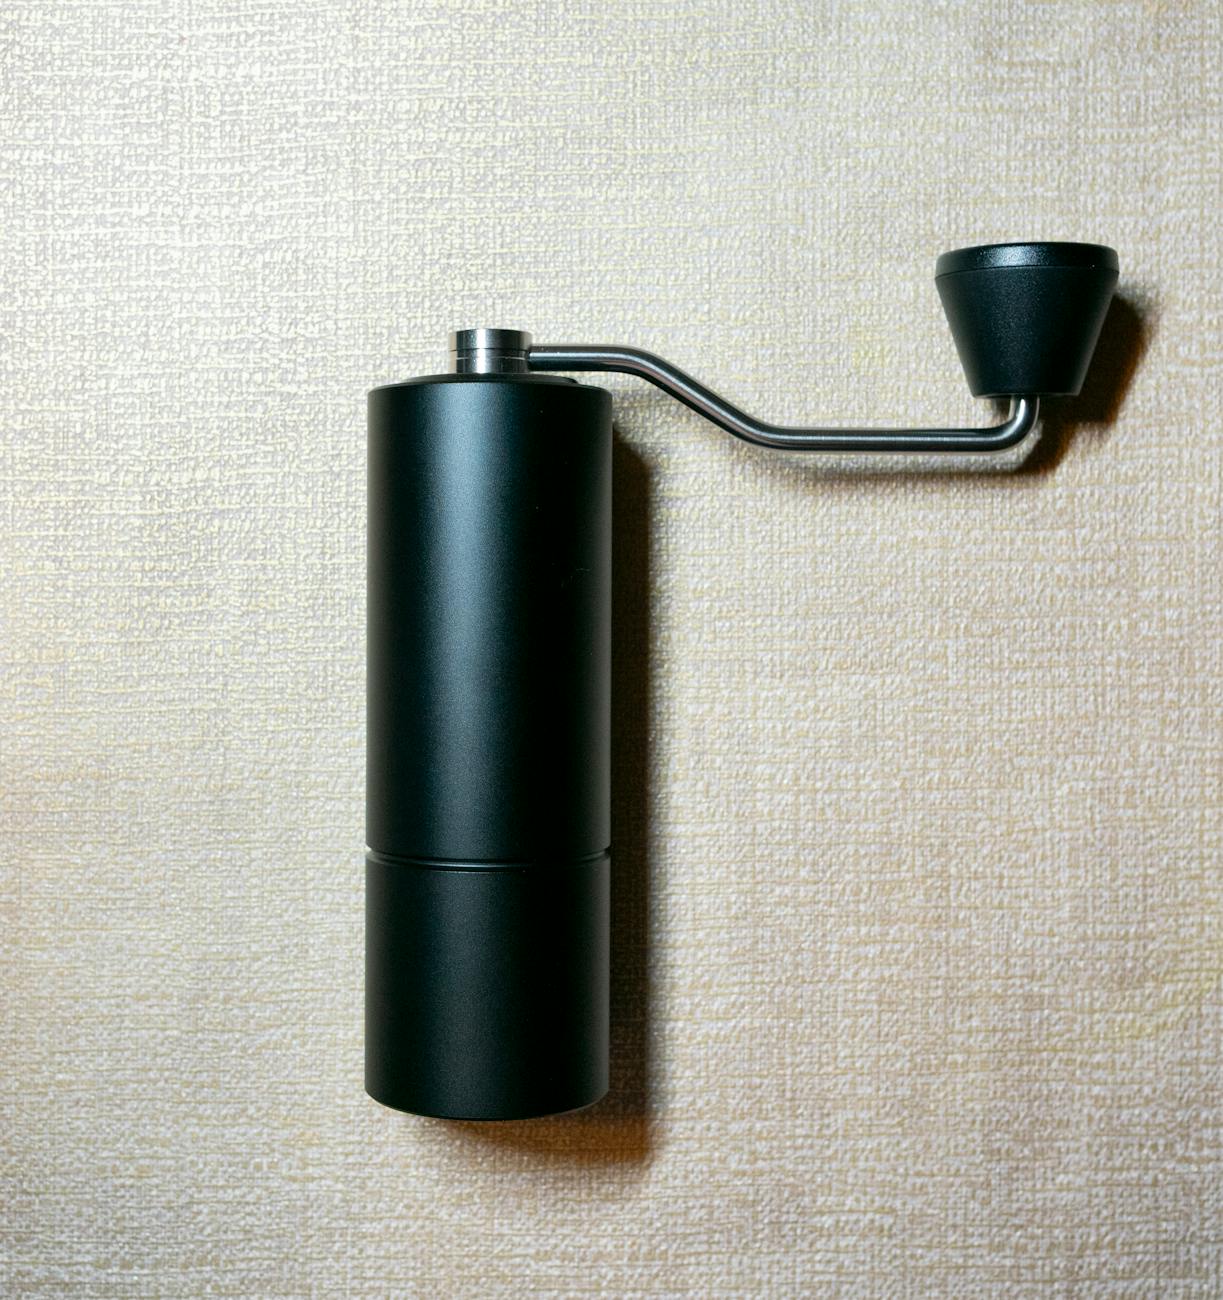
Calibrating a coffee grinder is a foundational skill for any home barista dedicated to manual espresso. While many grinders come with a factory-set zero point, this marking is often just a starting reference. The “true zero point” represents the exact setting where the burrs first make physical contact. Finding this precise point is not merely a technical exercise; it is the key to unlocking repeatable, consistent espresso shots. Understanding your grinder’s absolute zero allows you to make deliberate, quantifiable adjustments, transforming the frustrating process of dialing in a new coffee into a systematic, controlled method. This knowledge empowers you to return to previous settings with confidence and share grind size information with others in a meaningful way.
What is the true zero point?
The true zero point on a coffee grinder is the absolute finest setting possible, the precise point where the cutting edges of the two burrs first touch. At this setting, there is no gap between the burrs, and attempting to grind finer is either impossible or risks damaging the burr set. This is different from the zero marking indicated on the grinder’s adjustment dial from the factory. Manufacturers often set the dial to zero at a point with a small buffer to prevent users from accidentally locking the burrs together. However, for the advanced user, knowing exactly where the burrs meet is essential for precision. This true zero serves as an unchanging baseline, a fixed reference that is not dependent on the manufacturer’s arbitrary marking, which can vary even between two identical grinder models.
A step-by-step guide to finding the true zero point
Finding the true zero point is a tactile and auditory process that requires care but no special equipment. The goal is to identify the setting where the burrs just begin to “chirp” or touch lightly as they rotate. It is crucial to perform this process with the grinder completely empty of coffee beans.
- Ensure the grinder is clean: Before you begin, make sure the grinder is empty and the burrs are free of any coffee grounds or residue. Brushing the burr set and the grinding chamber will prevent false readings caused by old coffee particles.
- Turn the grinder on: The grinder must be running for this process. The centrifugal force on the burrs when spinning can be different from when they are static, affecting their alignment and the true zero position.
- Adjust the grind setting slowly: With the grinder running, begin to adjust the grind setting finer in very small increments. As you approach the zero point, the adjustments should become minimal.
- Listen for the chirping sound: As the burrs get closer, you will start to hear a faint, high-pitched metallic sound, often described as a “chirp” or “zing.” This is the sound of the burr edges making first contact. The moment you hear this sound is your grinder’s true zero point.
- Note the setting and back off: Once you identify the chirping point, immediately stop and note the position on your adjustment dial. This number or mark is your new, true zero. Back the setting off immediately to a coarser position to avoid unnecessary wear on the burrs. Do not let the burrs grind against each other for any length of time.
Using your true zero for consistent dialing in
Once you have established the true zero point, it becomes the foundation for all your future grind size adjustments. Instead of relying on the manufacturer’s numbers, you can now think in terms of “clicks” or “notches” away from true zero. For example, your ideal espresso setting might be “8 clicks from zero” or “1.2 rotations from zero.” This method provides a universal language for your grinder. If you disassemble your grinder for cleaning, you can recalibrate to find the same true zero point and return to your favorite settings with absolute certainty. This eliminates the guesswork often involved after reassembly. Furthermore, when discussing grind settings with other baristas who use the same grinder model, referencing your setting from a true zero point is far more accurate than using the factory markings.
Practical implications for workflow
Integrating the true zero point into your workflow brings a level of precision that is essential for manual espresso methods. When you switch between different coffees, brewing methods, or even account for changes in humidity, your adjustments become more deliberate. Instead of vaguely moving “a little finer,” you can adjust by a specific number of increments from your known zero. This systematic approach saves time, reduces coffee wastage, and removes a significant variable from the complex equation of espresso extraction. It allows you to build a reliable log of grind settings for different beans, enabling you to switch between them quickly and with minimal fuss. Your ability to replicate a great shot from the past is no longer a matter of luck but of precise calibration.
In conclusion, finding and using your grinder’s true zero point is a critical calibration that separates casual coffee making from precise espresso extraction. This process provides an absolute, repeatable baseline that empowers you to make methodical and informed adjustments. By moving beyond factory-set markings and understanding the physical limitations of your equipment, you gain complete control over one of the most crucial variables in brewing. It transforms dialing in from a frustrating guessing game into a predictable science. For those looking to refine their technique and achieve consistent results, mastering this calibration is an essential step, and having the right tools can support this methodical approach.

 No products in the cart.