Achieve the perfect shot: A guide to cleaning your dispersion screen and screw
For any coffee enthusiast, the pursuit of the perfect espresso shot is a daily ritual. We obsess over bean freshness, grind size, tamping pressure, and extraction time. Yet, a crucial component often overlooked is hiding in plain sight, right inside the group head: the dispersion screen and its securing screw. These small parts play a monumental role in how water meets your coffee puck. When they become clogged with old coffee oils and fine grounds, the result is uneven water distribution, leading to channeling and a cup of espresso that tastes bitter, sour, and unbalanced. This guide will walk you through the simple yet essential process of cleaning these components, a maintenance task that will dramatically improve your espresso’s consistency and flavor.
Why a clean dispersion screen is non-negotiable
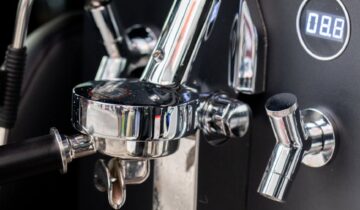
Before we grab the tools, it’s important to understand why this task is so critical. The dispersion screen, also known as a shower screen, is the final gateway for hot water before it saturates your coffee grounds. Its job is to break up the single stream of water from the boiler and distribute it gently and evenly across the entire surface of the coffee puck. The dispersion screw holds this screen in place. Over time, a sticky residue of coffee oils and microscopic grounds builds up on these parts, clogging the tiny holes in the screen. This buildup has several negative consequences:
- Channeling: When some holes are blocked, water is forced through the open ones with greater pressure. This creates channels, or small tunnels, through the coffee puck, leading to over-extraction in those paths and under-extraction elsewhere. The result is a shot that is simultaneously bitter and sour.
- Off-flavors: The accumulated coffee oils become rancid over time. Every time you pull a shot, hot water flows over this old, stale residue, carrying those unpleasant flavors directly into your fresh cup.
- Inconsistent flow: A dirty screen can disrupt the intended flow rate and pressure, making it impossible to get repeatable, consistent results, even if all your other variables are perfect.
In short, a dirty dispersion screen is a direct barrier between you and delicious espresso. Cleaning it regularly ensures that the only flavor in your cup is the one from your freshly ground beans.
Gathering your tools for the job
The good news is that this deep clean doesn’t require specialized or expensive equipment. You likely have most of what you need already. Before you begin, make sure your espresso machine is turned off, unplugged, and has had ample time to cool down completely. The group head gets extremely hot, and safety should always be your first priority. Once it’s cool to the touch, gather the following items:
- A flathead or Phillips screwdriver (check your machine’s dispersion screw to see which you need)
- A dedicated group head cleaning brush
- A small bowl or container for soaking the parts
- An espresso machine cleaning detergent (products like Cafiza or Puly Caff are designed for this)
- A few clean, lint-free cloths
- A blind basket for your portafilter (for the final backflush)
Having everything ready will make the process smooth and efficient. The most important item on this list is the dedicated cleaner, as it’s specifically formulated to break down stubborn coffee oils that plain hot water cannot remove effectively.
The step-by-step deep cleaning process
With your machine cool and your tools assembled, you’re ready to perform the deep clean. Follow these steps carefully for the best results. The entire process should take no more than 30-40 minutes, most of which is just waiting for the parts to soak.
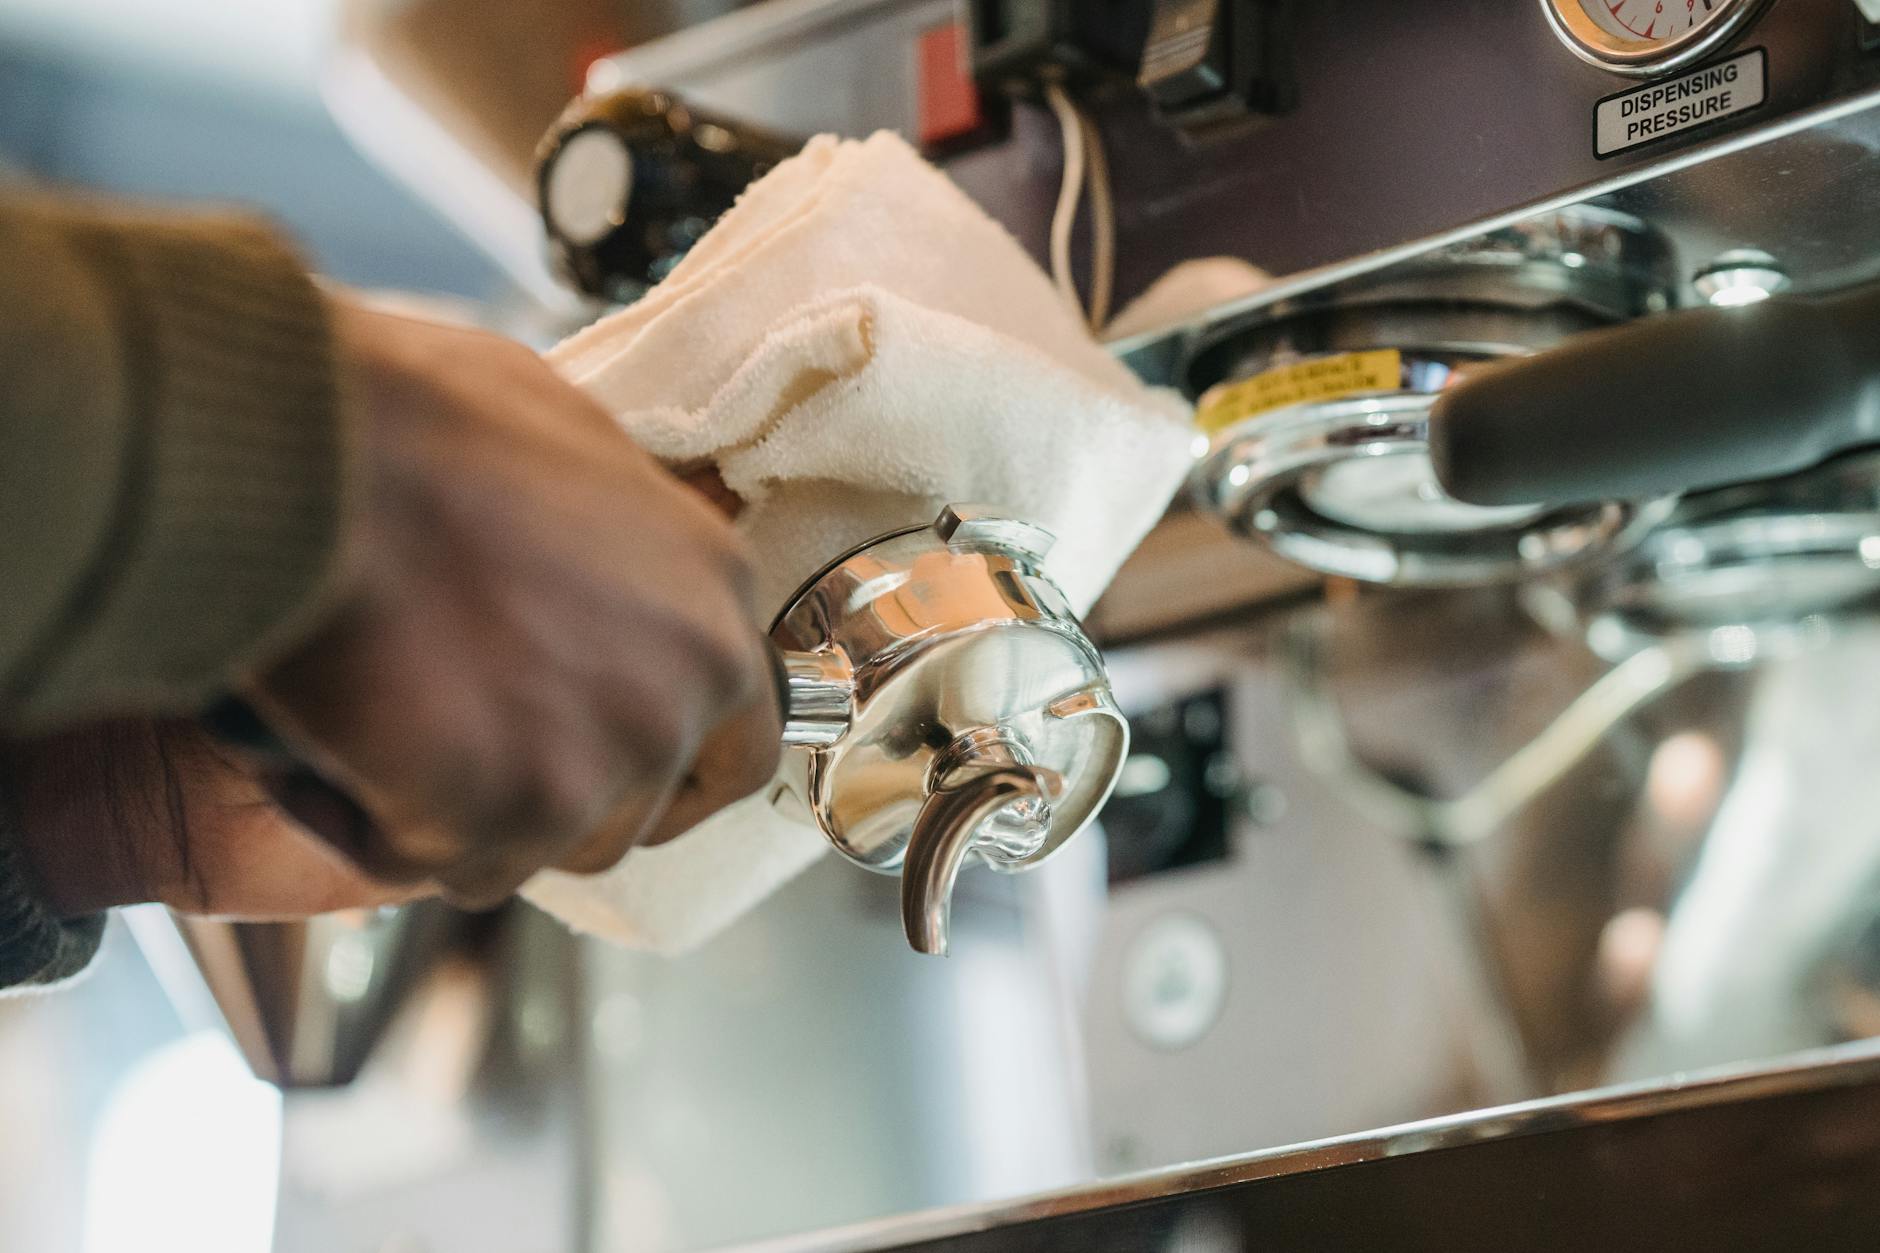
- Disassembly: Use your screwdriver to carefully loosen and remove the central dispersion screw. It might be a little tight from coffee residue, so apply firm, steady pressure. Once the screw is out, the dispersion screen should come off easily. Some machines have multiple layers, so take note of their order.
- Initial group head scrub: With the screen removed, you have direct access to the inside of the group head. Use your group head brush to scrub away all the loose coffee grounds that have accumulated in the cavity and around the rubber gasket. Wipe it clean with a damp cloth.
- Soak the components: Fill your small bowl with hot water and add a small amount of espresso machine cleaning powder (follow the instructions on the product’s packaging). Place the dispersion screw and screen into the solution. Let them soak for about 20-30 minutes. You will see the water turn a dark, murky brown as the cleaner dissolves the old coffee oils.
- Final scrub and rinse: After soaking, use your brush to give the screen and screw a final scrub, ensuring all the little holes in the screen are completely clear. Rinse both components thoroughly under warm running water. It is critical to remove all traces of the cleaning solution to avoid any chemical taste in your next coffee.
- Reassembly and flush: Dry the parts completely with a clean cloth. Carefully place the screen back into the group head and re-insert the screw. Tighten it until it is snug, but be careful not to over-tighten, as this can damage the screw or the group head. Once reassembled, lock your portafilter with the blind basket into the group head and run the pump for 10 seconds, then stop for 10 seconds. Repeat this cycle 4-5 times to flush out any remaining debris.
Creating a consistent cleaning schedule
Performing this deep clean is great, but its benefits will be short-lived without a consistent maintenance routine. Preventing heavy buildup is far easier than removing it. How often you need to clean depends on your usage. A home barista pulling a few shots a day has different needs than a busy café. The key is to establish a routine that works for you. A daily water-only backflush, a weekly detergent backflush, and a monthly deep clean is a great framework for most home users.
Here is a suggested schedule to keep your machine in top condition:
| Frequency | Task | Purpose |
|---|---|---|
| Daily | Backflush with plain water (using blind basket) | Rinses out fresh coffee grounds from the group head and three-way solenoid valve after the last shot of the day. |
| Weekly | Backflush with espresso machine detergent | Dissolves the coffee oils that water alone cannot remove, preventing initial buildup. |
| Monthly | Full deep clean (remove and soak screen/screw) | Removes any stubborn, deep-seated residue that backflushing can’t reach, ensuring perfect water distribution. |
By sticking to a schedule like this, you ensure your equipment is always ready to perform at its best, protecting both your investment and the quality of your coffee.
Ultimately, cleaning your dispersion screen and screw is a foundational skill for any serious espresso maker. It’s a simple task that pays huge dividends in flavor and consistency. We’ve seen how a dirty screen can lead to channeling and off-flavors, effectively sabotaging an otherwise perfect puck preparation. By understanding the process—from gathering the right tools to carefully disassembling, soaking, scrubbing, and reassembling the parts—you take control over one of the most critical variables in espresso extraction. Integrating this deep clean into a regular maintenance schedule, alongside daily and weekly backflushing, transforms machine care from a chore into a rewarding ritual that guarantees every shot you pull is as clean, balanced, and delicious as it can be.


 No products in the cart.