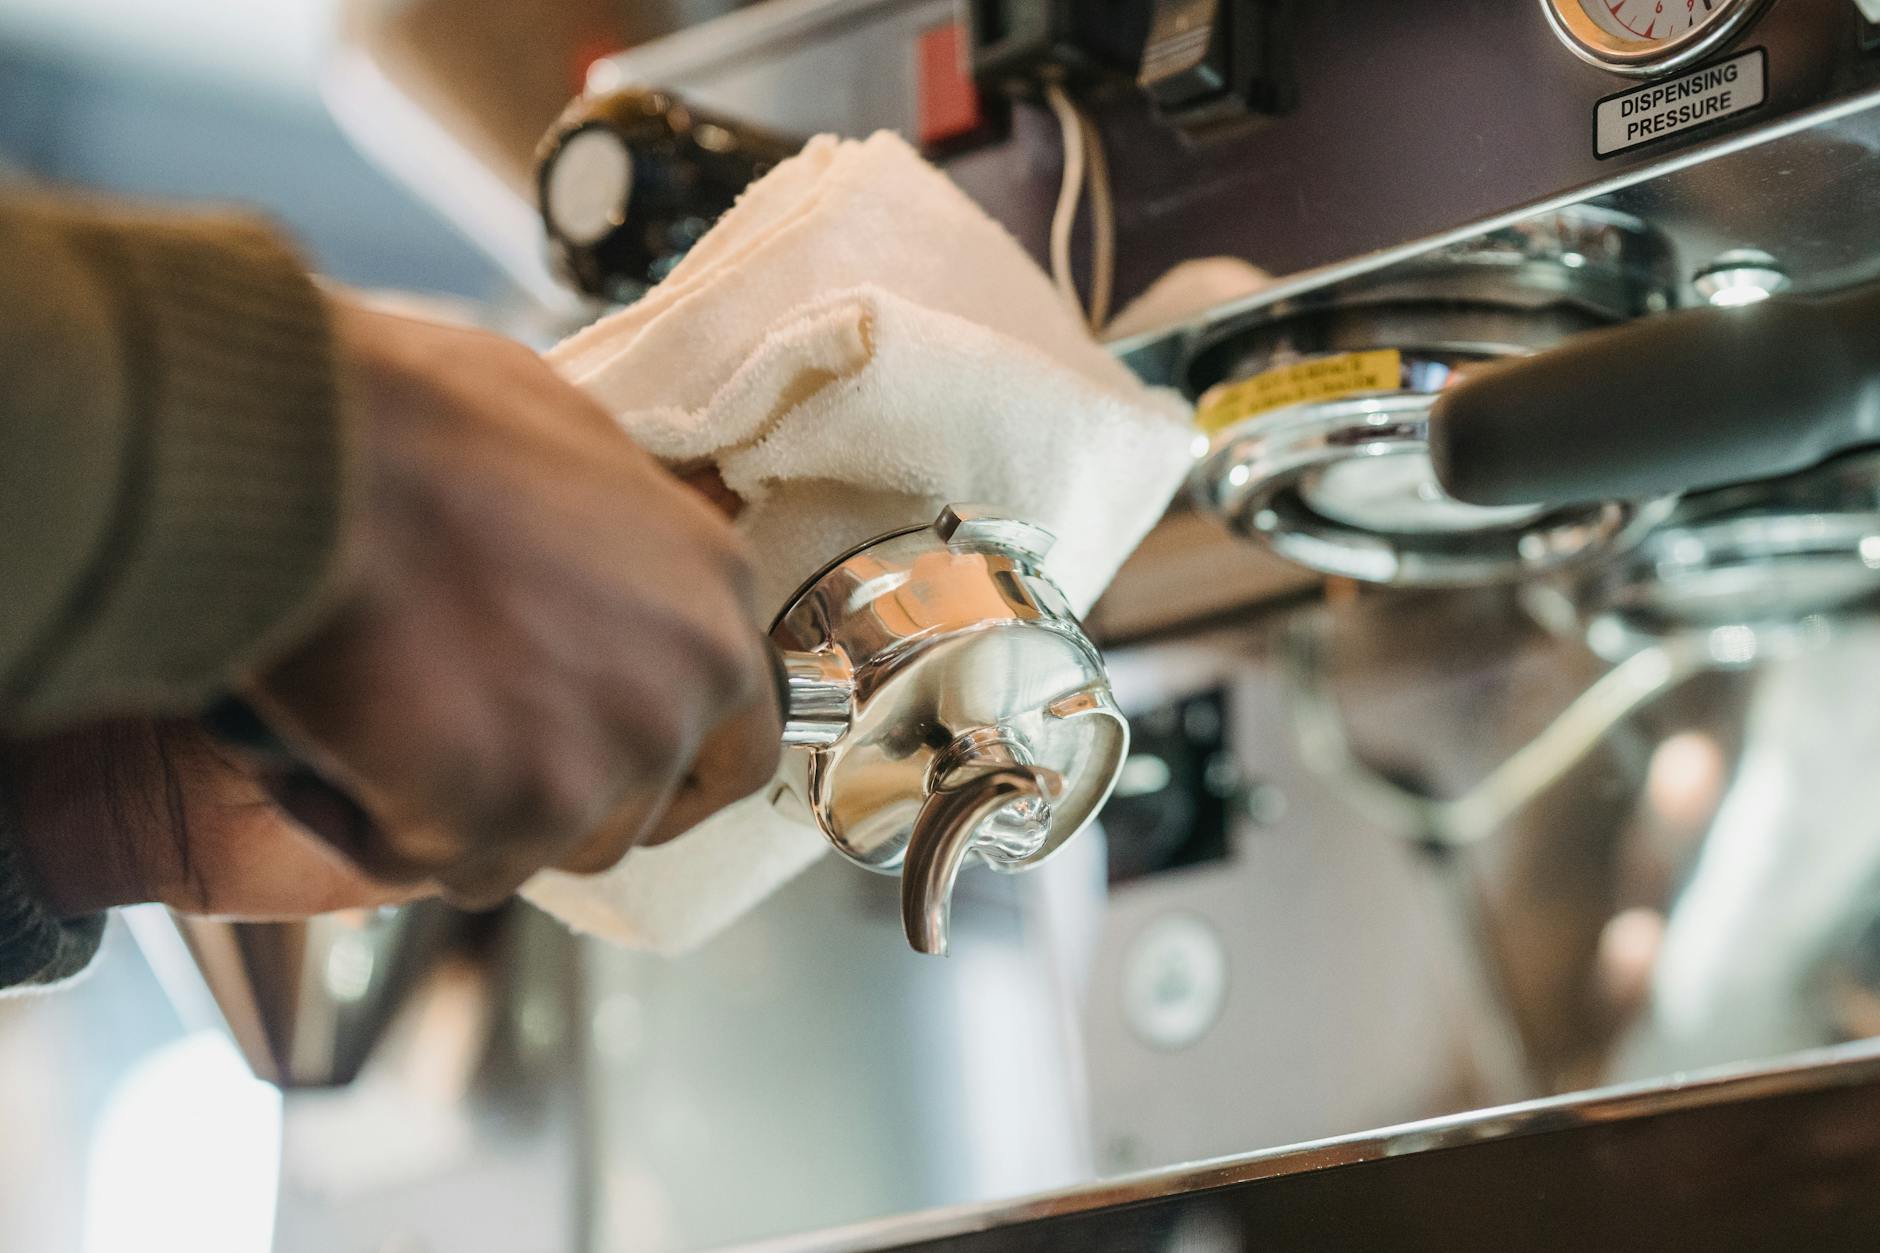
A sputtering, leaky portafilter is a frustrating sight for any coffee enthusiast. That perfect morning espresso ritual is quickly ruined by hot water dripping down the handle and all over the counter, signaling a failed extraction. More often than not, this common issue isn’t a sign of a major machine malfunction but a simple maintenance problem. The culprit is usually a worn-out group gasket, the small rubber or silicone ring responsible for creating a high-pressure seal between your portafilter and the group head. Replacing this part is a straightforward, inexpensive fix that can dramatically improve your machine’s performance and the quality of your coffee. This guide will walk you through every step, from identifying the problem to installing a new gasket and pulling a perfect, leak-free shot.
Why your portafilter leaks and when to replace the gasket
The group gasket is a hardworking component in your espresso machine. Every time you lock in the portafilter, this ring is compressed to create a watertight seal capable of withstanding nine bars of pressure or more. Over time, the constant cycles of heating, cooling, and pressure cause the gasket material to harden, crack, and lose its flexibility. When this happens, it can no longer create a perfect seal, and pressurized water will escape over the rim of the portafilter basket.
There are several tell-tale signs that your gasket is due for replacement:
- Visible leaks: The most obvious sign is water dripping or spraying from around the top of the portafilter during an extraction.
- Portafilter handle position: If you notice the portafilter handle locking in much further to the right than it used to (past the 6 o’clock position), it means the gasket has been compressed and worn thin.
- A hard, brittle feel: If you touch the gasket (when the machine is cool), it will feel hard and plastic-like instead of pliable. It might even have visible cracks or be stained with old coffee oils.
While a few coffee grounds on the portafilter rim can also cause a temporary leak, consistent leaking is a clear indicator that the gasket itself has failed. Regular replacement, typically every 6 to 12 months depending on use, is a key part of preventative espresso machine maintenance.
Choosing the right gasket and gathering your tools
Before you begin the replacement, you need to ensure you have the correct part and the necessary tools. Not all group gaskets are created equal; they vary in diameter, thickness, and material, specific to the make and model of your espresso machine. The most common size for prosumer machines is 58mm, often for E61 group heads, while other brands like Breville might use a 54mm gasket. Always check your machine’s manual or look up the specific part for your model number to avoid buying the wrong one.
You also have a choice between two primary materials: traditional rubber and modern silicone.
| Material | Pros | Cons |
| Rubber (EPDM) | Inexpensive, traditional feel, widely available. | Hardens over time, can become brittle, absorbs coffee oils, shorter lifespan. |
| Silicone | Longer lasting, remains soft and flexible, doesn’t absorb odors or oils, easier to install and remove. | Slightly more expensive, can feel “stickier” at first. |
For most home users, a silicone gasket is a worthwhile upgrade for its longevity and stability. Once you have your new gasket, gather these simple tools:
- A flathead screwdriver or a dedicated gasket pick/awl.
- A stiff brush (a group head brush is ideal).
- A small flashlight and mirror (optional, but very helpful for inspection).
– A clean, damp cloth.
The step-by-step replacement guide
With your new gasket and tools ready, it’s time to perform the replacement. This process should take no more than 15-20 minutes. First and foremost, unplug your machine and allow it to cool down completely. The group head gets extremely hot, and attempting this on a warm machine can lead to serious burns.
1. Remove the shower screen and old gasket.
The gasket is located just inside the group head, surrounding the shower screen. In most machines, a single screw holds the shower screen in place. Use your screwdriver to remove this screw and set it aside safely. The shower screen should now come off, exposing the old gasket. Carefully use your gasket pick or screwdriver to pry the old gasket out. Be gentle to avoid scratching the metal of the group head. If the gasket is old and brittle, it may come out in several pieces. Be patient and ensure every last bit is removed.
2. Thoroughly clean the group head.
This is a critical step. Over time, a thick layer of coffee oils and fine grounds builds up in the channel where the gasket sits. Use your brush and damp cloth to scrub this groove completely clean. Any remaining debris can prevent the new gasket from seating properly, leading to another leak. Use your flashlight and mirror to inspect the groove and ensure it’s spotless. This is also a great time to deep clean your shower screen by soaking it in a solution of espresso machine cleaner.
3. Install the new gasket.
Take your new gasket and press it into the clean groove. Often, there is a beveled edge or writing on one side; this side usually faces up into the machine. Push it in evenly with your fingers, working your way around the circle. To ensure it’s fully seated, you can use an empty portafilter (without the basket inserted) and lock it into the group head. This will apply even pressure and push the gasket snugly into place. Finally, reinstall the clean shower screen and its screw. Tighten it until it’s snug, but do not overtighten.
Testing your work and final checks
Once everything is reassembled, you can plug your machine back in and turn it on. Let it come up to full operating temperature. The first thing you’ll likely notice is that the portafilter handle feels much tighter. It will lock in closer to the 6 o’clock position, which is a good sign that the new, thicker gasket is doing its job. Lock the portafilter in place and run a “blank shot” with just water. Watch carefully for any drips or leaks around the seal. If you cleaned the groove properly and seated the gasket correctly, you should have a perfect, dry seal.
Don’t be alarmed if the portafilter feels very tight for the first few uses. The new gasket needs a short break-in period to settle into place. After replacing the gasket, commit to good maintenance habits. Always wipe the gasket with a cloth after your last shot of the day and perform regular backflushing to keep the group head clean. This will significantly extend the life of your new gasket and ensure your espresso machine is always ready to pull a perfect shot.
In conclusion, a leaky portafilter is an easily solved problem that shouldn’t cause you to panic. By understanding that the group gasket is a wearable part, you can anticipate its failure and be ready to act. The replacement process is simple: identify the signs of a worn gasket, source the correct replacement part for your machine, and follow the careful steps of removing the old component, thoroughly cleaning the group head, and seating the new gasket. This small, inexpensive piece of maintenance is one of the most effective things a home barista can do to ensure machine longevity and, most importantly, consistent and delicious espresso extraction. Taking 20 minutes to complete this task will reward you with a leak-free, better-performing machine and the satisfaction of a job well done.

 No products in the cart.