Mastering the pre-infusion technique on a La Peppina lever
The La Peppina is a classic among vintage lever espresso machines, celebrated for its elegant design and the exceptional quality of espresso it can produce. However, its unique open-boiler system presents a learning curve, especially when it comes to a crucial step: pre-infusion. Unlike modern semi-automatic machines that handle this automatically, the La Peppina puts you in complete manual control. Mastering this technique is the key to unlocking the full potential of your machine, transforming potentially good shots into truly great ones. This guide will walk you through understanding the mechanics, dialing in your technique, and troubleshooting common issues to help you pull consistently delicious espresso from this iconic piece of coffee history.
Understanding the La Peppina’s design
To master pre-infusion on the La Peppina, you first need to appreciate its beautifully simple, yet distinct, mechanics. Unlike most lever machines that draw water from a pressurized boiler (like a La Pavoni) or a heat exchanger, the La Peppina features an open boiler. This means the water kettle sits directly above the group head, and water is fed into the piston chamber purely by gravity when you lift the lever.
When you raise the lever, you are not just cocking a spring; you are physically lifting a piston, which opens a port and allows hot water from the kettle to flow down and saturate the coffee puck. There is no pump and no line pressure forcing the water onto the coffee. This gravity-fed system is both a challenge and an opportunity. It means you, the barista, have direct control over the duration and volume of water used to saturate the puck before applying pressure. This manual control is the very essence of the La Peppina pre-infusion process and is fundamental to achieving a balanced extraction.
The art of manual pre-infusion
Pre-infusion is the gentle saturation of the ground coffee before applying the full pressure of the lever. Its purpose is to allow the coffee to de-gas, swell, and settle, which helps prevent channeling and promotes a more even extraction. On the La Peppina, this is achieved by manipulating the lever.
The primary method is straightforward:
- Slowly raise the lever all the way to the top. This lifts the piston and allows water to flow from the kettle onto the coffee puck.
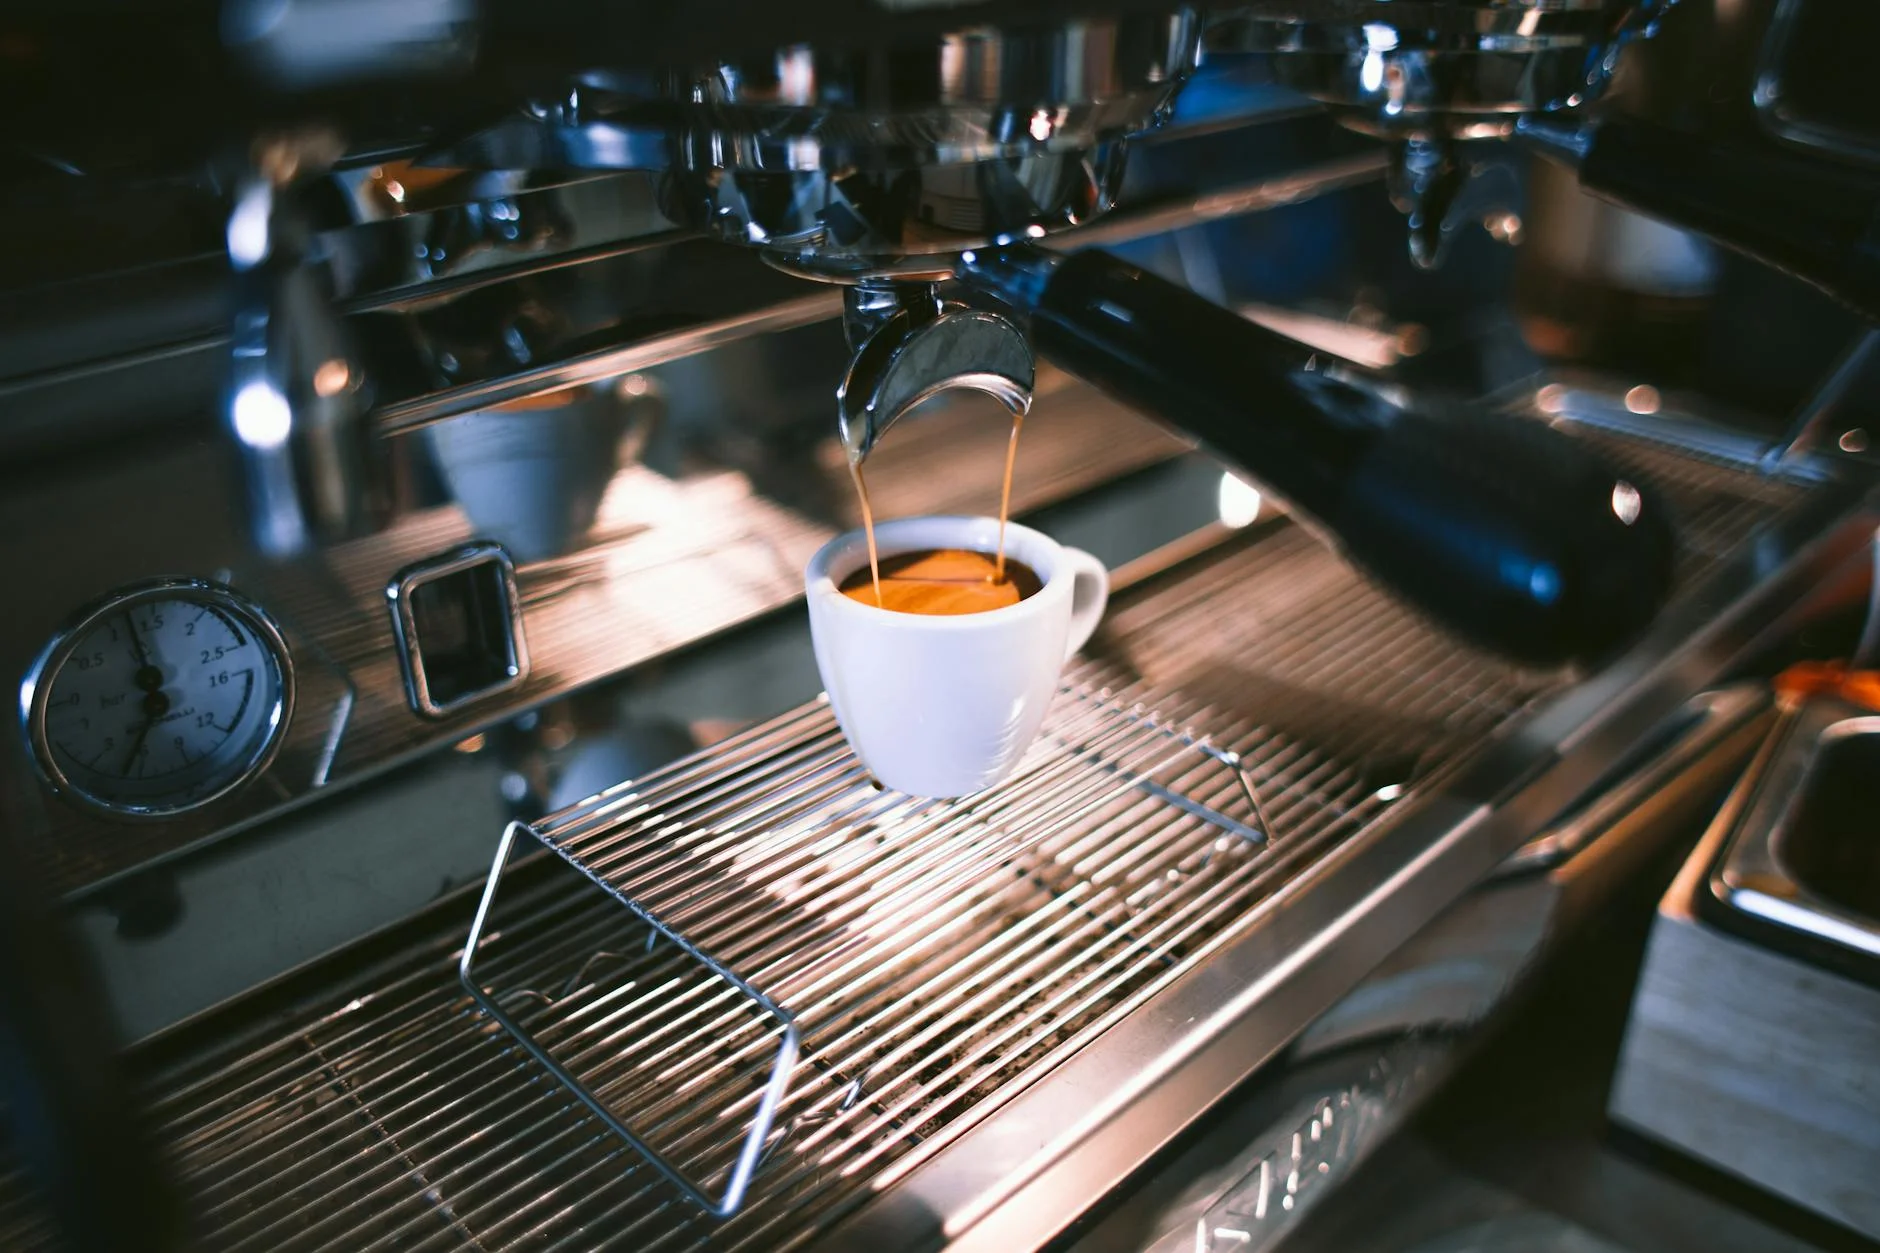
- Hold the lever at the top and wait. This is the pre-infusion phase. The goal is to wait until you see the first few drops of espresso begin to form on the bottom of the basket.
- Once you see these first drops, begin to slowly and steadily press the lever down to complete the shot.
The duration of this waiting period is your main variable. It can range from as little as 5 seconds for dark, oily roasts to over 15 seconds for dense, light roasts. Some advanced users employ a technique similar to the “Fellini move,” which involves a small, partial pull-down and re-lift of the lever to introduce more water into the chamber, but for most applications, the simple “lift and hold” method is both effective and consistent.
Dialing in your variables
Achieving the perfect pre-infusion is a balancing act between your coffee, your grind, and your timing. It’s not a one-size-fits-all process. The key is observation. Your primary visual cue is the bottom of the portafilter basket. You are looking for the moment when the puck is fully saturated, indicated by the first beads of espresso appearing evenly across the bottom of the basket.
Here’s how different variables interact:
- Grind size: A finer grind will require a longer pre-infusion time as it offers more resistance to water flow. If your shot chokes the machine even after a long pre-infusion, your grind is likely too fine. If it flows too fast, coarsen the grind.
- Dose: A larger dose of coffee creates a deeper puck, which may also require a slightly longer pre-infusion to fully saturate. The La Peppina works best with doses typically between 12-15 grams.
- Roast level: Lighter roasts are denser and less porous, requiring more time for water to penetrate. Darker roasts are more brittle and saturate quickly.
Use the following table as a starting point, but always let the visual feedback from your basket guide your final decision.
| Roast Level | Suggested Pre-Infusion Time | Why it works |
|---|---|---|
| Light | 10 – 15 seconds | Allows dense beans to fully saturate, reducing sourness and preventing channeling. |
| Medium | 7 – 10 seconds | A balanced time to develop sweetness without introducing bitterness. |
| Dark | 5 – 8 seconds | Prevents over-extraction of fragile beans, reducing bitterness and highlighting rich flavors. |
Troubleshooting common problems
When you are learning, things can go wrong. Understanding what causes common issues will help you correct them faster. If your pre-infusion isn’t right, it will directly impact the quality of your espresso.
If your shot is sour or thin, it’s a classic sign of under-extraction. Your pre-infusion was likely too short. The water didn’t have enough time to saturate the puck evenly, leading to channeling where water gushes through weak spots. Try extending your pre-infusion time by a few seconds, waiting for those first drops to appear before you start the pull.
If your shot is excessively bitter or harsh, you may be over-extracting. This can happen if your pre-infusion is too long, especially with darker roasts. Too much contact time before the pull begins can start to extract the bitter compounds from the coffee. Try reducing the pre-infusion time. A bitter shot could also be a sign that your kettle water is too hot, a common issue on the La Peppina, so be sure to monitor your temperature as well.
The La Peppina is a machine that rewards patience and attention to detail. It is fully manual, which means every great shot is a direct result of your skill. Pre-infusion is perhaps the most critical skill to develop. By understanding how the open boiler and gravity-fed system work, you can take direct control over the saturation of your coffee puck. Remember to use visual cues, watching for those first drops of espresso as your signal to begin the pull. Adjust your pre-infusion time based on your grind, dose, and roast level, and don’t be afraid to experiment. With practice, you will learn the rhythm of the machine and be able to consistently pull sweet, balanced, and syrupy shots that rival those from far more complex equipment.
 No products in the cart.