The excitement of unboxing a brand-new coffee grinder is a special moment for any coffee lover. You envision perfectly consistent grounds and delicious, nuanced brews. However, many users find their first few cups are underwhelming, with inconsistent results and a taste that doesn’t quite hit the mark. The culprit is often the burrs themselves. Fresh from the factory, grinder burrs are not yet in their prime. Just like a new pair of leather shoes needs breaking in, your grinder’s burrs require a process called seasoning. This isn’t about adding flavor, but about preparing the metal surfaces for optimal performance. This article will delve into why burr seasoning is a crucial, non-negotiable step and provide a clear, practical guide on how to do it properly.
What is burr seasoning and why does it matter?
First, let’s clear up a common misconception. Seasoning a coffee grinder has nothing in common with seasoning a cast-iron skillet. You are not trying to build up a non-stick layer of oil. Instead, burr seasoning is a mechanical process of breaking in the cutting surfaces of the burrs.
When burrs are manufactured, whether they are milled from steel or cast, the process leaves behind microscopic imperfections. Think of these as tiny, ultra-sharp edges, metallic fragments, and slight irregularities across the cutting faces. While invisible to the naked eye, these imperfections have a significant impact on performance. They can cause the coffee beans to shatter unevenly rather than being cut cleanly, leading to a wider distribution of particle sizes. This means you get more unwanted “fines” (dust-like particles) and “boulders” (large chunks) than you want, even when the grinder is set to a specific size. This initial inconsistency is the primary reason why seasoning is so important. The goal is to wear down these microscopic high points, creating a smoother, more uniform cutting surface that will produce a consistent grind size time after time.
The tangible benefits of a well-seasoned grinder
Moving beyond the “why,” the results of a properly seasoned grinder are immediately noticeable in your coffee routine and, most importantly, in the cup. The initial effort pays off with several key advantages that form the foundation of great coffee. This process bridges the gap between a grinder’s potential on paper and its actual performance on your counter.
- Drastically improved grind consistency: This is the number one benefit. As the burrs are smoothed, they cut beans more cleanly and uniformly. This reduces the number of fines and boulders, tightening the particle size distribution around your target setting. For espresso, this means less channeling and more even extractions. For pour-over, it means a cleaner cup with less sediment and bitterness.
- Enhanced flavor clarity and depth: Inconsistent grinds lead to uneven extraction. Fines over-extract quickly, contributing bitterness, while boulders under-extract, adding sourness. When you have a consistent grind, you achieve a much more even extraction, allowing the true, delicate flavors of your coffee beans to shine through. The result is a sweeter, more balanced, and clearer-tasting cup.
- Stable and repeatable settings: A brand-new grinder’s settings can “drift.” As the initial imperfections wear away, the distance between the burrs changes slightly, meaning your “zero point” can shift. After seasoning, the burrs are settled and stable. A specific number on your dial will produce the same grind size every time, making the process of dialing in your coffee far less frustrating and more reliable.
The practical guide to seasoning your burrs
Now that you understand the importance of seasoning, let’s walk through the process. It’s simple, but it’s crucial to do it correctly to avoid wasting your best coffee or putting unnecessary strain on your new grinder.
The most important rule is this: do not use your expensive, single-origin coffee beans for seasoning. This process is designed to wear down metal, and the coffee you use will not be drinkable. Instead, opt for cheap, stale, or old coffee beans from the supermarket. A medium roast is generally the best choice. Very dark, oily roasts can gum up the burrs, while very light, dense roasts can be harder on the grinder’s motor during the initial break-in period. Absolutely avoid flavored coffee, as the artificial oils can leave a residue that is difficult to clean and can taint future brews.
Follow these steps for a smooth seasoning process:
- Start with a medium setting. Don’t start at your finest espresso setting. Begin somewhere in the middle of your grinder’s range, such as for a drip coffee maker.
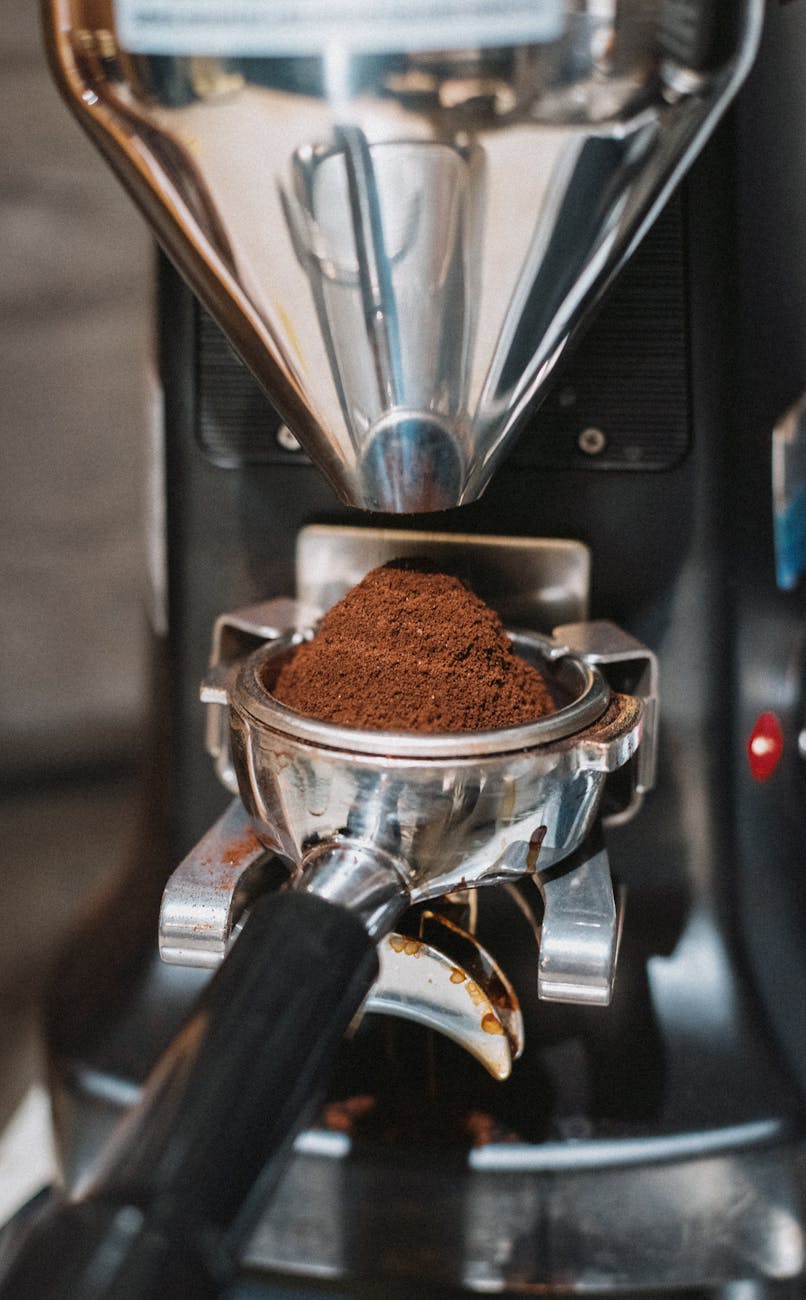
- Grind in small batches. Pour about a shot’s worth of beans (15-20g) into the hopper and grind it through. Discard the grounds. Listen to the motor to ensure it sounds steady.
- Adjust the grind finer. Move the adjustment collar or dial a few steps finer. Grind another small batch of beans and discard them.
- Repeat the process. Continue this cycle of grinding a small amount and adjusting progressively finer. This gradually works the entire cutting surface of the burrs, from the coarse-breaking edges to the fine-finishing surfaces.
- Reach your target range. Continue until you have worked your way down to the grind settings you will use most often, such as for espresso or pour-over. Once you’ve ground a few batches in that fine range, the initial, most critical phase of seasoning is complete.
How much coffee is enough?
The most common question is, “How much coffee do I really need to grind?” The answer depends on your grinder, specifically the size, material, and geometry of the burrs. Larger burrs have more surface area and require more coffee to season. Likewise, burrs made from harder materials or with advanced coatings may take longer to break in. While some grinders feel great after just a few hundred grams, others require several kilograms to become fully stable.
It’s always best to check your grinder’s manual first, as some manufacturers provide specific recommendations. If not, the table below offers a general guideline.
| Burr type and size | Example grinders | Recommended seasoning amount |
|---|---|---|
| Small conical burrs (38-48mm) | Baratza Encore, Niche Zero, Comandante C40 | 1-2 kg (2-4 lbs) |
| Medium flat burrs (58-64mm) | DF64, Eureka Mignon Series, Lagom Mini | 2-3 kg (4-6 lbs) |
| Large flat burrs (80mm+) | Lagom P100, Weber EG-1, Mazzer Major | 4-5 kg (8-11 lbs) or more |
| Commercial grinders | Mahlkönig EK43, Ditting 807 | 5 kg (11 lbs) or more |
Remember, you don’t need to do all of this in one sitting. You can break up the process over several days. The grinder will also continue to season and settle with regular daily use. The initial seasoning simply accelerates the process, getting you from an inconsistent starting point to a stable, reliable state much more quickly.
In conclusion, seasoning your new coffee grinder burrs is far from an optional step for picky enthusiasts; it is a fundamental process for anyone seeking great coffee. By understanding that seasoning is about mechanically smoothing the burrs, you can appreciate why it’s so critical for performance. The benefits are undeniable: a dramatic improvement in grind consistency, which directly translates to more even extractions and superior flavor clarity in your final cup. Your grinder’s settings will also become far more stable and trustworthy. By following the simple method of using inexpensive beans and grinding in batches from coarse to fine, you can effectively break in your new equipment. This small, one-time investment of time and cheap coffee beans unlocks the true potential of your grinder, ensuring it delivers exceptional results for years to come.


 No products in the cart.