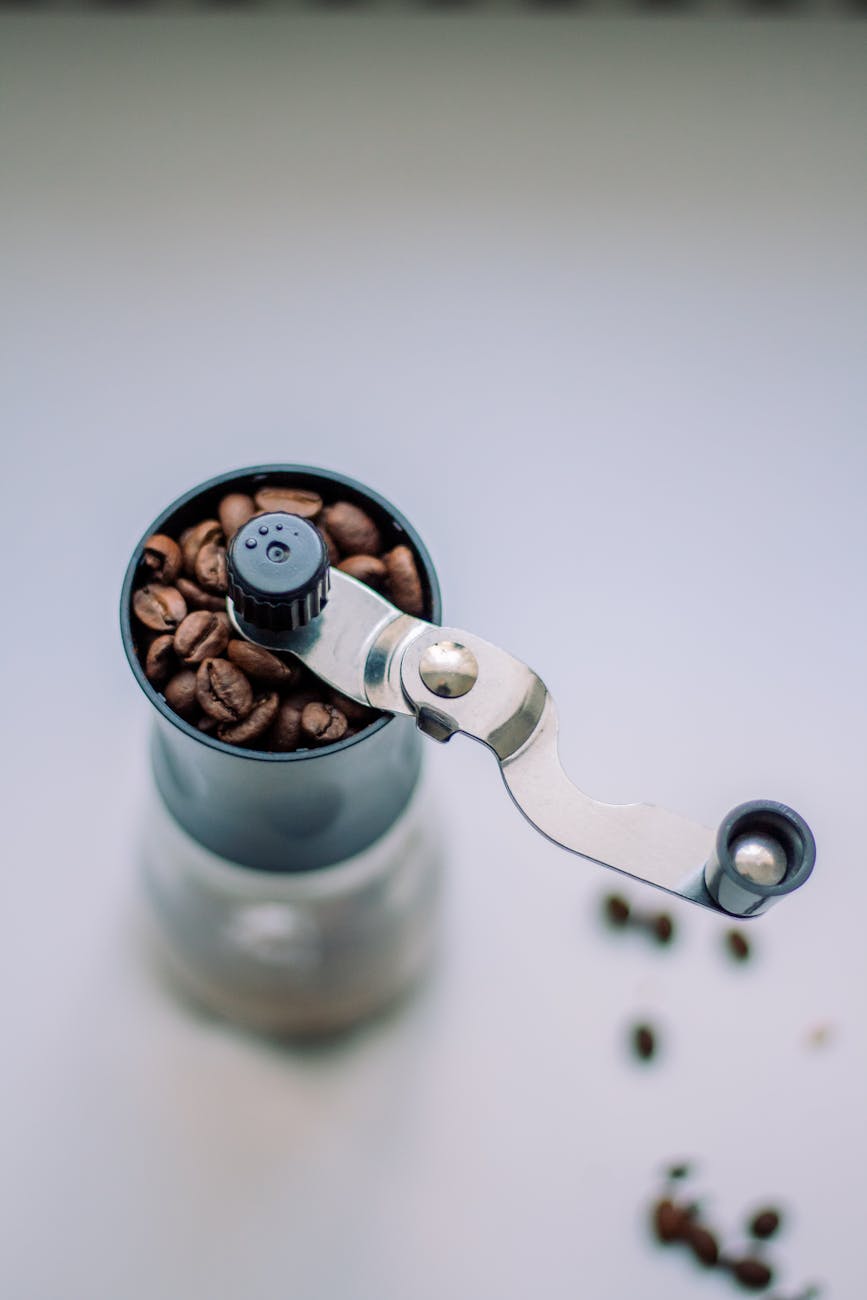
Every coffee enthusiast chases the perfect shot of espresso: rich, aromatic, and bursting with complex flavors. You invest in high-quality beans, a capable espresso machine, and a precision grinder. Yet, over time, you might notice your shots becoming bitter, inconsistent, or just plain disappointing. The culprit is often hiding in plain sight: your grinder’s burrs. Caked-on coffee oils and microscopic grounds go rancid, tainting every bean that passes through them. A simple routine cleaning isn’t enough to tackle this buildup. This guide will walk you through the essential process of deep cleaning your espresso grinder burrs, a non-negotiable maintenance task that will restore your grinder’s performance, elevate your coffee’s taste, and protect your investment for years to come.
Why deep cleaning your grinder is non-negotiable
Thinking you can skip a deep clean is like cooking a gourmet meal in a dirty pan. While running grinder cleaning pellets or rice through your machine can help with maintenance, it doesn’t replace a proper deep clean. Coffee beans are full of oils. As you grind, these oils, along with ultra-fine coffee particles known as fines, create a stubborn, cement-like residue on the surface of your burrs. Over days and weeks, these oils oxidize and become rancid. This rancid oil imparts a stale, bitter, and often sour taste to your fresh coffee, completely masking the bean’s delicate flavor notes.
Beyond taste, this buildup directly impacts performance. Clogged burr teeth can’t effectively fracture the beans, leading to an inconsistent grind size. You’ll notice more clumps, which cause channeling during extraction and result in a poorly balanced shot. This inconsistency forces you to constantly adjust your grind setting, chasing a moving target. Furthermore, a grinder clogged with old grounds puts unnecessary strain on the motor. The motor has to work harder to spin the burrs, which can lead to overheating and a shorter lifespan for your beloved piece of equipment. A deep clean is a reset button, ensuring every shot is as fresh and consistent as possible.
Gathering your tools and preparing for the clean
Before you start taking your grinder apart, a little preparation makes the entire process smoother and safer. Think of it as setting up your workstation. Having everything you need on hand prevents you from scrambling for a tool mid-clean with tiny screws scattered on your counter. Most importantly, the first and most critical step is to unplug your grinder from the power outlet. This is a crucial safety measure that should never be skipped.
Here are the tools you will need:
- Screwdriver: A Philips head screwdriver will work for most grinder models.
- Stiff-bristled brush: A dedicated grinder brush or a stiff, clean paintbrush is perfect for dislodging stubborn grounds.
- Vacuum cleaner: A small shop vac or a standard vacuum with a hose and crevice tool is invaluable for a mess-free clean.
- Wooden pick: A bamboo skewer or toothpick is excellent for getting into the tight grooves of the burrs.
- Microfiber cloth: For wiping down components.
- Bellows or compressed air: Optional, but highly effective for blasting fines out of hard-to-reach areas.
- Small tray or bowl: To keep track of all the screws and small parts you remove.
Once you have your tools, remove all the beans from the hopper. It’s a good idea to run the grinder for a few seconds to purge any whole beans and large fragments remaining in the burr chamber before you unplug it. This will make disassembly much cleaner.
The step-by-step deep cleaning process
With your grinder unplugged and your tools ready, it’s time to get to the core of the task. The goal is to expose the burrs and thoroughly remove all traces of old coffee.
1. Disassembly: Start by removing the bean hopper. Next, you’ll need to remove the upper burr carrier. On many popular grinders, this is done by turning the grind adjustment collar counter-clockwise past the coarsest setting until it unscrews completely. Consult your grinder’s manual if you are unsure. Once removed, you will see the upper burr (attached to the piece you just removed) and the lower burr (fixed to the motor shaft inside the grinder). Set the upper burr carrier and any screws aside in your tray.
2. The big purge: Your grinder’s internals will be covered in coffee grounds. Use your brush to sweep out all the loose grounds from the grind chamber, the lower burr, and the threads. Follow immediately with your vacuum cleaner hose to suck up all the debris. This combination of brushing and vacuuming is far more effective and cleaner than brushing alone.
3. The deep scrub: Now, focus on the burrs themselves. The caked-on residue is your main target. Use your stiff brush to vigorously scrub the faces and teeth of both the upper and lower burrs. For the most stubborn buildup lodged deep in the crevices, use your wooden pick to carefully scrape it out. You’ll be surprised at how much gunk comes off. Remember the golden rule: do not use water or any liquid cleaners. The burrs are typically made of tool steel and will rust almost instantly if they get wet, ruining them.
4. Chutes and chambers: Don’t forget the exit chute where the ground coffee comes out. This area is a major culprit for clumping and retention. Use your brush, vacuum, and a puff of compressed air or a bellows to clear this path completely. Finally, wipe down the inside of the grind chamber and the collar threads with your microfiber cloth.
Reassembly and recalibrating your grind
A perfect cleaning job can be undone by improper reassembly. This final stage is just as important as the cleaning itself, as it ensures your grinder operates correctly and is ready to produce a great grind.
First, carefully thread the upper burr carrier back into the grinder body. Turn it clockwise, ensuring you don’t cross-thread it. It should screw in smoothly. Once it’s back in place, you need to find your grinder’s “zero point”. This is the setting where the two burrs first make light contact. With the grinder still unplugged, slowly turn the adjustment collar towards a finer setting. Listen carefully. You will eventually hear a faint metallic “chirp” or “hiss” as the edges of the burrs touch. This is your zero point. Do not force it any further or turn the grinder on at this setting.
Once you’ve found the zero point, back the adjustment off (towards coarse) to your approximate espresso range. You can now plug the grinder back in and place the hopper on top. Add a small dose of beans and test the grind. Be prepared to dial in your espresso shot again from scratch. A clean grinder is much more efficient, so your old grind setting will now likely produce a much finer grind. This small recalibration is a clear sign that your hard work has paid off, and your grinder is performing at its peak again.
To help maintain your grinder, here is a general guideline for how often you should perform a deep clean based on usage.
| Usage level | Recommended deep cleaning frequency |
|---|---|
| Home Barista (2-4 shots/day) | Every 1-2 months |
| Enthusiast (5+ shots/day) | Every month |
| Light Commercial Use | Every 2-4 weeks |
| Busy Café | Every week |
In summary, deep cleaning your espresso grinder’s burrs is an essential ritual for anyone serious about coffee quality. We’ve walked through the reasons why it’s so critical, from eliminating rancid oils that destroy flavor to reducing motor strain and improving grind consistency. By gathering a few simple tools and following the clear steps of disassembly, thorough cleaning, and careful reassembly, you can completely rejuvenate your grinder’s performance. The final, crucial step of recalibrating your grind by finding the zero point ensures your machine is perfectly set for its renewed task. Don’t let a dirty grinder be the weak link in your coffee-making chain. Incorporate this deep clean into your regular maintenance routine, and you’ll be rewarded with consistently delicious, flavorful, and satisfying espresso every single time.


 No products in the cart.