Mastering the art: How to properly tamp espresso for an even and level extraction
The journey to a perfect shot of espresso is a process of precision, where every step plays a critical role. From bean selection to grind size, each variable matters. However, one of the most crucial and often misunderstood steps is tamping. It’s more than just compacting coffee grounds into the portafilter; it’s the art of creating a dense, perfectly level puck that will provide uniform resistance against the high-pressure water from your machine. An improper tamp can lead to channeling, resulting in a shot that is simultaneously sour and bitter. This guide will walk you through the fundamentals, from the theory behind tamping to the step-by-step technique needed to achieve a balanced, sweet, and delicious extraction every single time.
Why tamping is more than just pressing coffee
To understand why tamping is so important, we need to think about what happens inside an espresso machine. The machine forces hot water through the coffee grounds at roughly nine bars of pressure, which is an immense amount of force. The goal is to have this water flow through the entire bed of coffee evenly, extracting an equal amount of flavor from every single particle. Tamping is what makes this possible.
By compressing the loose grounds into a solid, unified puck, you create resistance. A good tamp creates uniform resistance. If the puck is denser in some areas and less dense in others, or if it’s slanted, the water will behave like any liquid: it will follow the path of least resistance. This is a phenomenon known as channeling. Water will rush through the less dense spots, over-extracting those grounds and leaving other parts of the puck under-extracted. The result is a messy, unbalanced shot that fails to capture the coffee’s true potential.
Gathering your essential tamping tools
While technique is paramount, having the right tools makes the job significantly easier and more consistent. Your primary tool, the tamper, is the most obvious, but it’s not the only piece of equipment to consider for what baristas call “puck prep.”
- The Tamper: The most critical factor is that your tamper fits your portafilter basket snugly. Most home and professional machines use 58mm baskets, but sizes vary. A tamper that is too small will leave a ring of un-compacted grounds around the edge, a guaranteed recipe for channeling. Calibrated tampers, which click or give way at a set pressure, are excellent for beginners as they help build muscle memory for consistent force.
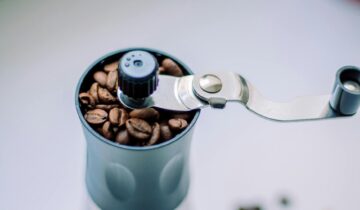
- Distribution Tools: A perfect tamp cannot fix a poorly distributed bed of coffee. Before you even think about tamping, the grounds in your portafilter must be free of clumps and evenly spread. A Weiss Distribution Technique (WDT) tool, which uses fine needles to break up clumps, is one of the most effective tools for this. After distribution, a leveling tool or “groomer” can be used to create a perfectly flat surface, setting the stage for a perfectly level tamp.
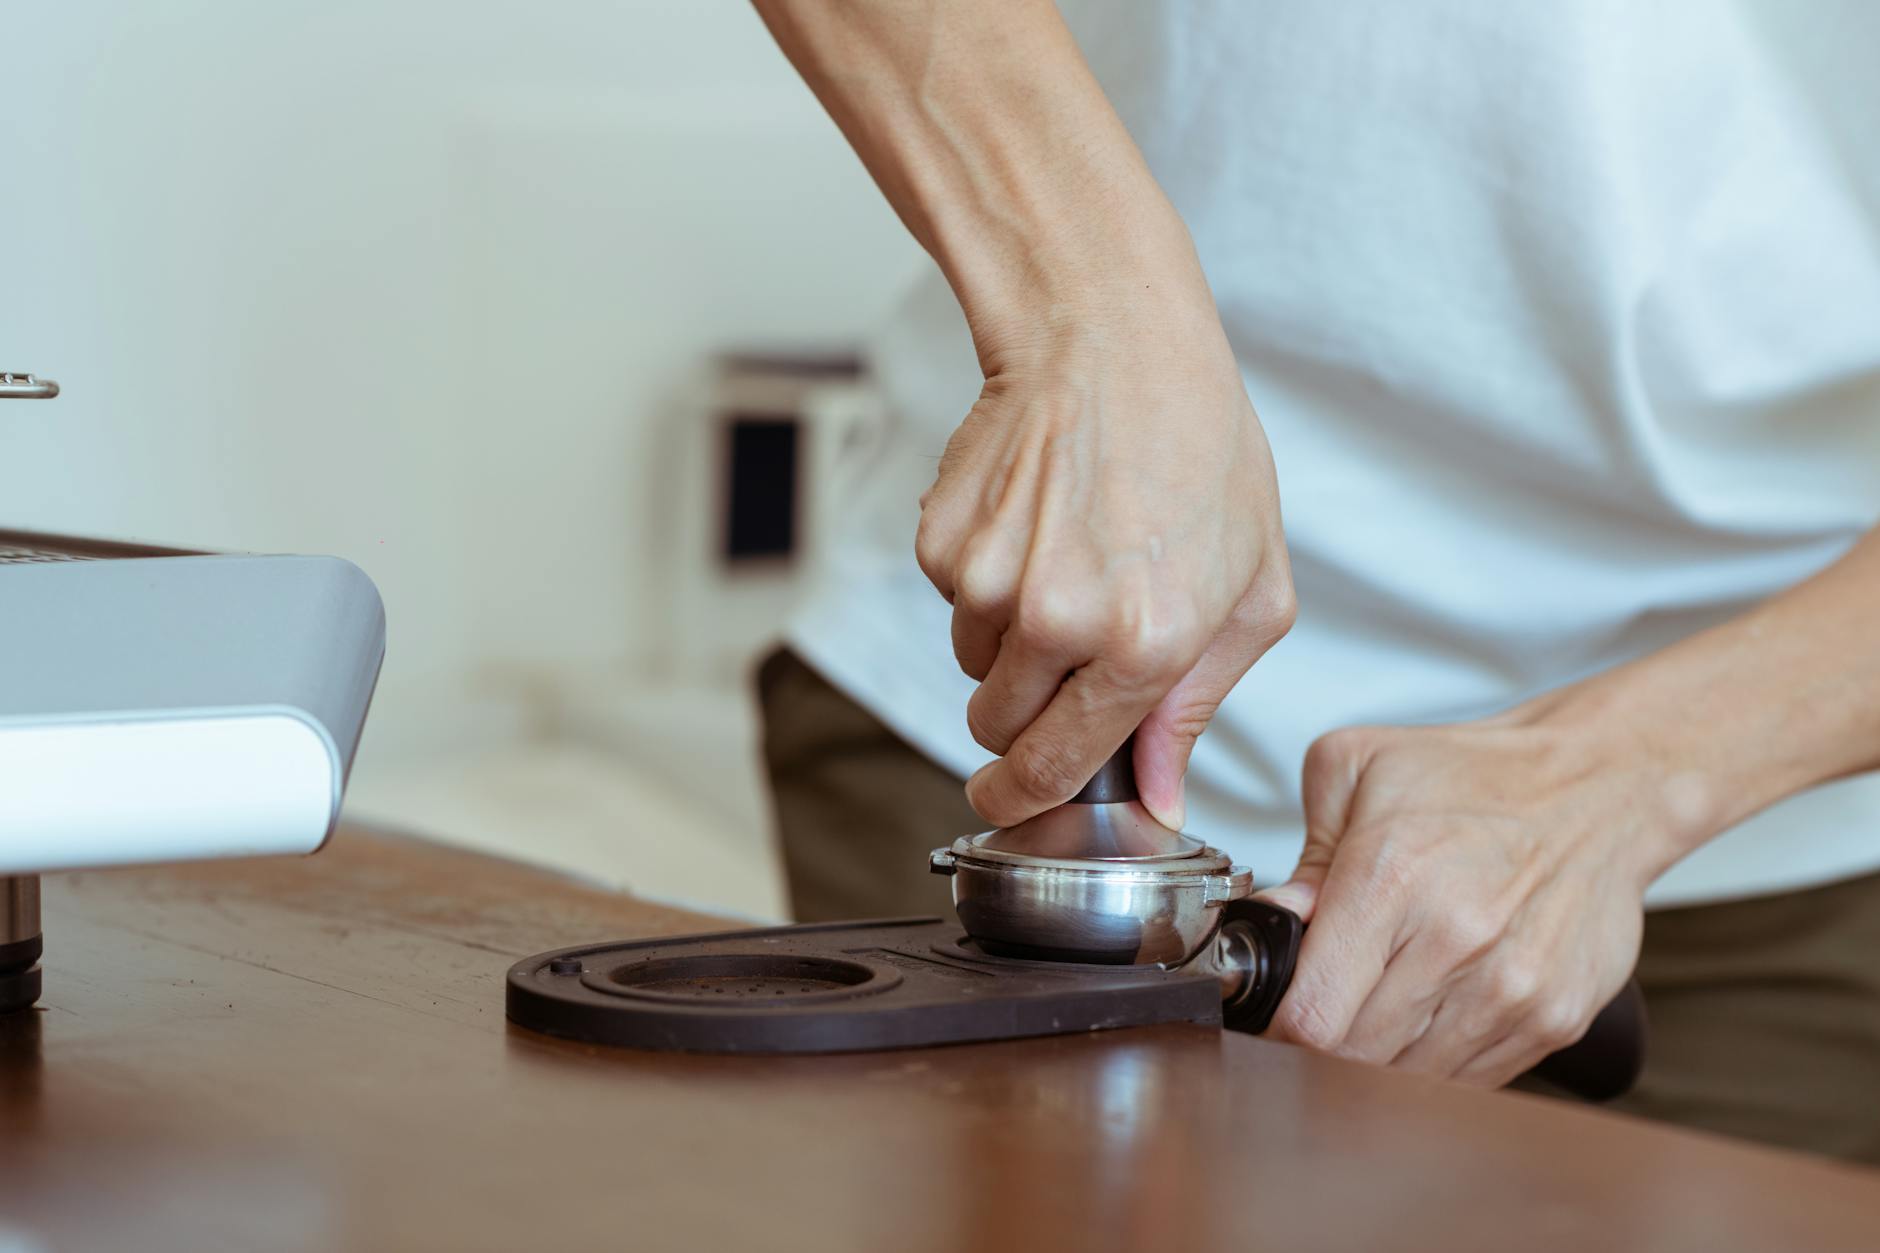
A step-by-step guide to the perfect tamp
With your grounds properly distributed, you are ready for the main event. Tamping is a physical skill that relies on ergonomics and muscle memory, not brute force. Follow these steps for a consistent and effective tamp.
- Start with a level surface: Ensure your portafilter is on a solid, level surface like a tamping mat on your counter. This provides a stable base.
- Establish your posture: Stand comfortably in front of the counter. Keep your wrist straight and your elbow bent at a 90-degree angle directly above the portafilter. This posture allows you to use your body weight rather than just your arm strength, preventing strain and promoting a more level press.
- Apply even, downward pressure: Place the tamper onto the surface of the grounds, ensuring it is perfectly level before you apply force. Press straight down. The common advice of “30 pounds of pressure” is less important than consistency and ensuring you have fully compressed the grounds. Press until you feel the coffee puck stop compressing.
- Lift straight up: Once you’ve completed the press, lift the tamper directly upward. Avoid the temptation to twist or “polish” the puck. This action can break the seal between the coffee and the basket wall, creating a pathway for channeling to occur. A single, clean press is all you need.
Troubleshooting common tamping mistakes
Even with perfect technique, issues can arise. Identifying the problem is the first step toward fixing it. Practice and observation will help you dial in your process. Here are some common problems and their solutions.
| Mistake / Observation | Potential Cause | Solution |
|---|---|---|
| The puck is visibly slanted after tamping. | Applying uneven pressure or not keeping your wrist straight. | Focus on your posture. Ensure your elbow is directly over the portafilter and press straight down, not at an angle. |
| Espresso spurts from the portafilter (channeling). | Uneven ground distribution or a cracked puck from twisting the tamper. | Use a WDT tool to break up clumps before tamping. Avoid polishing or twisting the tamper after the initial press. |
| The shot runs too fast (under-extracted). | Insufficient tamping pressure or a grind that is too coarse. | Apply a firmer, more consistent tamp to ensure full compression. If the problem persists, adjust your grind to be slightly finer. |
| The shot runs too slow or chokes the machine (over-extracted). | Tamping with excessive force or a grind that is too fine. | Ease up on your tamping pressure slightly. Your primary variable for extraction time should be grind size, so first try grinding a bit coarser. |
Conclusion: From pressure to perfection
Tamping is far more a skill of finesse than of force. It is the crucial step that solidifies your puck preparation, ensuring that the hard work of grinding and distributing your coffee pays off in the final cup. By focusing on creating a level and uniformly dense coffee bed, you eliminate one of the biggest variables standing between you and a great shot of espresso. Remember the key principles: start with well-distributed grounds, use a straight wrist and body weight for a level press, and prioritize consistency over raw power. With practice, this deliberate and careful motion will become second nature, transforming your espresso-making routine from one of chance into one of consistent, delicious craft.


 No products in the cart.